This page contains reviews of NIKKOR Z MC 105mm f/2.8 VR S.
Lens Summary


| Price | Considering performance, it's cheap. |
| Size | average |
| Weight | Lighter than AF-S lenses |
| Ease of use | Functional with many controls |
| AF performance | The lens performs well |
| Resolution performance | No complaints |
| Bokeh | Other than vignetting, it is good. |
| chromatic aberration | Almost perfect |
| distortion | slightly remaining |
| coma aberration | Coma aberration remains slightly |
| Vignetting | Super-prominent at infinity |
| flare resistance | Almost no problems |
| Overall evaluation | Outstanding resolution performance |
Evaluation:
The price has been kept almost the same as for SLR lenses. However, it has very good optical performance and is an all-round macro lens with multi-focus, effective image stabilisation and controls. The only drawback is vignetting, but it is a macro lens that is easy to recommend.
Foreword
- Release Date:2021.6.2
- Product page
- My Flickr album
- Flickr Group Page
- Japanese user contribution site
- B&H photo
- Adorama
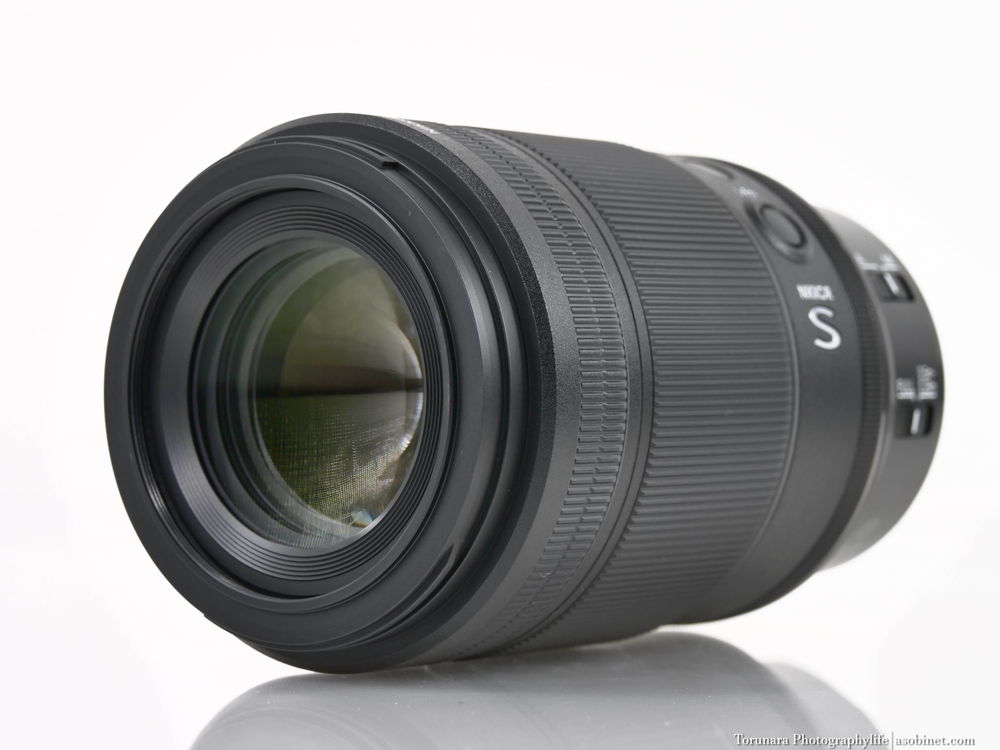
The first Nikon Z mount micro lens, which was released in June 2021 alongside the NIKKOR Z MC 50mm f/2.8. As part of the S-Line, it is a full-fledged macro lens with high-end optical design, build quality and operability, and even features optical image stabilization, which is rare for full-size Z mount lenses.
The lens construction consists of 16 elements in 11 groups, including 3 ED lenses and 1 aspherical lens. Compared to the 105mm F2.8 lens from the SLR era, this lens uses a generous amount of special lenses. Looking at the MTF, it is particularly good at resolving high-frequency components, and it seems to have reduced the drop-off at the periphery of the frame. Compared to Canon, this is an orthodox macro lens, but it looks like we can expect good optical performance.
The focus uses a multi-focus system made up of multiple units (what other companies call a floating structure). It is said to suppress aberration fluctuations at close distances and to achieve high imaging performance regardless of the focusing distance. It uses a stepping motor for driving, so you can expect quiet and smooth AF.
In addition to the conventional nano-crystal coating, it also uses ARNEO, which has recently started to be introduced. It seems to be particularly effective at resisting backlighting when light is incident vertically.
As befits the S-Line, it is dustproof and splashproof, and the front of the lens is coated with a fluorine coating that repels water and oil, making maintenance easy.
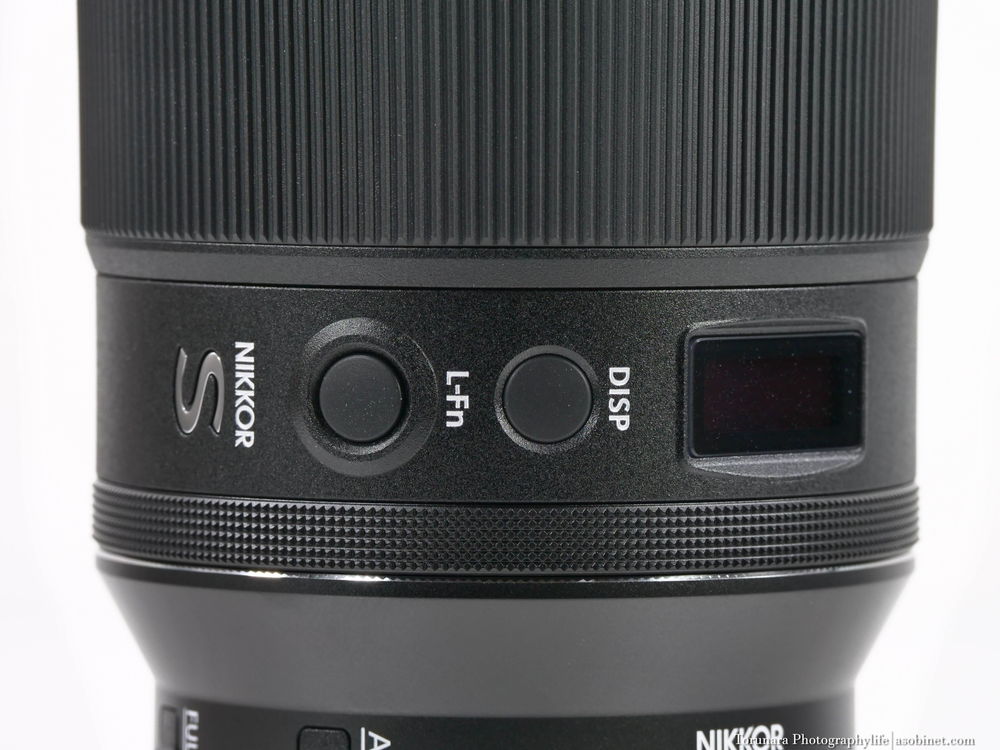
The lens barrel is equipped with a control ring that can be customised independently, and it is possible to assign functions such as aperture, ISO sensitivity and exposure compensation. Next to the control ring is an OLED display, which makes it possible to visually check the focus position and aperture, even though this is a lens for mirrorless cameras.
The lens size is neither larger nor smaller than competing models. The functionality differs greatly between each, but I think the Z lens, which supports aperture control and the L-Fn button and even has an OLED display, is well-balanced. Of these, only the Canon RF is officially compatible with a tripod mount.
specifications
| lens mount | Nikon Z |
| Supported sensor size | Full frame |
| focal length | 105mm |
| Lens construction | 16 lenses in 11 groups |
| Aperture | F2.8-4.5 ~ F32-51 |
| Aperture blades | 9枚 |
| Minimum focusing distance | 0.29m |
| Maximum magnification | ×1.0 |
| Filter diameter | 62mm |
| image stabilisation | 4.5 EV |
| Teleconversion lens | - |
| Coating | ARNEO Coating Nano Crystal Coat Super-Ingrated Coating fluorine coating |
| Size | φ85×140mm |
| Weight | 630g |
| weather sealing | Support |
| AF | Stepping motor |
| Aperture ring | - |
| Other controls | OLED display control ring L-Fn button |
| Accessories | Lens cap 62mm LC-62B (spring type) Rear cover LF-N1 Bayonet hood HB-99 Lens case CL-C2 |
Lens prices and how to buy them
NIKKOR Z MC 105mm f/2.8 VR S Review
Appearance and operability
Boxes and accessories
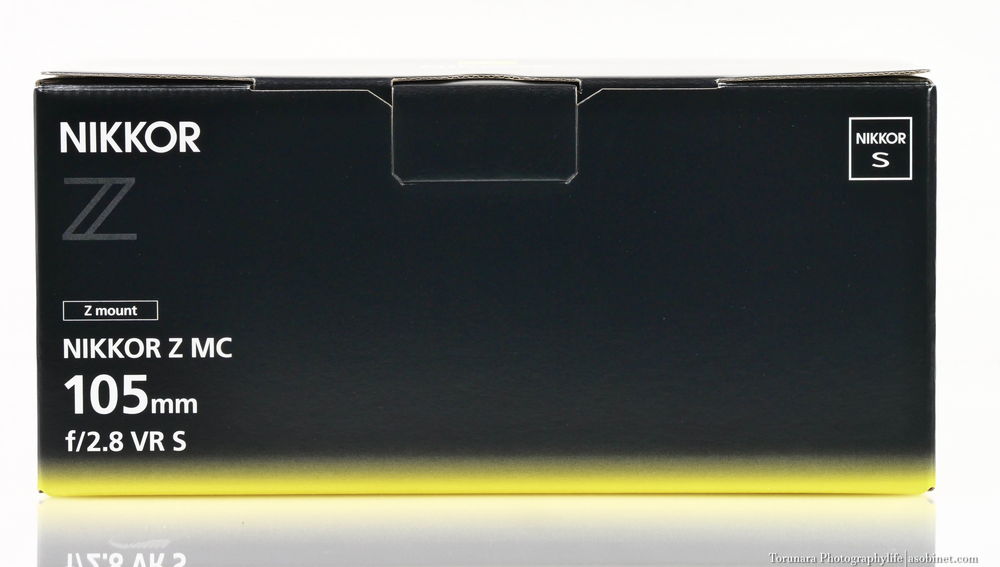
The design is based on the black colour of the Z series, with the addition of the brand colour yellow. To be honest, I prefer the design of the F-mount era. In the F-mount era, the lenses were laid out vertically, but the Z-mount is basically laid out horizontally.
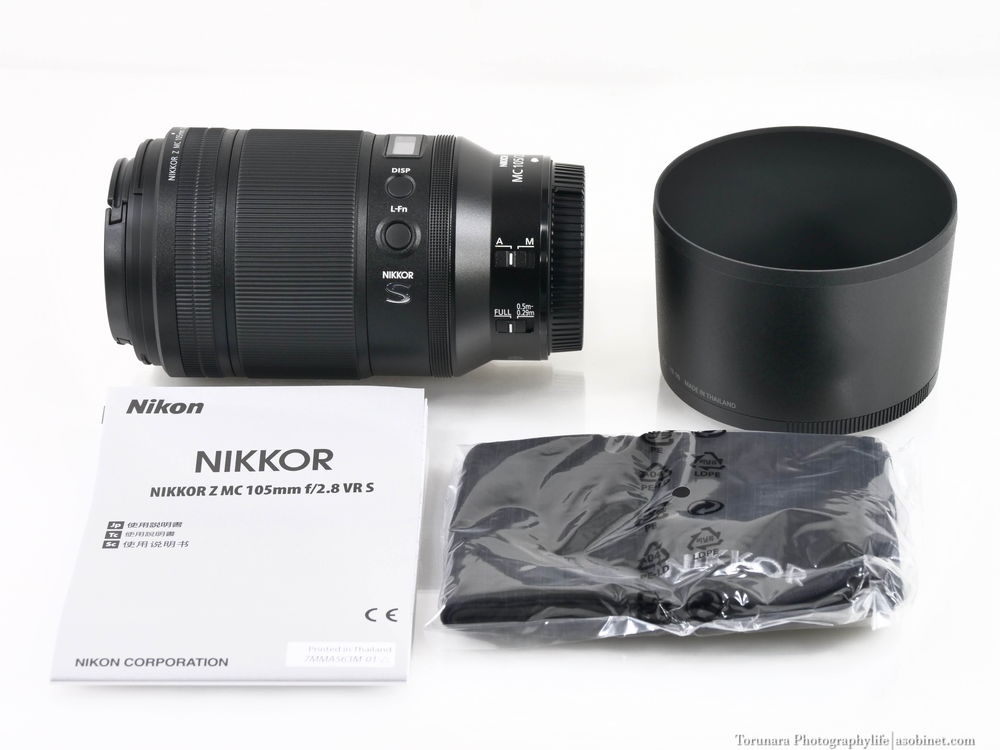
The accessories are minimal: lens hood, pouch, instruction manual and warranty card. There is no sturdy lens case like the Sony GM.
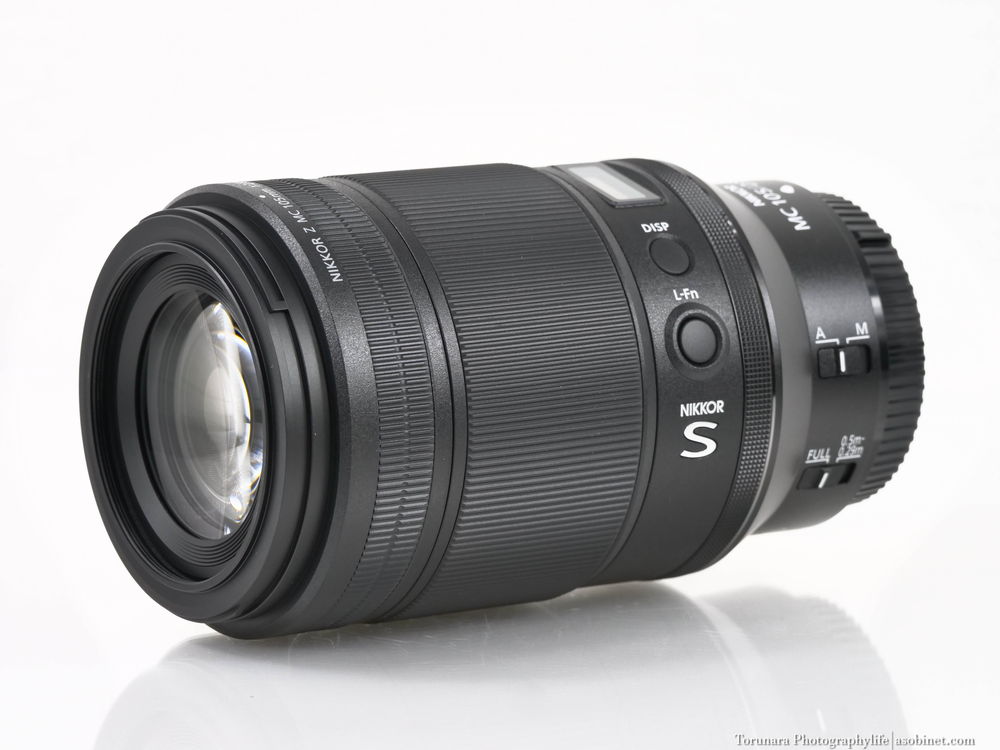
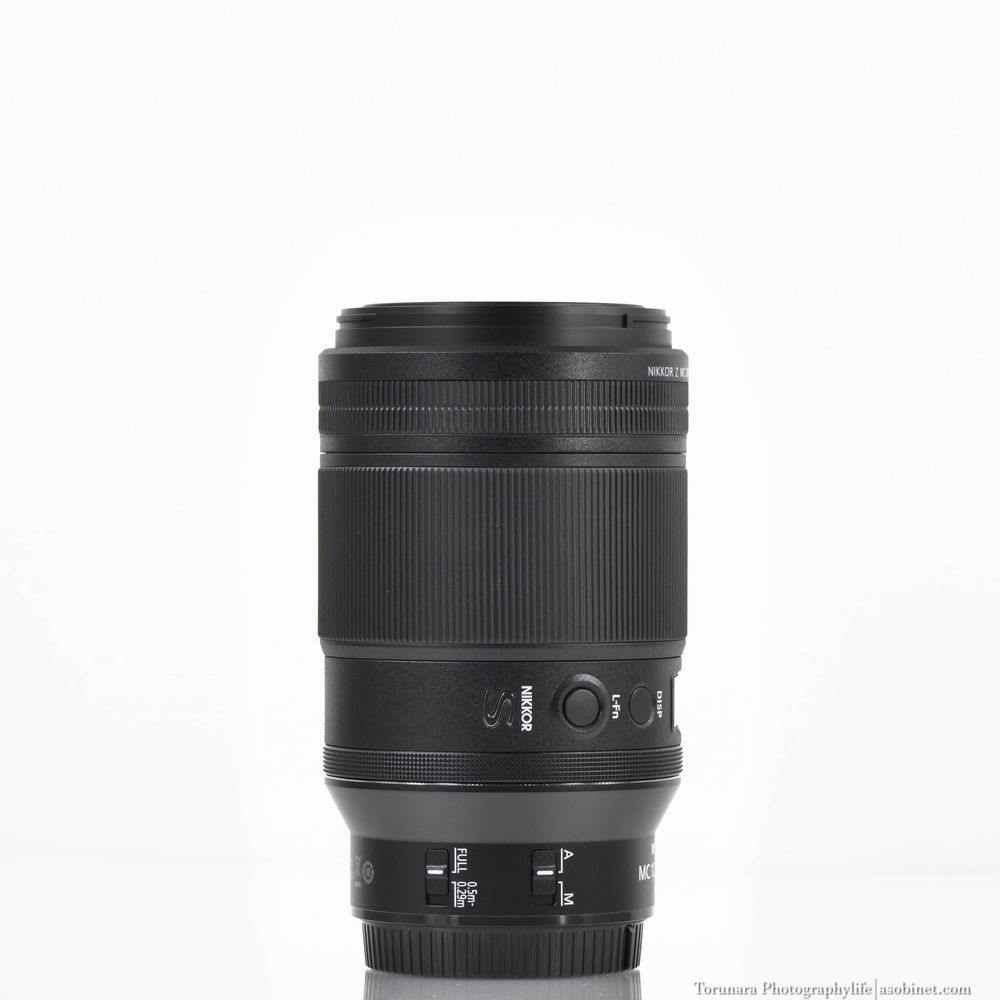
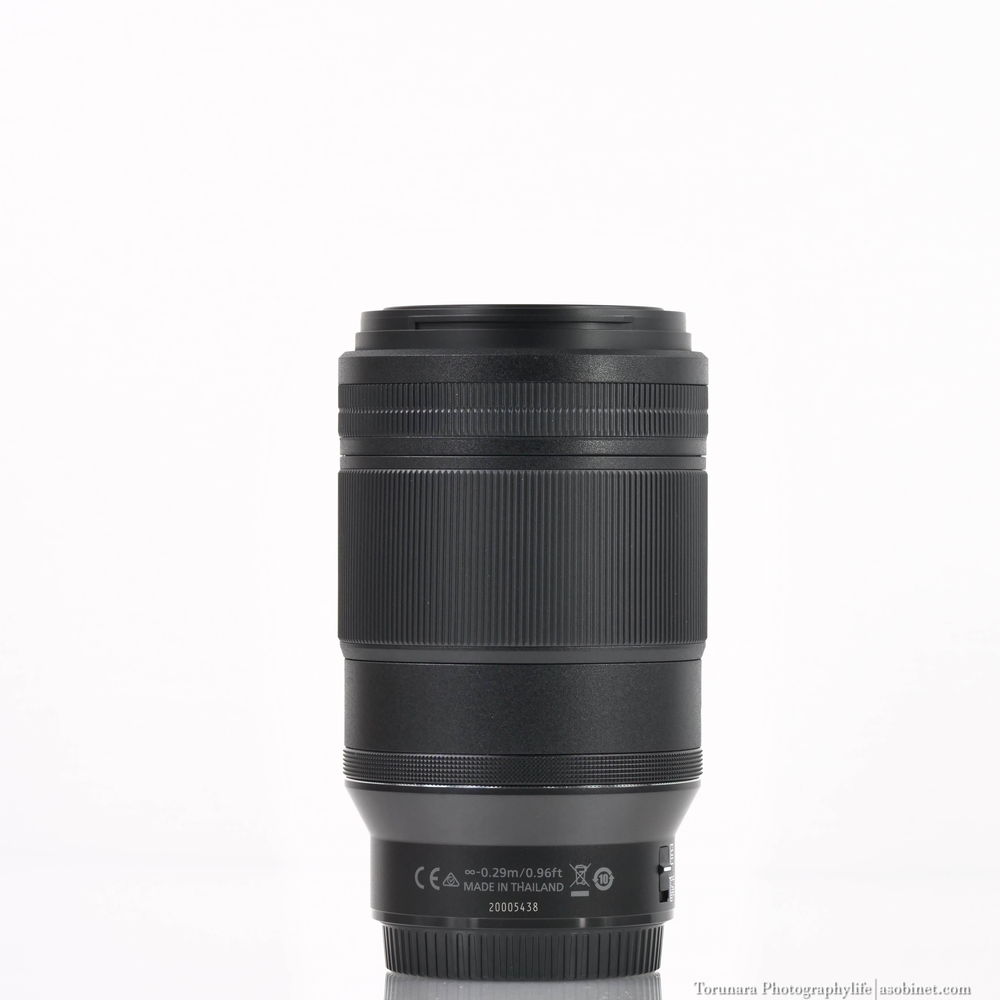
Appearance
The exterior is made from a sturdy combination of metal and plastic. Although the texture is not as good as that of a metal exterior lens, there is no concern about its robustness. The focus ring is equipped with a rubber grip, and the control ring has a knurled finish that changes the tactile feel, and the surface finish is easy to see even through the viewfinder.
The lens logo on the surface is engraved and painted. The CE mark on the back, etc., is printed. Incidentally, it was manufactured in Thailand.
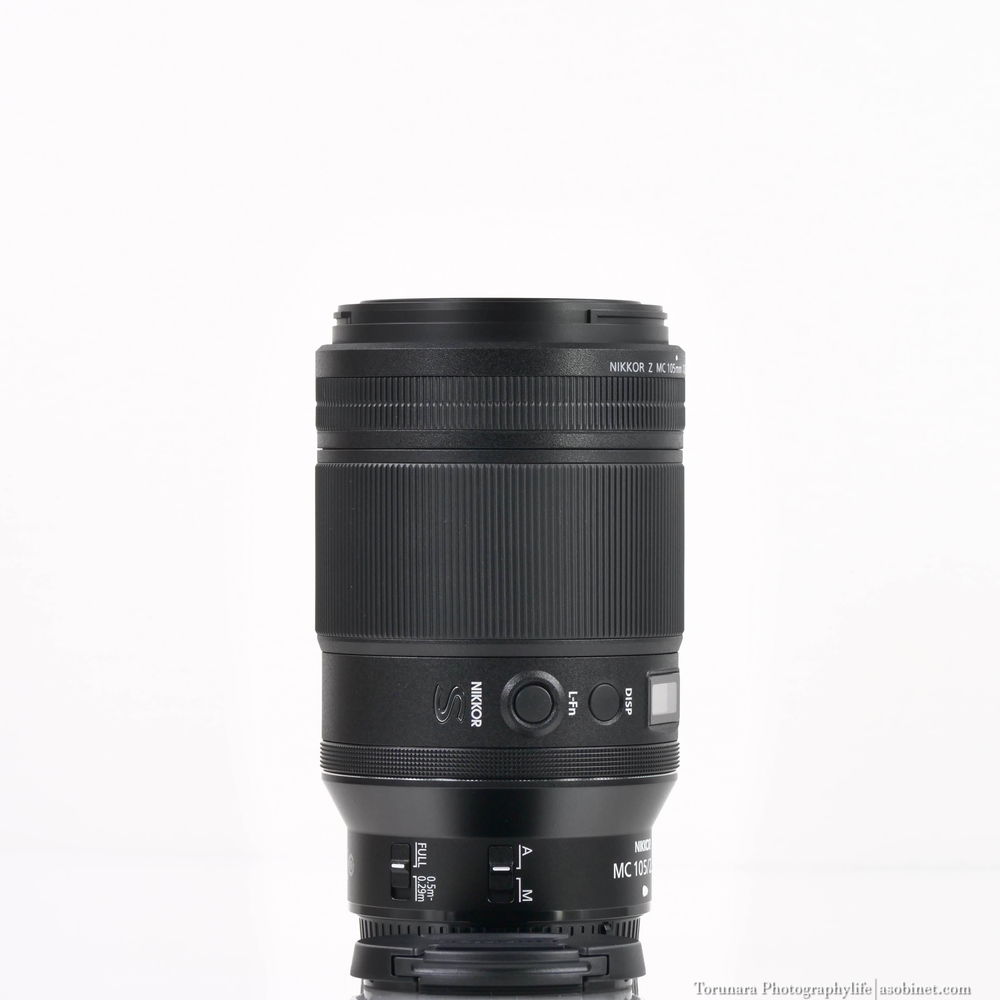
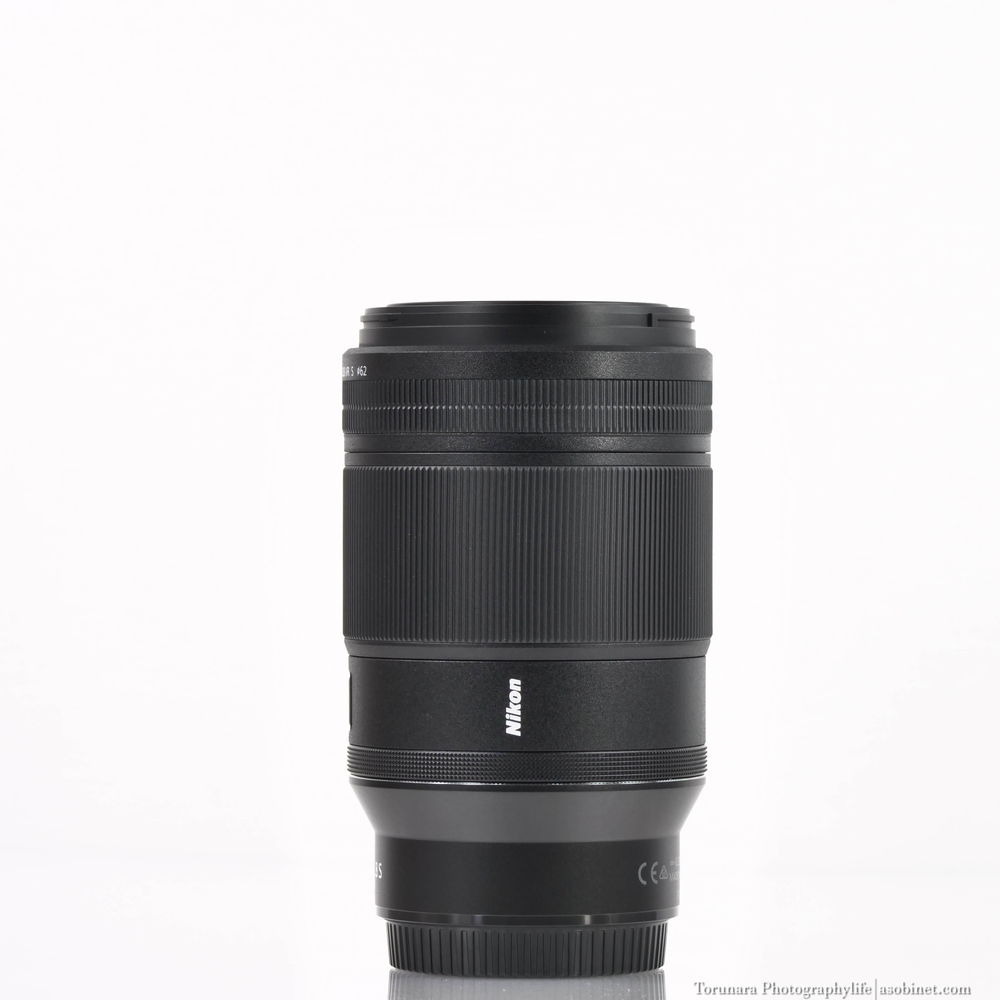
The ‘S-Line’ logo has been changed from the previous model, and the design has been switched to one where the ‘S’ is more prominent. The overall size and colouring are the same as before. Compared to the red badge on the Sony G Master and the red ring on the Canon RF L, the design is more understated. Instead of the gold ring on F-mount lenses, a more understated silver ornament ring is used.
There is no tripod mount for this lens. However, there is a possibility that it may appear as an external accessory, as with F-mount lenses.
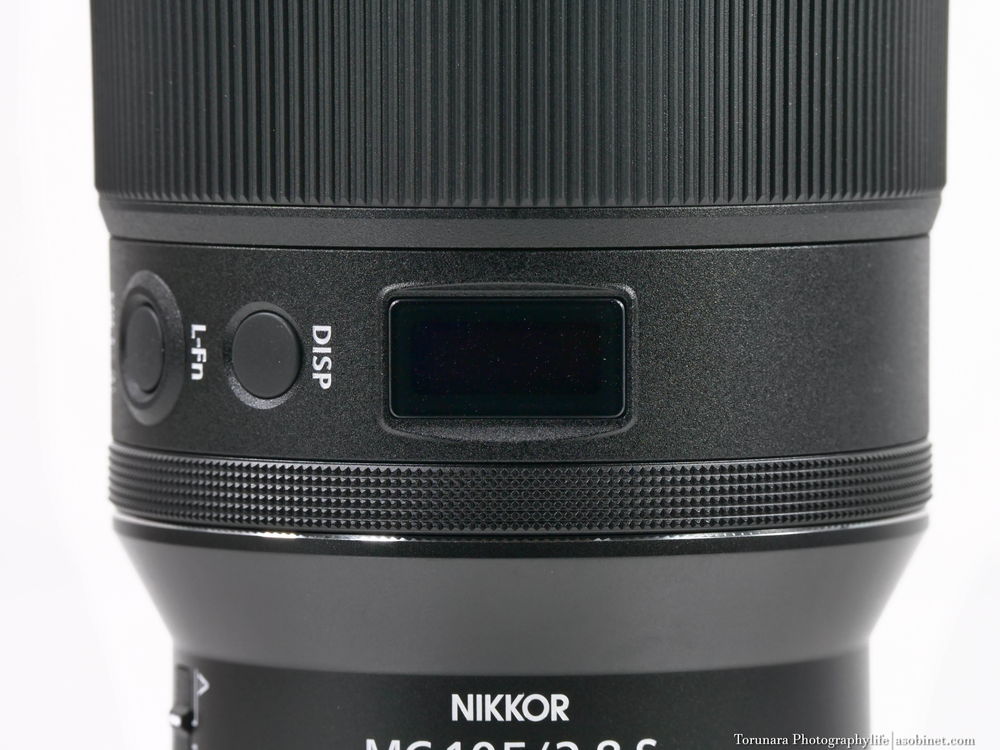
The lens is equipped with an OLED display that supports the display of ‘focus distance’, ‘magnification’ and ‘F-number’. Each display can be switched by pressing the DISP button. In addition, by pressing and holding the DISP button, it is possible to switch the ‘focus distance’ display between metric and imperial units.
The display lights up, so it's easy to check even in dark places. To be honest, I think the indicator display on the viewfinder is enough, but the focus distance and shooting magnification are not displayed. This is a useful function for people who need it.
Hands-on
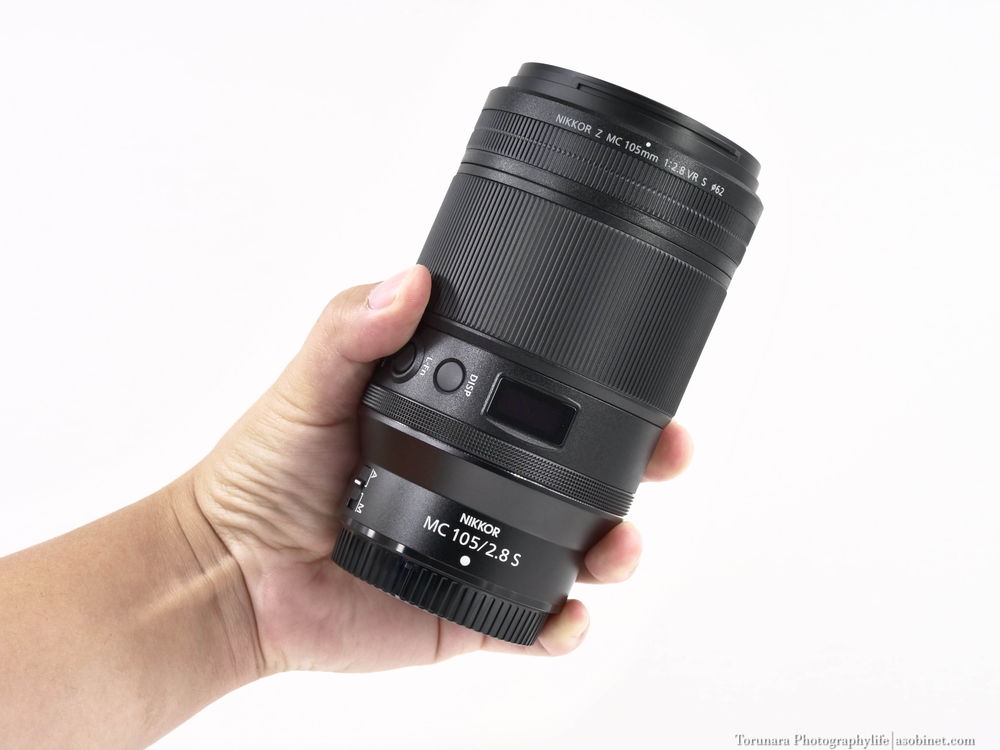
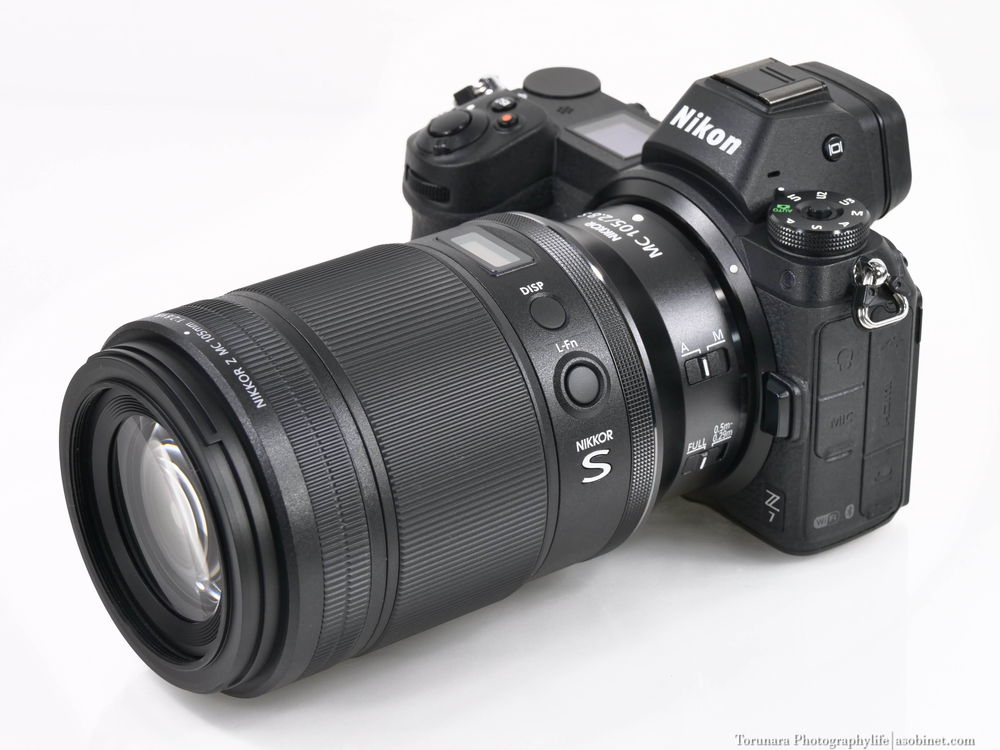
At 140mm in length and 630g in weight, this is a relatively large lens for the compact Z-mount, which is mostly made up of single-focus lenses. It has image stabilisation and the lens diameter is also a little larger. However, when attached to the Z camera with its good grip, it doesn't feel like such a heavy lens.
Front and back
The front of the lens is coated with a fluorine coating that repels water and oil, making maintenance relatively easy. However, it is recommended to use a protective filter in situations where there is a risk of dirt or dust adhering to the lens. The compatible filter diameter is 62mm, and in addition to this lens, the ‘Z 50mm F1.8 S’ and ‘Z 35mm F1.8 S’ are also compatible. The balance between wide-angle, standard and medium telephoto lenses is good, so if you are planning to get a set of lenses, using 62mm filters is one option. The lens has inner focusing, so the inner barrel does not extend or rotate.
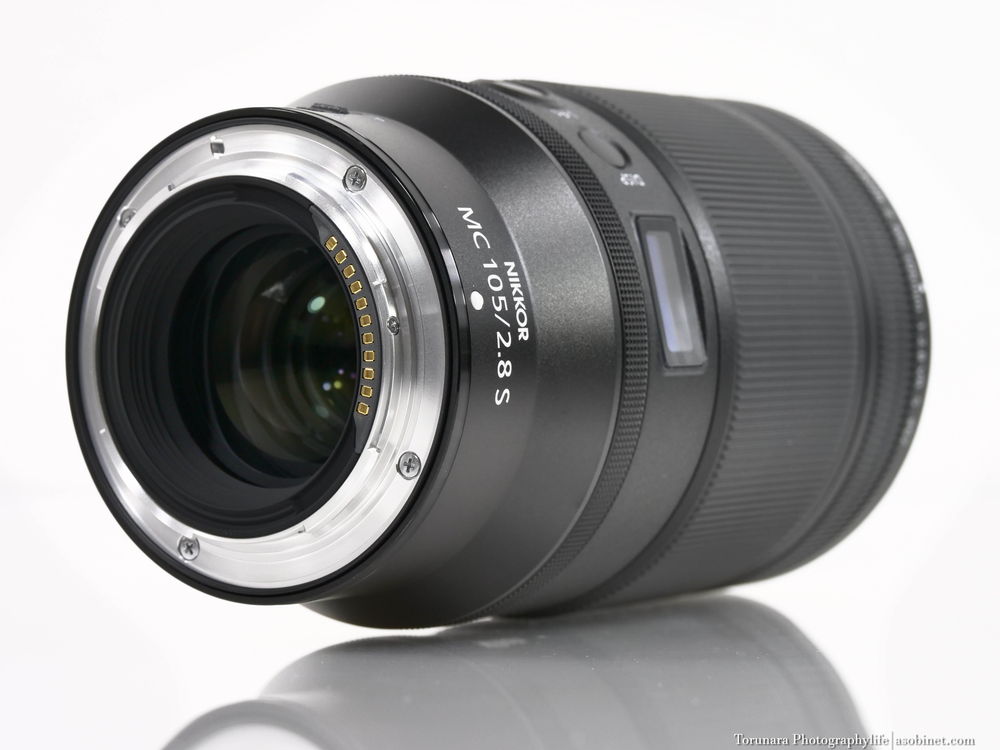
The area around the metal lens mount is fitted with a gasket to prevent dust and moisture from getting in. The rear element of the lens is positioned slightly behind the mount. It is unclear whether this lens also moves forwards and backwards with the focus drive. The area around the lens is painted black to prevent internal reflections.
In order to make the most of the large-diameter Z mount, the rear lens is quite large. However, it is slightly spherical, so it may be difficult to maintain the peripheral areas.
Focus ring
The large 47mm focus ring is electronically controlled to operate the focus lens. It rotates smoothly with just the right amount of resistance.
The amount of movement of the focus lens changes depending on the speed of rotation, and when rotated slowly, it has a stroke of about 360 degrees, but when rotated quickly, it has a shorter stroke of about 180 degrees. Either way, there is sufficient stroke, and accurate operation is possible. It is not a linear response, but the feel is almost linear.
Changes in the F-number
Due to their nature, macro lenses have different effective F-values for infinity and close-up distances.
Most camera manufacturers do not reflect the effective F-number in their cameras, but Nikon is the only manufacturer that does. For this reason, even if you set the camera to F2.8, the maximum aperture may change to F4.5 depending on the shooting distance. The transition between the focusing distance and the maximum aperture is as follows.
Infinity~1.5m: F2.8
1.5m~0.7m: F3.0
0.7m~0.5m: F3.2
0.5m~0.4m: F3.3
0.4m~0.35m: F3.5
0.35m~0.33m: F3.8
0.33m~0.32m: F4.0
0.32m~0.31m: F4.2
0.31m~0.29m: F4.5
At typical shooting distances, you can use ‘F2.8’, and when the shooting distance becomes shorter than 1.5m, the effective F-number will gradually start to increase. The maximum aperture F-number will increase by 4/3 stops, so if you want to maintain the shutter speed in low light, etc., you should be careful as the ISO sensitivity is likely to increase.
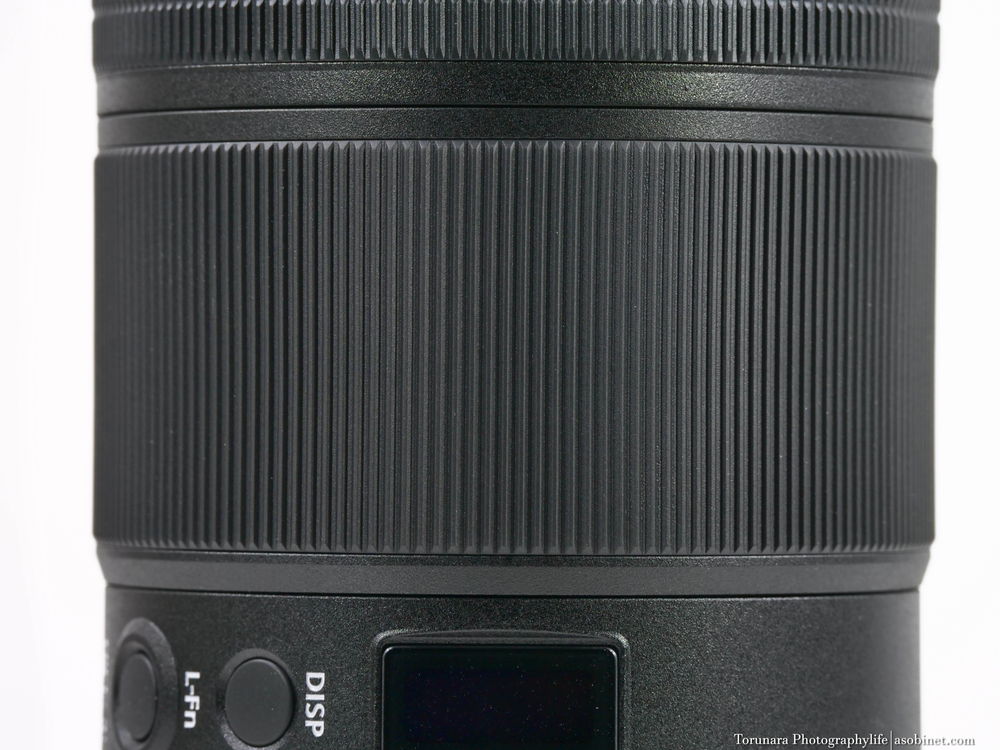
Control Ring
There is an 8mm-wide control ring that can be operated continuously in front of the focus ring. You can assign one of three functions - aperture, exposure compensation, or ISO sensitivity - to the camera. Once assigned, it will always respond, and unlike Canon cameras, it cannot be controlled by pressing the shutter release button halfway. It would have been better if there were more functions that could be assigned.
Compared to the F1.8 S series, which has no control ring and can only be assigned to the focus ring, it allows for more advanced and complex operations. The control ring rotates without clicking, so it is more suited to video shooting. When using it for still images, it was easier to use the Canon RF lens, which has a click-like ring. However, it has a moderate amount of torque, so the possibility of accidental operation is lower (than using the focus ring).
Button
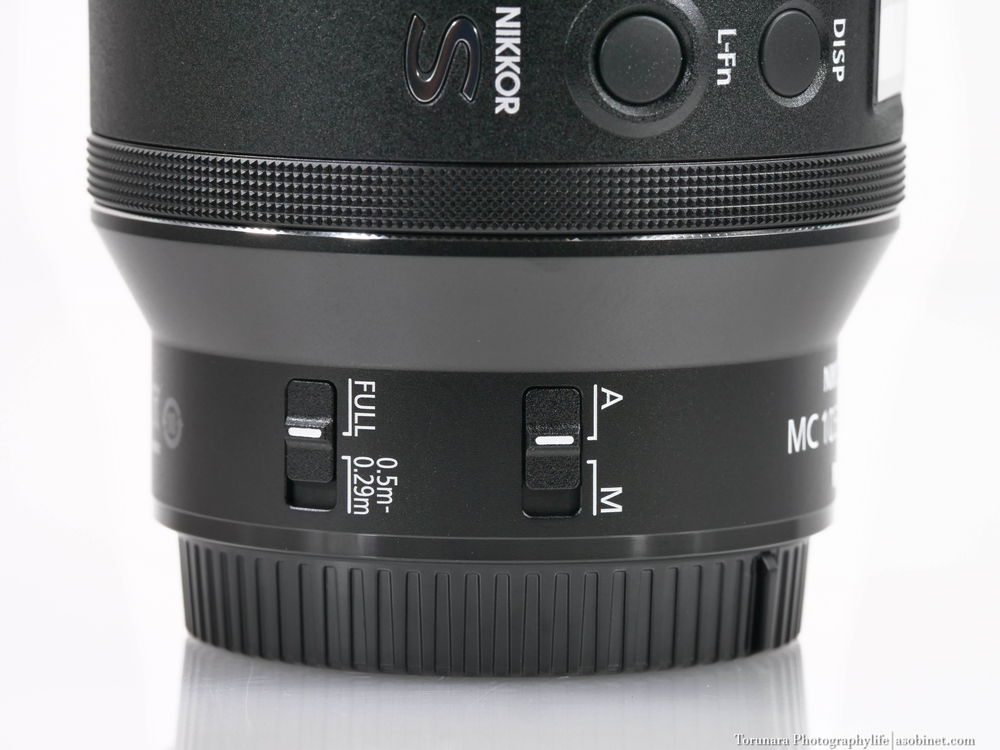
In addition to the switch for switching between AF and MF on the side of the lens, there is also a switch for the AF limiter, which can be switched between FULL and 0.5-0.29m. There is also a DISP button for switching the display on the OLED display and a customisable L-Fn button. Because there are four buttons and switches clustered around the control ring, it is easy to accidentally operate the ring, which is a negative point.
The functions that can be assigned to the L-Fn button are not as flexible as those of competing products, and I wanted the same level of flexibility as the Fn button on the camera.
Lens hood
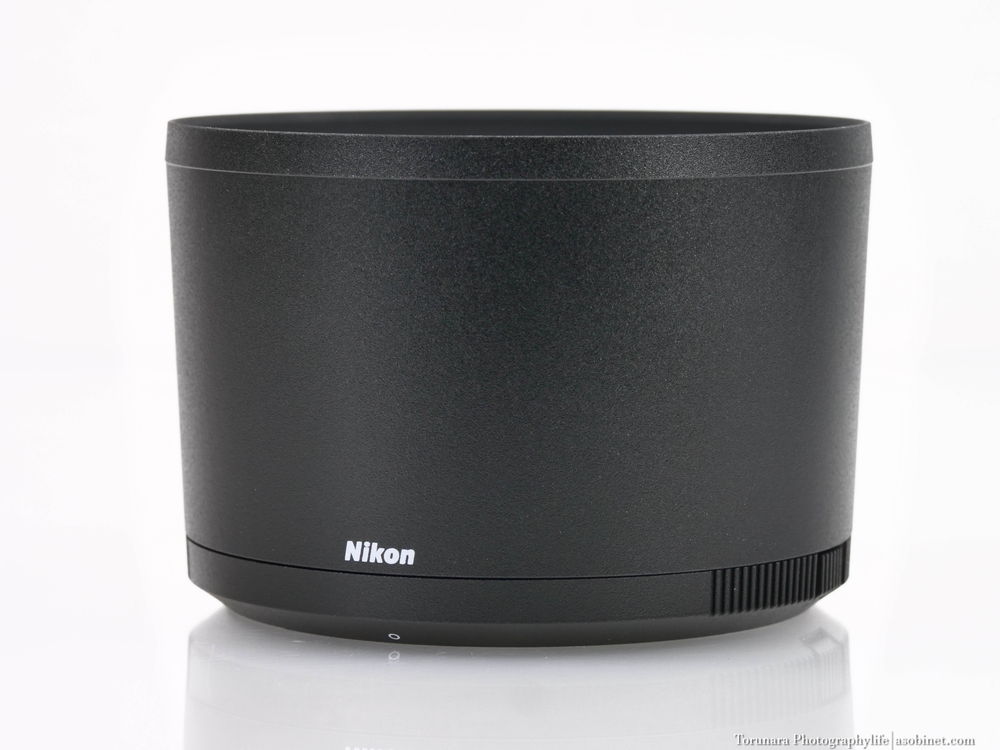
The lens comes with a plastic cylindrical hood. It is a very simple cylindrical hood, and there is no C-PL control window. It gives the impression of being a little too plain for an S-Line hood.
The hood locks when the lens is attached, and to unlock it you need to press the button on the side to release the lock. This means there is no risk of it falling off unexpectedly.
The lens hood can be attached upside down, and even in this position the focus ring can still be operated.
Example of use
The balance is good when used in combination with the Z 7. The lens is a little heavy at around 600g, but it doesn't feel particularly front-heavy. It seems like it would be fine to hold it in one hand, but it's better to rest your left hand on the lens to stabilise the angle of view of the medium telephoto. The clearance between the grip and the lens is good, and there is no sense of tightness at all.
Personally, I think the hood looks a little clumsy.
AF・MF
Focus Speed
As usual, the full-range AF test takes time to move from close-up to infinity. I was expecting a little faster result for a lens with multi-focus drive. However, this is a macro lens, so don't expect too much.
The trouble is that it is easy for the focus to wander at macro distances. I think this is due to the performance of the camera body, but there were many times when the focus did not come into focus at the macro position. Even in actual shooting, it is easy for the focus to wander around the minimum shooting distance. It is especially difficult in environments with moving subjects, low light levels and low contrast.
Fortunately, the general shooting distance achieves a brisk movement that seems to be a stepping motor multi-focus. There is no particular dissatisfaction. Looking at the results, I feel that it would be better if it were a little faster on the macro side. However, there is a possibility of improvement with the latest models such as the Z 7II.
Breathing
Focus breathing refers to the change in the angle of view depending on the focus position.If the change in angle of view is significant, the field of view will expand or contract during focusing, potentially causing distractions and affecting autofocus stability. Ideally, it is better to have no focusing breathing. In order to check the effects of breathing, we took the following photos with the lens stopped down to the minimum aperture, at the minimum shooting distance and at infinity.

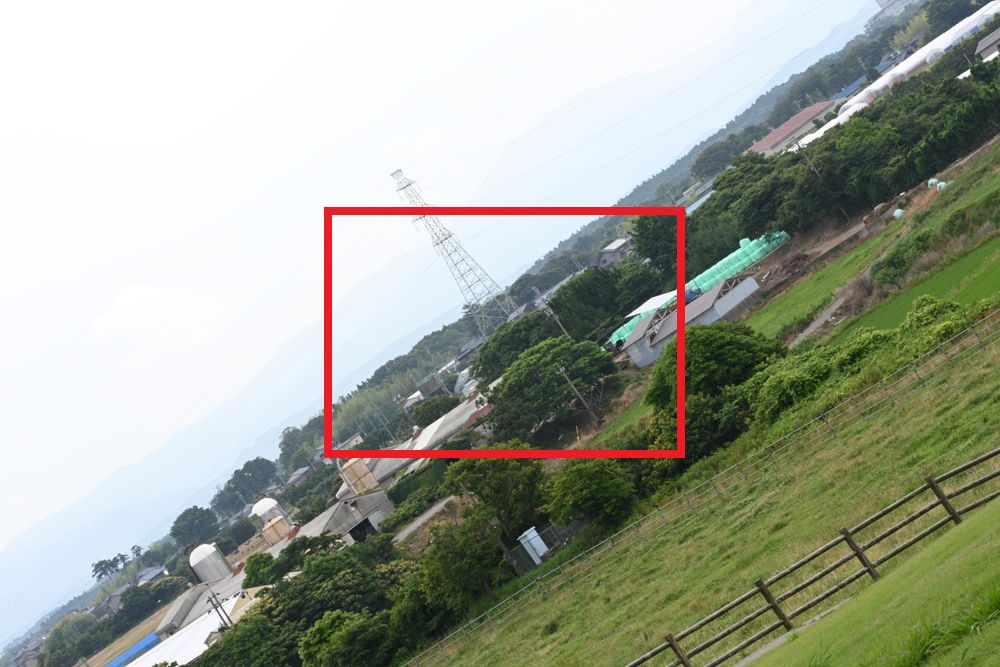
As it is a macro lens, the angle of view changes significantly when the focus is moved. In particular, the Z lens is designed to minimise breathing, so the breathing of this lens is more noticeable. Although it is not noticeable at typical shooting distances, the angle of view changes significantly when the focus is moved from close-up to infinity or when the focus is lost.
AF accuracy
Because it uses a ‘mirrorless camera with a stepping motor’, it focuses very well on still objects. However, as mentioned above, it takes time to focus, so if the subject is moving, there is a possibility that the focus point will be off. Of course, if you are holding the camera in your hand even when the subject is still, there is a possibility that you will be off-focus. For this reason, I was hoping for a faster AF even in macro mode.
MF
As mentioned above, the focus is adjusted according to the rotation speed. There is a difference in the amount of movement when the rotation is fast and when it is slow, so it may take some time to get used to.
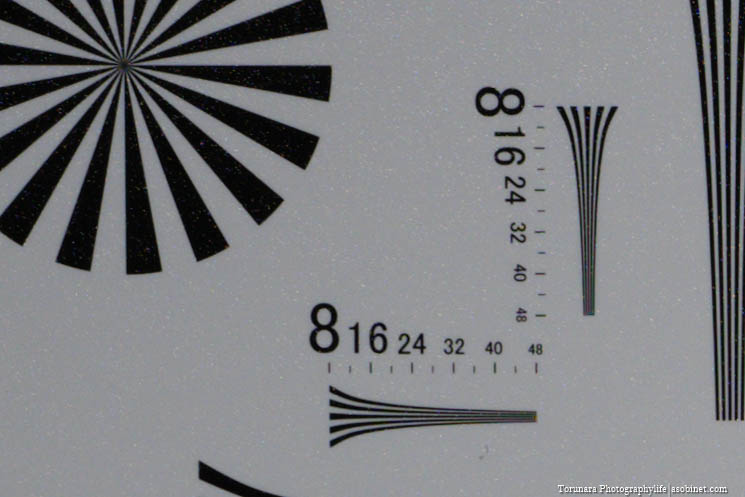
Resolution Chart
Test conditions
- Camera body:Nikon Z 7
- Interchangeable lens:NIKKOR Z MC 105mm f/2.8 VR S
- Pearl Optical Industry Co.
‘[HR23348] ISO12233-compliant 8K resolution test chart (for still cameras)’ - Olympus HYRes 3.1 analysis software
- The lighting environment is constant indoors.
- Tripod, self-timer 10 seconds, electronic shutter
- RAW output
- ISO 100
- RAW development in Adobe Lightroom Classic CC
・Sharpness: Off
・Noise reduction: Off
・Chromatic aberration correction: Off - Focus on each point to be analysed and take a picture
(image plane curvature is difficult to measure at close range, so check at infinity) - Note that this is a test at close range (infinity may be even better).
- If you adjust the sharpness when developing JPEG or RAW images, the values may improve. Please note that the values given here are the ‘minimum values’.
Test results
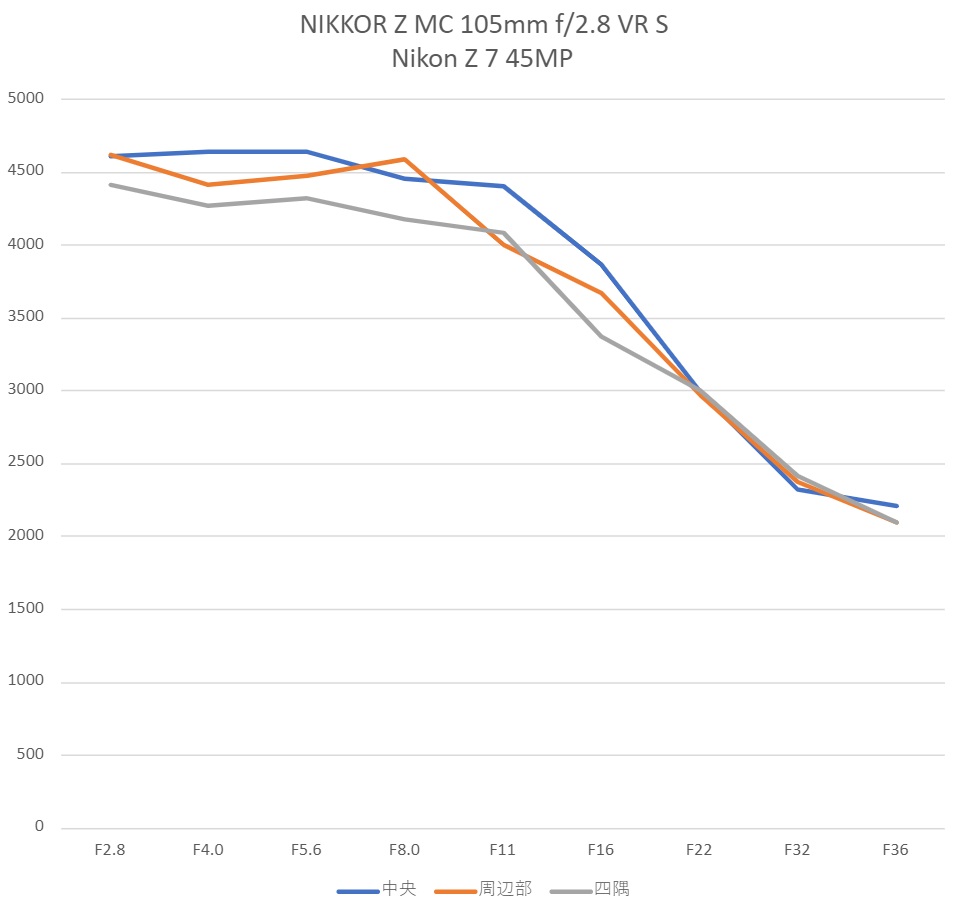
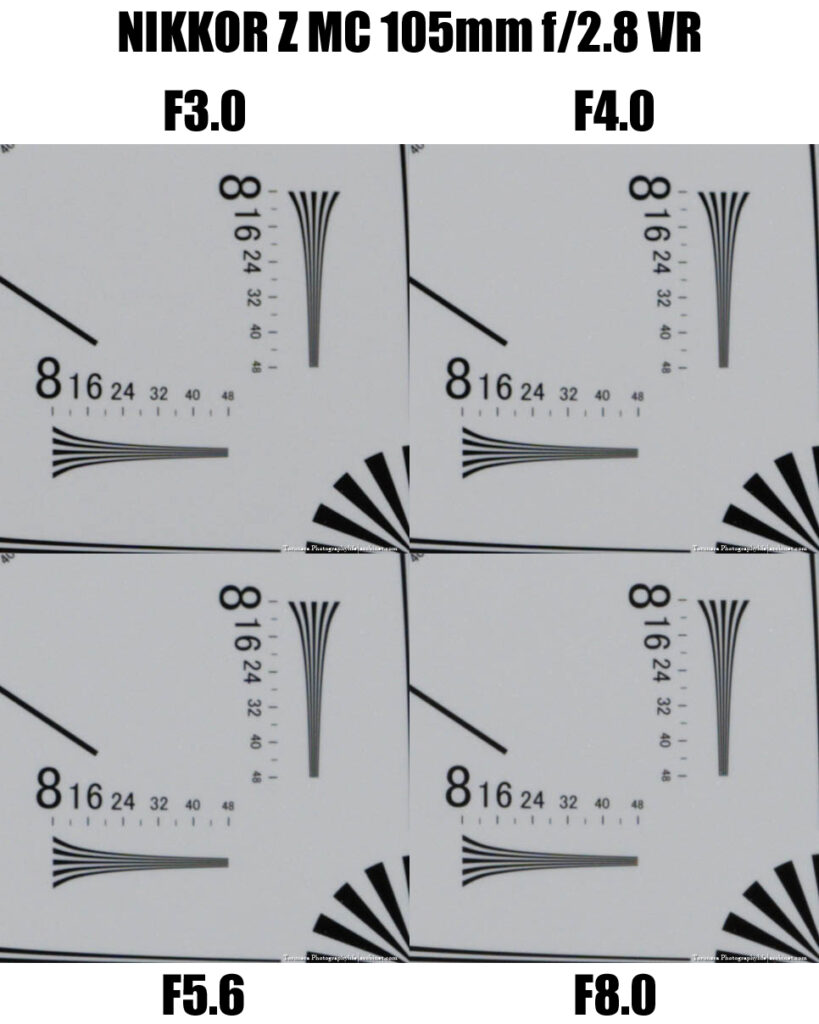
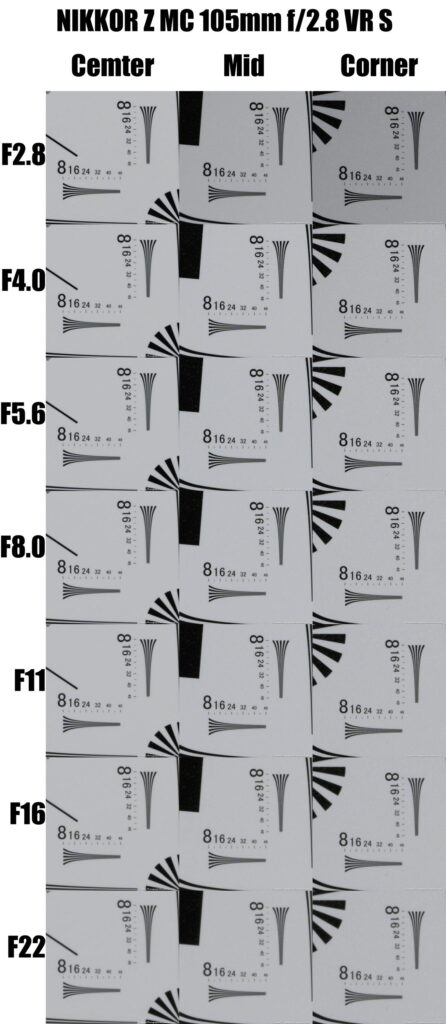
Centre of frame
From the maximum aperture, the resolution reaches the limit of what can be measured using the resolution chart. It is extremely sharp and has a high contrast, so there is no need to stop down at all. Even if you stop down, there is no change in the numerical value, so it is good to use it to adjust the depth of field. Even when checking the actual photos, it looks like you get the same results from F2.8 to F8.
From F11 onwards, performance rapidly declines due to diffraction. In particular, from around F16, the softness of the image increases, so it is best to avoid this setting unless you need a large depth of field. At the minimum aperture setting, the softness of the image becomes so great that it is impossible to distinguish the resolution performance from a camera with 24 million pixels.
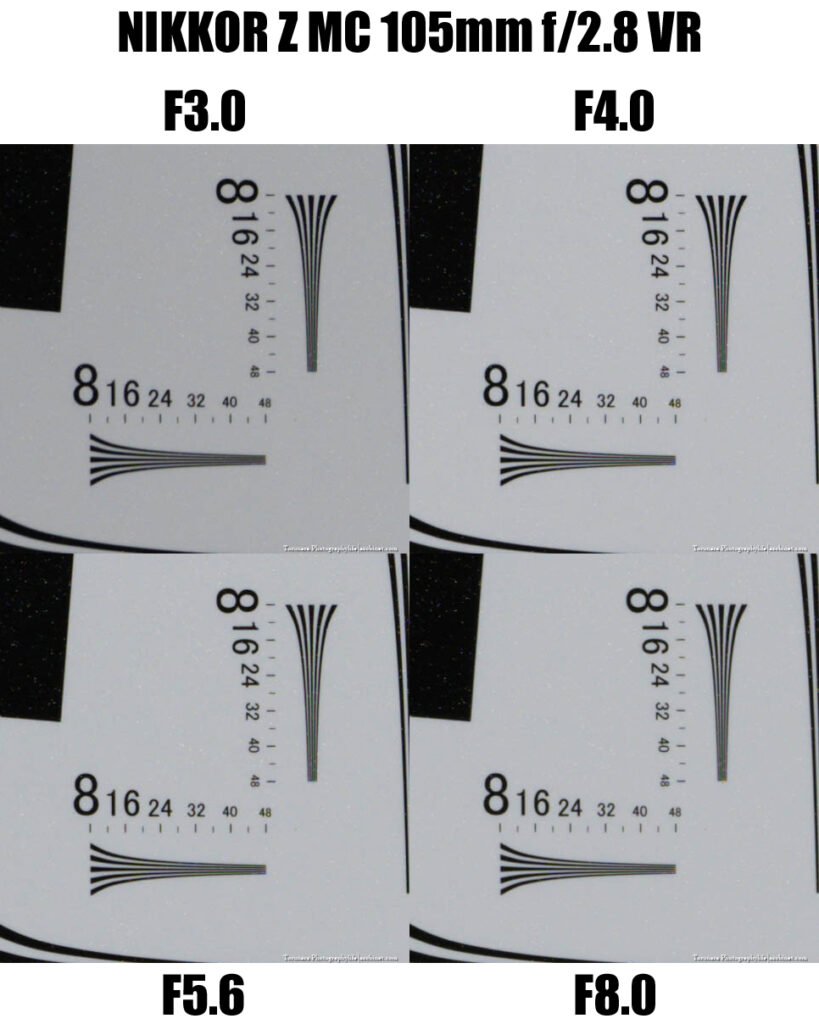
Middle of frame
It performs almost the same as the centre from the maximum aperture. It is impossible to tell which is the centre by cropping. The reason for the drop in the F4 and F5.6 values is that the resolution performance is too high, and false colours are generated in parts that cannot be resolved by the 45-megapixel sensor, so there is a possibility that the measurement software is malfunctioning. This may be resolved in the future when using a camera with a higher resolution sensor.
The camera performs well from wide open aperture, but at F3.0 there is a slight effect of vignetting. If you are aiming for a uniform image quality, it is best to stop down to F4.
From F11 onwards, performance rapidly declines due to diffraction. In particular, from around F16, the softness of the image increases, so it is best to avoid this setting unless you need a large depth of field. At the minimum aperture, the softness of the image becomes so great that it is impossible to distinguish the resolution performance from a 24-megapixel class camera.
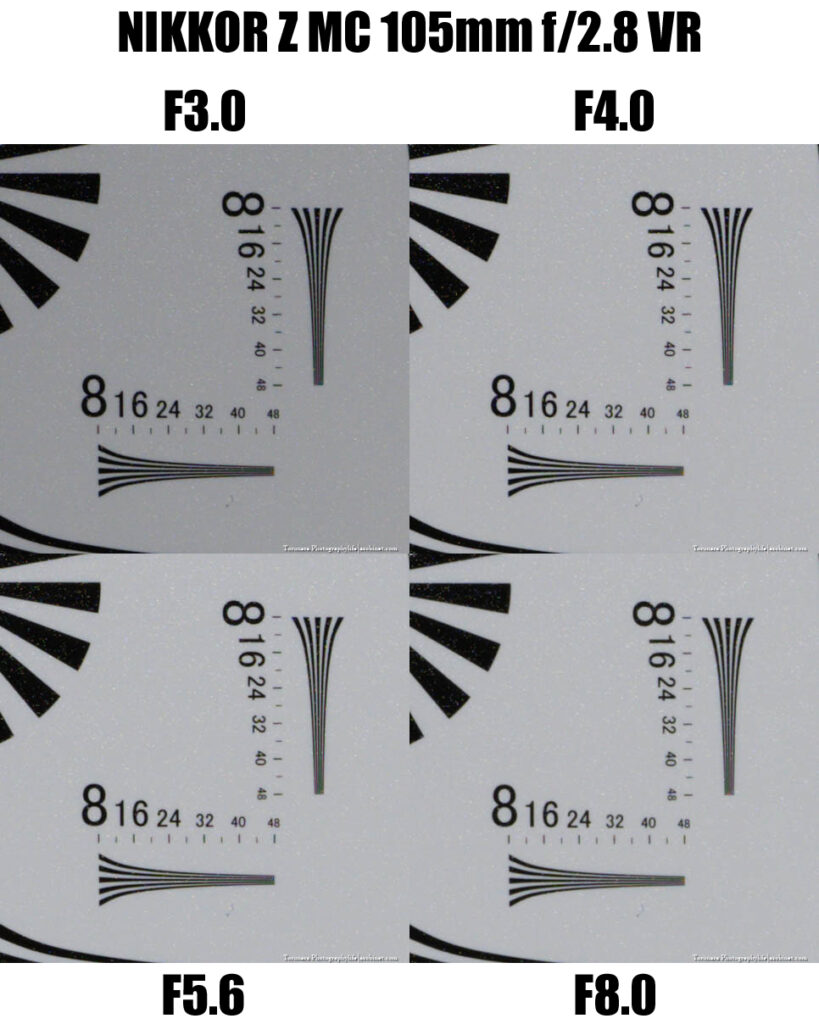
Corners of frame
Although there is a slight drop in performance compared to the centre and surrounding areas, the results are still very good, approaching 4500 from F2.8. There is no tendency to improve by narrowing the aperture, but since the fall in light level is improved, F5.6 is the best choice if you want to get the best results.
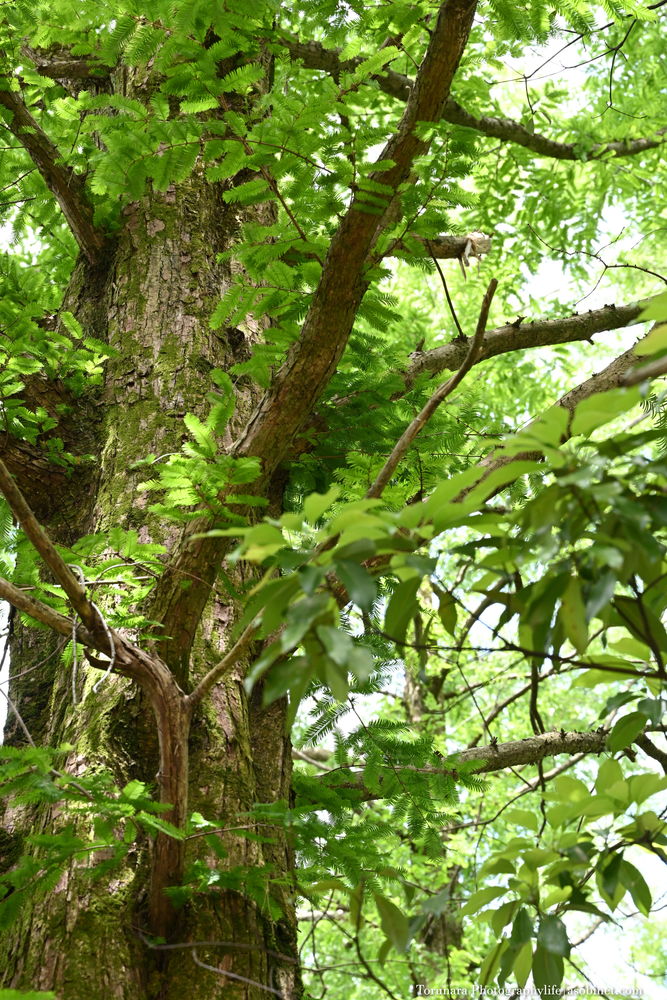
With most lenses, performance in the surrounding areas deteriorates when the shooting distance is shortened, but this lens maintains very good performance. It achieves contrast that is on a par with the centre, so even if you crop the corners significantly, you can still get practical image quality.
Sample
The overall optical performance is very good from the maximum aperture, but the drop in light towards the corners is unavoidable. If you want to eliminate this without relying on electronic correction, you should at least stop down to F4. By stopping down to F5.6, there will be no problems.
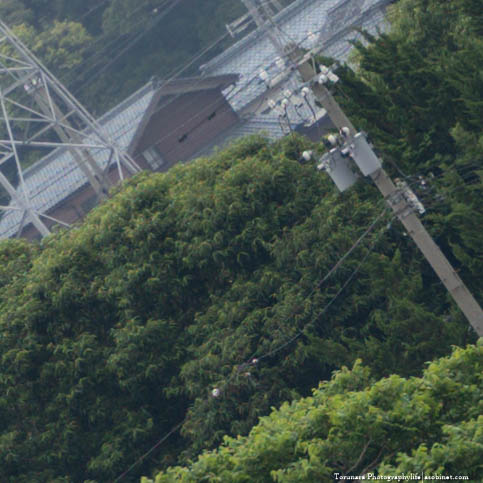
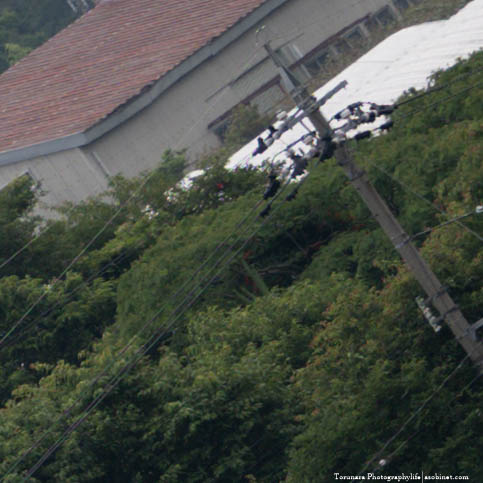
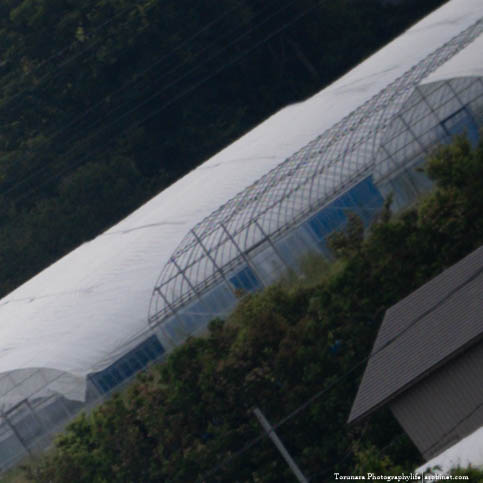
far-field resolution
Test environment
Date of shooting: 25 June 2021, cloudy, no wind
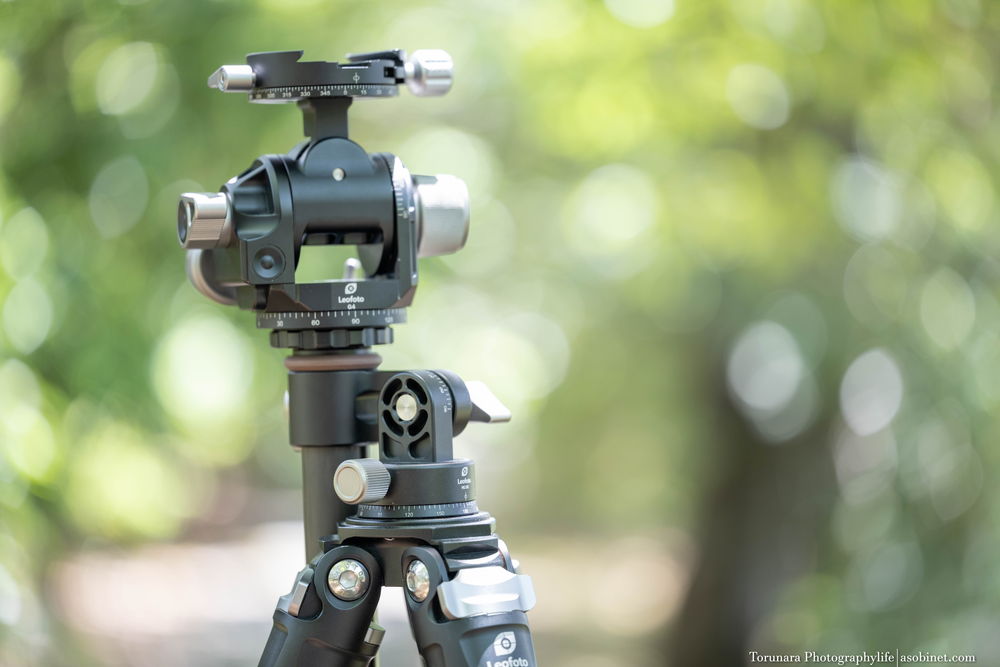
Camera: Nikon Z 7
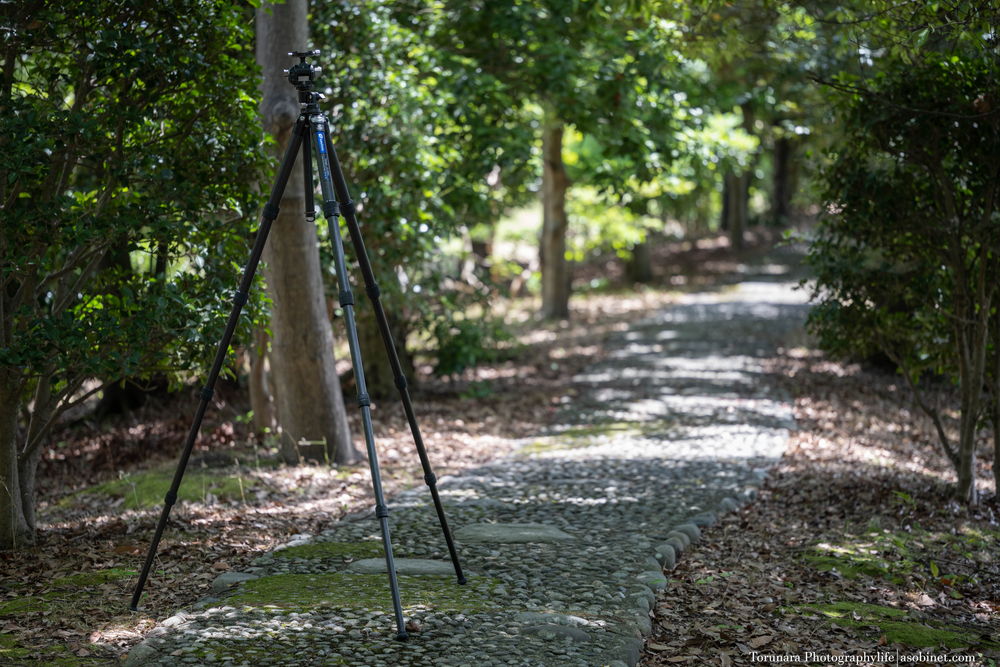
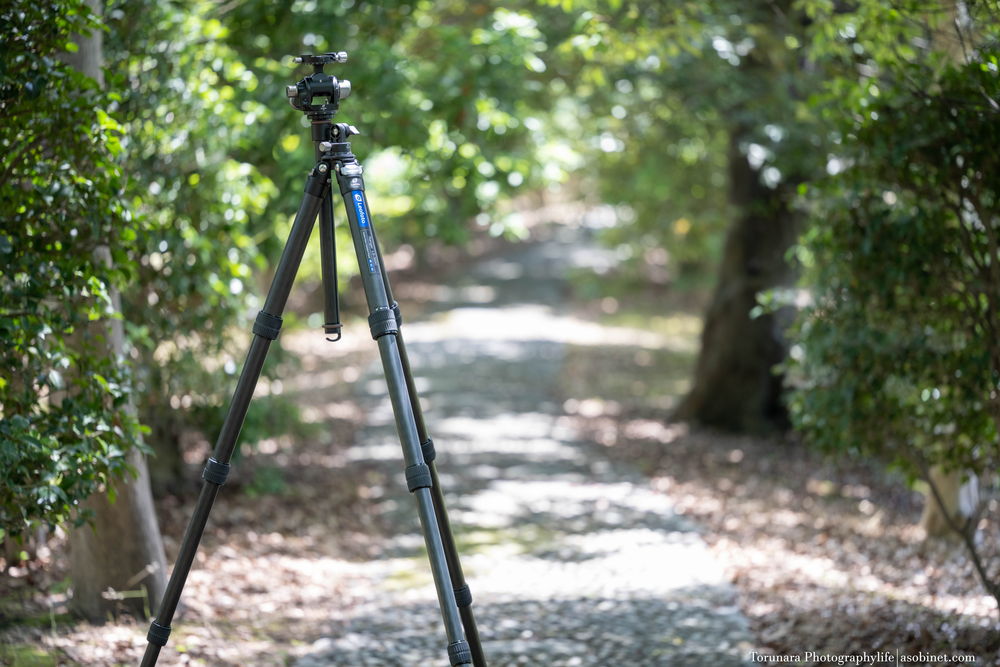
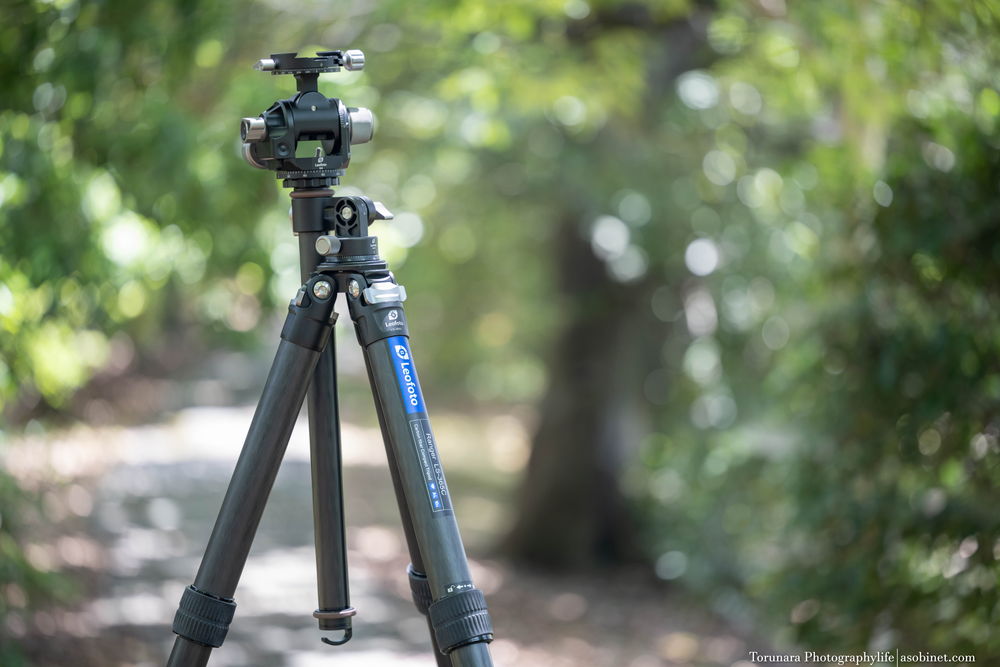
Tripod: Leofoto LS-365C
Head: Leofoto G4
Exposure: Aperture priority AE, ISO 100
Image quality: 14-bit lossless RAW
Development method: Adobe Lightroom Classic CC
Sharpness: Off
Noise reduction: Off
Other default settings
Test results
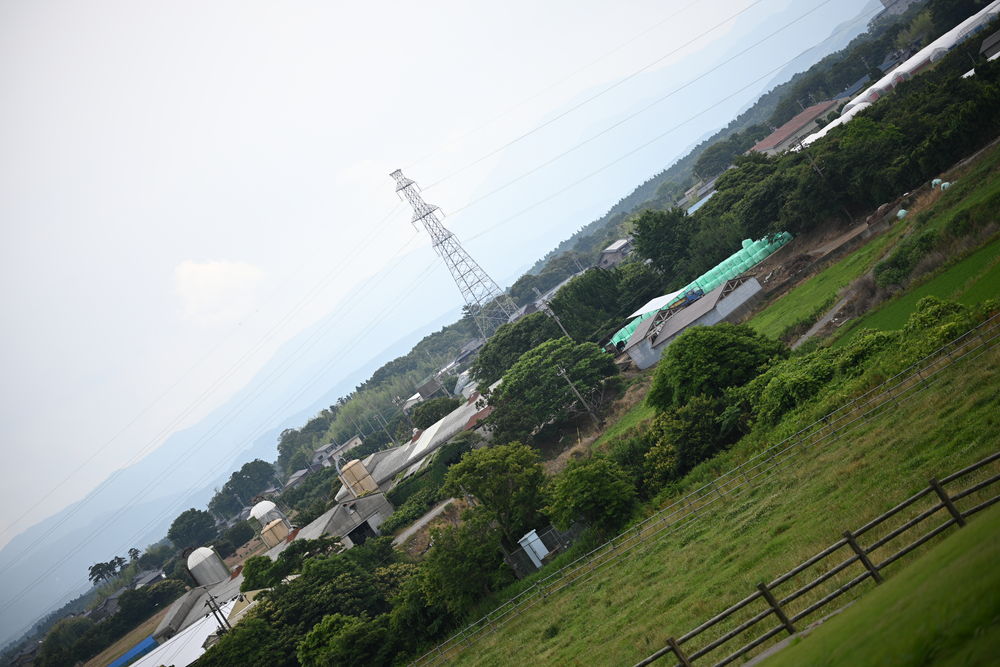
Centre of frame
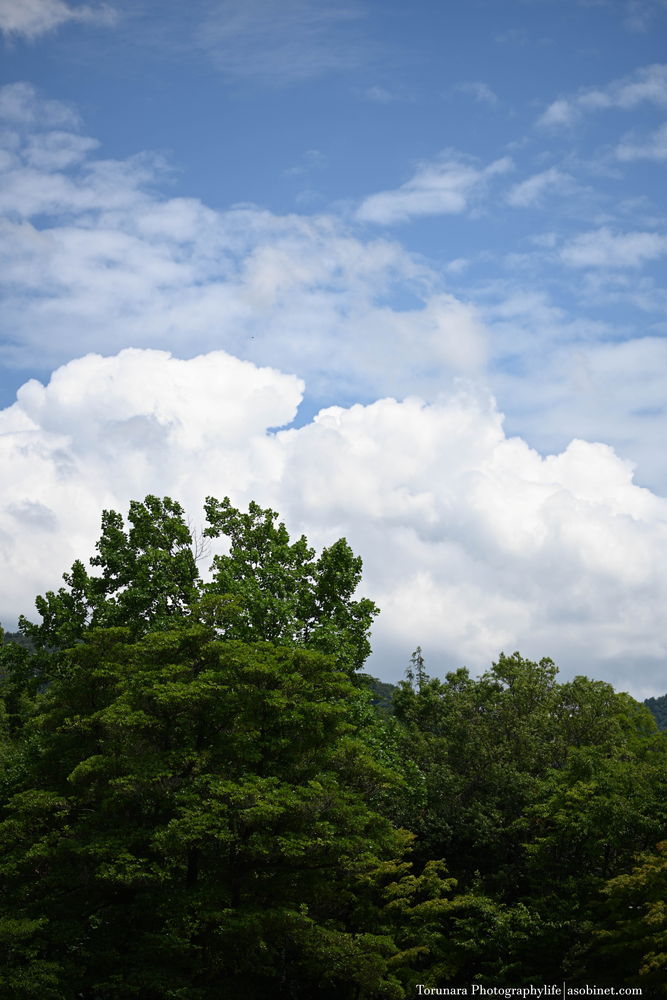
From wide open aperture, it demonstrates incredible sharpness and contrast. From F2.8, it has enough resolution for landscape photography. It is not just sharp, but also has high micro-contrast and a punchy depiction. At a glance, you will feel that it has a high sense of resolution.
Even if you stop down one stop (F4), there is no significant improvement, but the contrast of the details increases slightly. Although the same performance is maintained at two stops (F5.6), if you stop down to three stops (F8), the contrast begins to decrease slightly. If you want to get the best resolution of the details, we recommend F4 to F5.6. However, the difference is very slight (really), and F8 can also be used without any problems.
After F11, diffraction becomes more of a factor, so if you want to enjoy a punchy sense of resolution, you should use up to F8. I think you can probably go up to F10.
From F16 to F22, the image becomes quite soft.

Middle of frame
The sharpness and contrast are the same as the centre from F2.8. This is ideal optical performance for macro lenses, which require a high level of uniformity. However, there is some vignetting, so if you want the best possible image quality, you should stop down by one stop.
Peak image quality is achieved at F4-F5.6, and F8 is also very good. F11-F22 gradually degrades image quality due to diffraction, so you will need to weigh the need for depth of field against image quality.
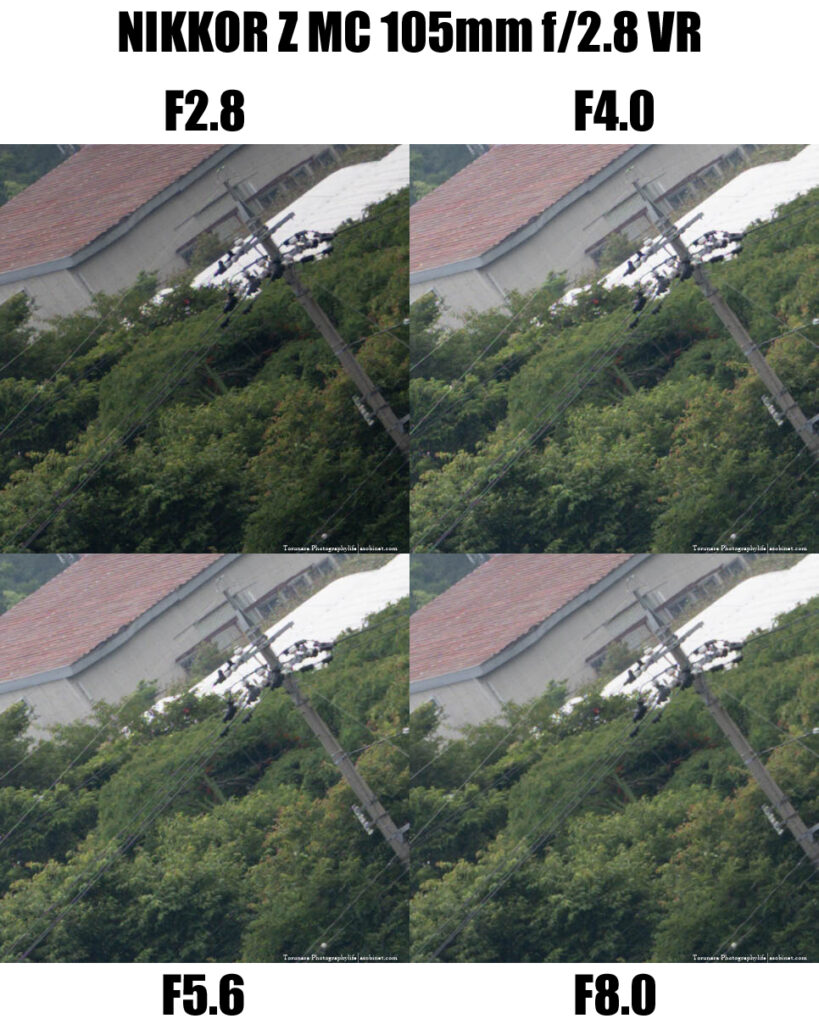
Four corners of frame
As with the periphery, there is a noticeable drop in light intensity. The effect is noticeable up to F5.6, so if you want to optically compensate for this, we recommend stopping down by two stops. In terms of resolution performance, there are no problems from F2.8 onwards. It appears to have the same sharpness and contrast as the centre of the image. It achieves a high level of homogeneity across the entire frame, which is ideal for a macro lens.
Peak image quality is achieved at F4-F5.6, and F8 is also very good. F11-F22 gradually deteriorates due to diffraction, so you have to weigh the need for depth of field against image quality.
curvature of a surface
What is surface curvature?
This refers to the fact that the shooting distance at which the image is in focus differs from the centre to the four corners. For example, even if the image is in focus at a shooting distance of 1m, if the subject is moving back and forth around 1m at the edge of the frame, there is a possibility of field curvature.
Although there are few lenses that have noticeable field curvature, in recent lenses, aberration may increase and become noticeable at close distances. However, there are few opportunities to take photos of flat subjects at close range, so even if there is some image curvature, there is no need to worry.
However, if there is an effect even at infinity, you should be careful. If you are trying to achieve a pan-focus effect, for example in a landscape, there is a possibility that you will end up with an unintentional out-of-focus image. As there is no way to correct this aberration, the only way to avoid the problem is to increase the F-number to widen the depth of field.
Test results
Even at close range, the curvature of the image surface is very small, so it should be difficult to perceive even when shooting a flat subject. It is very good from wide open aperture, and it is rare to find a lens with such a clear focus peak at the edge of the frame.
Lateral chromatic aberration
What is lateral chromatic aberration?
A colour shift that appears mainly around the edges and corners of the frame. Unlike longitudinal chromatic aberration, the effect of correcting this aberration using the aperture is small, so it is necessary to correct it at the stage of optical design. However, it is possible to digitally correct chromatic aberration using the image processing engine built into the camera body. This makes it possible to correct chromatic aberration, which is difficult to correct optically alone, and recently, there have been lenses that prioritise the correction of other aberrations over chromatic aberration correction. In particular, mirrorless systems tend to rely on post-processing.
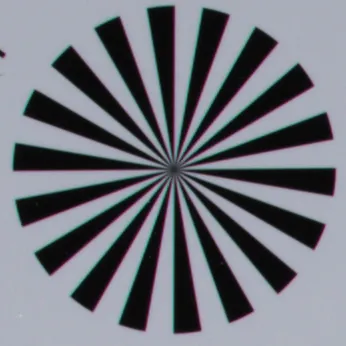
Test results
It is corrected well across the entire aperture range, and there are no traces of lateral chromatic aberration. Since lateral chromatic aberration is thoroughly suppressed, there is no colour bleeding even in the corners of the frame, and it looks like high contrast is achieved even in the details.
Longitudinal Chromatic Aberration
What is longitudinal chromatic aberration?
Longitudinal chromatic aberration is a colour shift that occurs in front of and behind the plane of focus. If the area in front of the plane of focus is mainly purple fringing, and the area behind the plane of focus has unnatural green colouring in the out-of-focus area, then the main cause is likely to be longitudinal chromatic aberration. This is more likely to occur with large-aperture lenses such as F1.4 and F1.8, and in such cases it is necessary to close down the aperture to improve the situation. It is possible to correct this using development software, but it is more difficult to process than lateral chromatic aberration, so it is best to suppress the aberration optically if possible. However, when suppressing longitudinal chromatic aberration with a large-aperture lens, the product price tends to be higher. Lenses that perfectly correct for longitudinal chromatic aberration have high contrast on the focal plane from wide open aperture, so you can expect a punchy resolution.
Test results
There is no tendency for colour blurring from the maximum aperture. It looks like it could be called an apochromatic design. The bokeh is not biased to the front or back, but there is no colour blurring, so it is thought that the ‘busy bokeh’ caused by chromatic aberration will not occur. There is also no focus shift (movement of the focus peak) due to the aperture value.
Distortion
What is Image Distortion?
Distortion refers to the phenomenon where straight lines do not appear straight on a flat surface. It is particularly noticeable when there are many straight lines, such as when there are man-made objects or a horizon in the image, and it can be divided into two types: barrel distortion, which is similar to that of a fisheye lens, and pincushion distortion, where the centre of the image appears compressed.
This is an aberration that can be corrected relatively easily, but it is difficult to manually correct distortions with complex shapes. In this case, a correction profile that matches the lens is required.
Test results
The lens has near-perfect optical performance, but the only visible aberration that remains is distortion. Without correction, it appears to have a slight barrel-shaped distortion. Although the aberration is slight, it makes the image appear slightly larger than it is. However, the corner resolution performance should be minimally affected by soft correction.
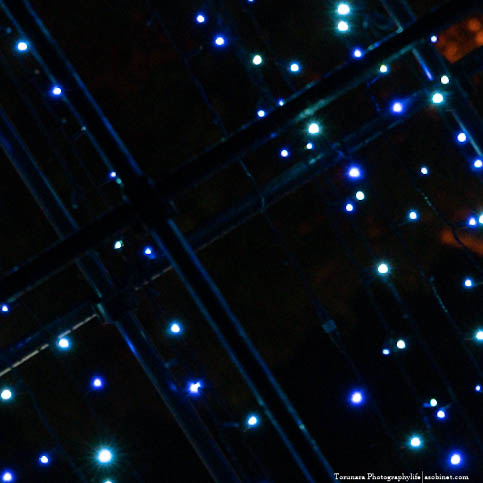
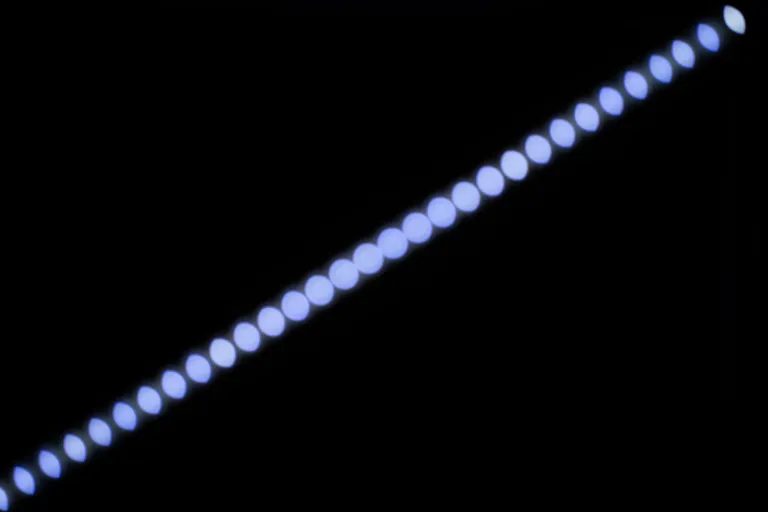
Coma aberration
What are coma and astigmatism?
Coma and astigmatism are mainly the failure of a point of light to appear as a point of light in the four corners of the frame. For example, this can be seen in artificial lights, stars and illuminations in night scenes. Even during the day, bright point light sources such as sunlight filtering through trees can also have an effect. As this problem cannot be corrected in post-processing, it is necessary to correct it optically.
Although it can be improved by narrowing the aperture, in situations where shutter speed is important, such as night scenes and astrophotography, it is not possible to narrow the aperture, and optical correction may be necessary.
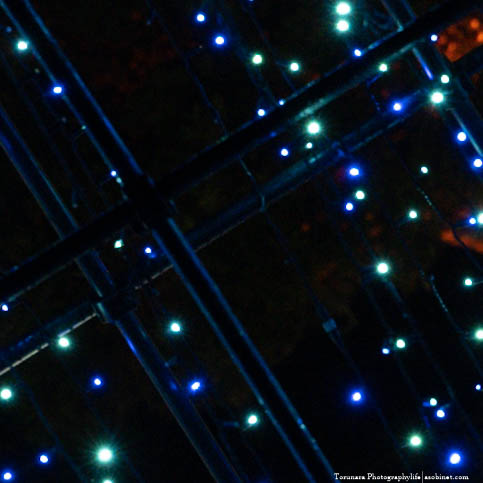
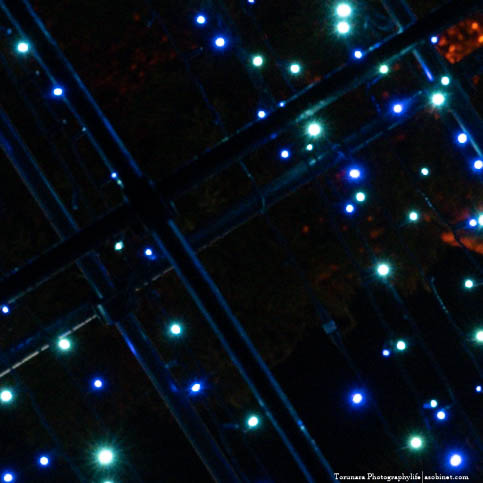
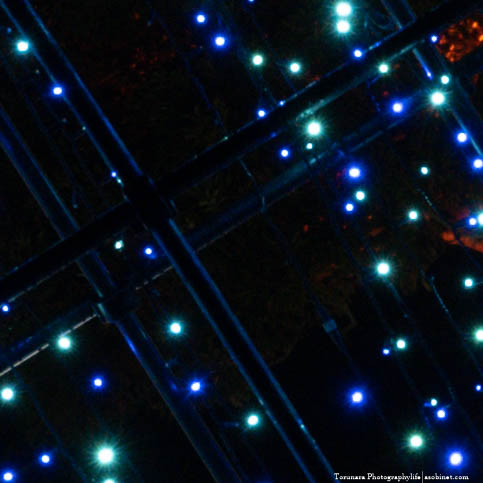
Test results
It's not quite perfect, but it's been kept to a level where there are almost no problems. The effect is minimal, and unless you're looking for 100% perfect point light sources in nightscapes or starry skies, you probably won't find this to be a problem.
Spherical aberration
Even when comparing the bokehballs before and after, there is no noticeable difference in the quality of the bokeh. It seems that the spherical aberration is very well corrected.
Foreground and background blur
What is a beautiful blur and a noisy blur?
The evaluation of bokeh tends to be subjective, but I personally think that ‘soft, diffused bokeh’ is beautiful, while ‘sudden bokeh or hard-edged bokeh’ is not so good (or is a unique depiction). However, everyone has their own preferences, so there may be people who prefer the opposite. For reference, here are some examples of ‘blurred bokeh’ and ‘hard-edged bokeh’. The difference in the tendency of the depiction is mainly due to the state of correction of spherical aberration, and when the bokeh on either side is soft, there is a tendency for the bokeh on the other side to become hard.

Back Blur
Basically, the bokeh is neutral and there is no bias towards the front or back. If you look carefully, the background bokeh appears to be a little smoother. In any case, there is no colouring due to longitudinal chromatic aberration, so chromatic aberration should not be a problem even in situations with large differences in brightness.


Front Blur


Bokehball
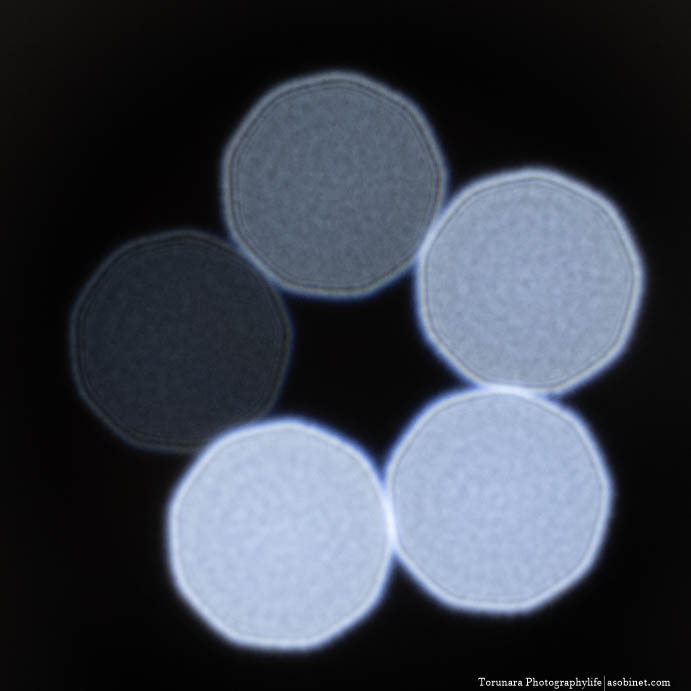
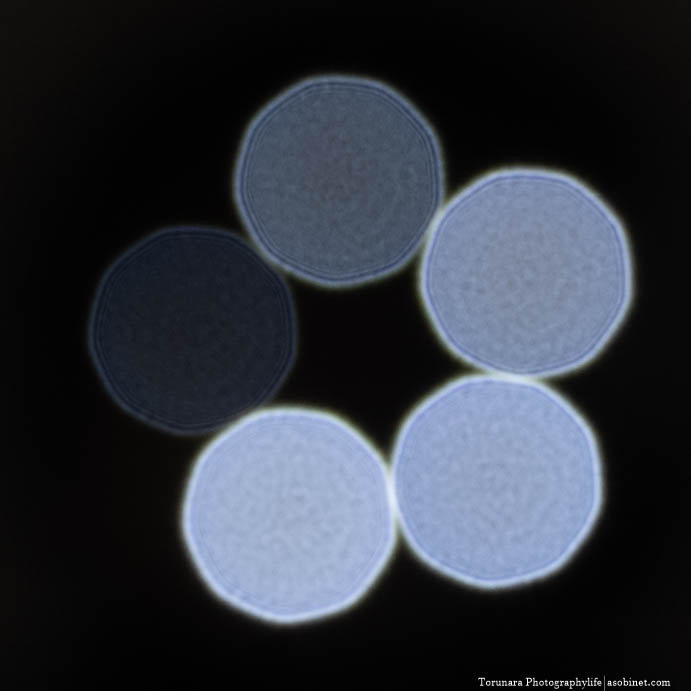
Effects of Vignetting and Spherical Aberration
If vignetting is strong, the bokeh at the four corners of the frame will be elliptically deformed or partially missing. The only way to solve this problem is to close down the aperture. However, closing down the aperture will make the bokeh smaller and in some cases the shape of the aperture blades may become visible, so it is necessary to compromise on the amount of vignetting depending on the situation.
If the amount of vignetting is small, it is possible to get a circular bokeh from wide open to the four corners. Ideally, a lens with little vignetting is preferable, but to eliminate it, it is necessary to fundamentally increase the size of the lens. There is a need to strike a balance between portability and cost, so some kind of compromise is necessary.
If the correction of spherical aberration is not perfect, there will be a difference in the depiction of the bokeh in front and behind (as shown in the review of bokeh in front and behind). In this case, one side will have a smooth depiction with blurring, while the other side will have a hard depiction like double-line bokeh.
Test results
Only the centre of the image maintains a circular shape, and the corners are deformed into an oval shape due to vignetting. The effect is stronger than you would expect from a 105mm f/2.8 macro lens, and it is quite possible that this will have a negative impact on the actual image. The bokeh itself is reasonably good, with a nice edge to the corners. It is a shame that the effect of vignetting is so strong.
If you want to avoid the effects of vignetting, I recommend stopping down to at least F5.6, and if you want to completely eliminate it, stop down to F8.

Sample of a boke
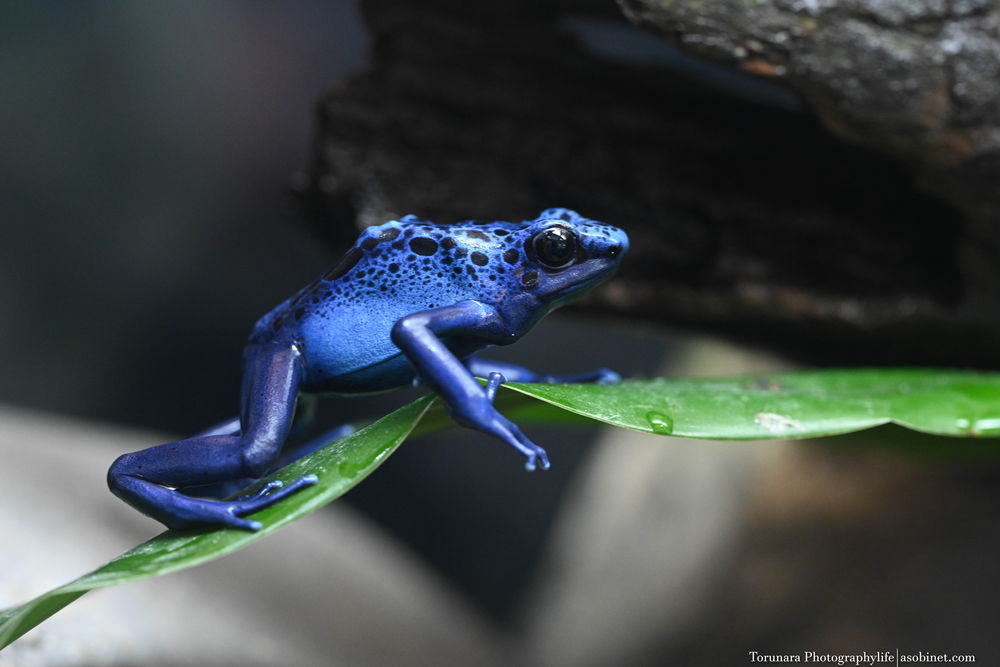
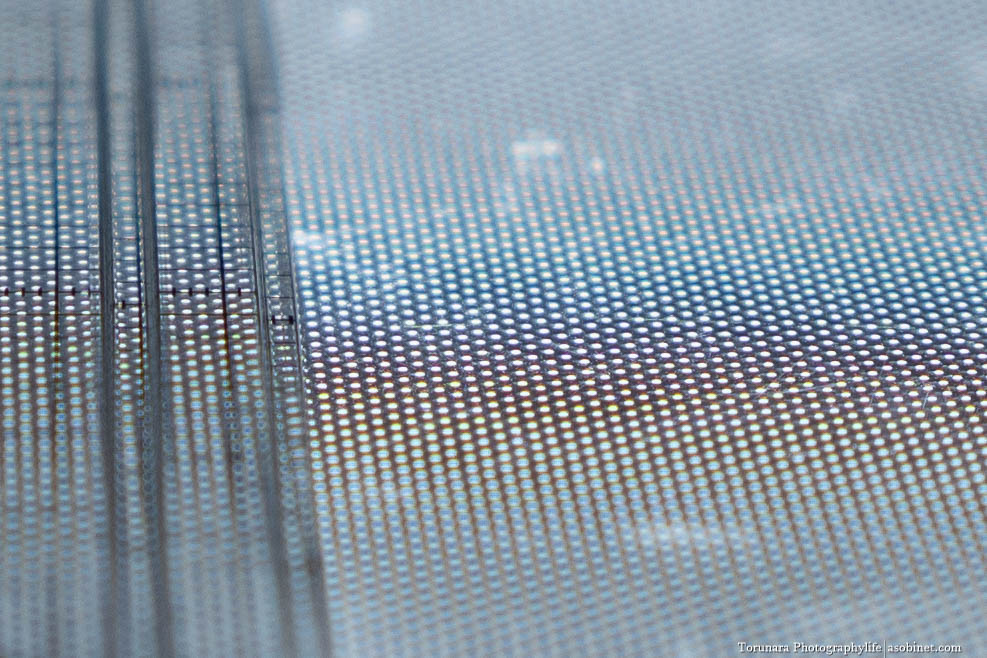
Close range
There are no problems when taking close-up shots. The bokeh in front and behind the subject also looks smooth and beautiful.
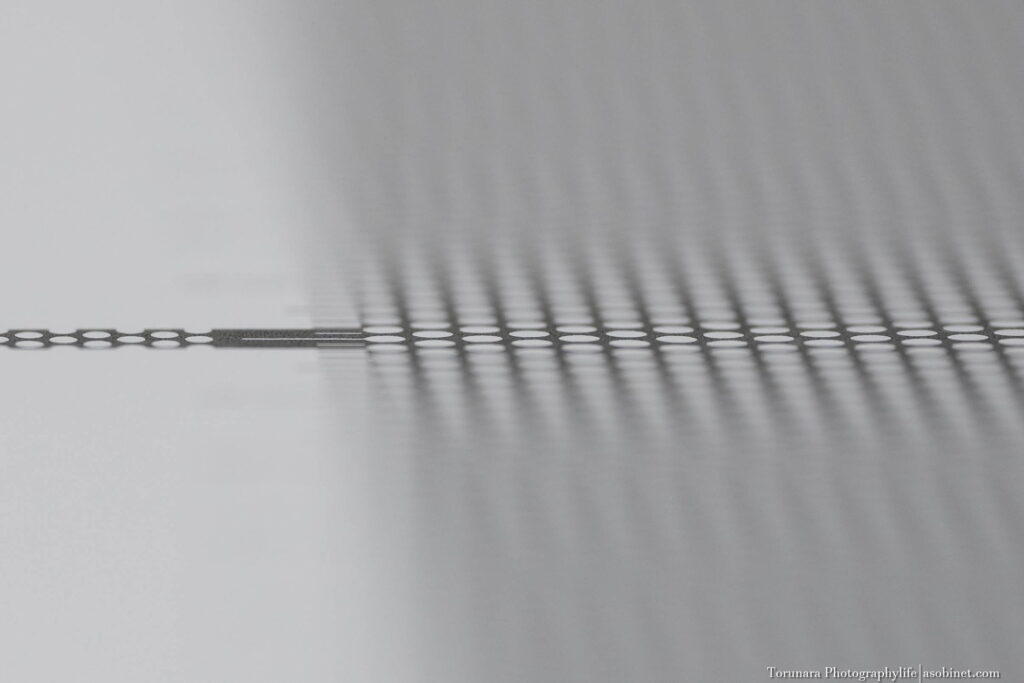
Short range
As the shooting distance gets shorter, the bokeh becomes larger, and as a result, the effect of the (still remaining) vignetting becomes harder to see. By the time you've stopped down and the bokeh becomes smaller, the effect of the vignetting has disappeared, so there's no problem.
Personally, I think the bokeh is very beautiful when shooting at a working distance of 1m or less. You need to be careful about vignetting in the corners when shooting at a distance of 2m or more.
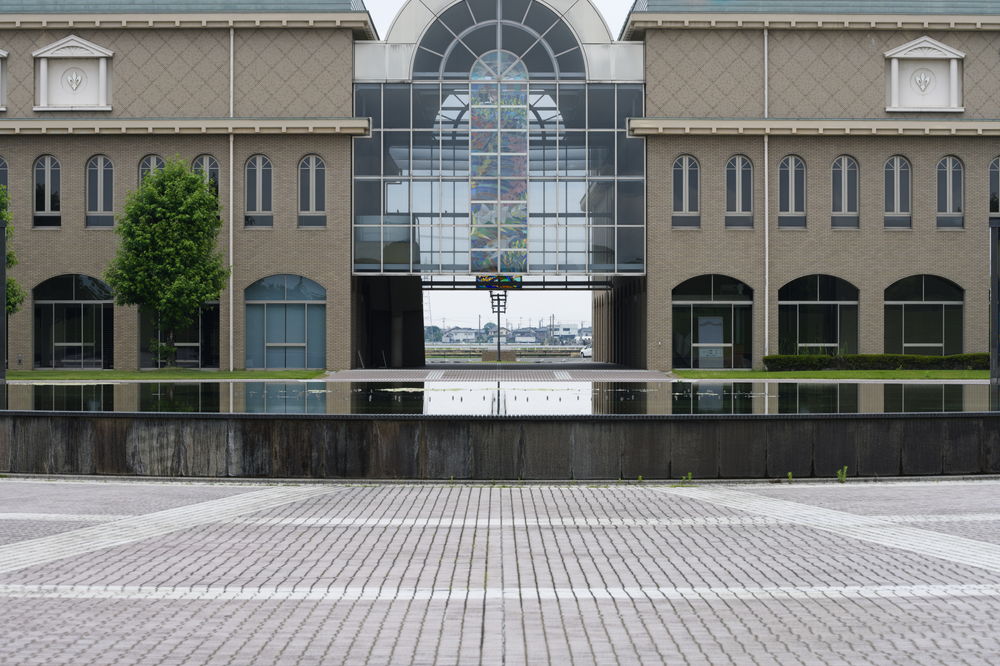
Medium range
As I pointed out in the bokeh section, the effect of vignetting is also strongly reflected in the actual image. To mitigate the effect, it is better to stop down to at least F4, but the bokehball outline becomes clearer, and the result is that the background looks busy. Also, if the scene does not have vignetting, using F2.8 may look better.

Portrait
The following are the results of taking pictures of a tripod that is 170cm tall while changing the distance and aperture.
As it is a 105mm f/2.8, you shouldn't expect a shallow depth of field for full-length portraits. However, as there is little colour cast and the out-of-focus areas are also well-rendered, the background does not stand out too much.
Although the bokeh in the four corners is reduced due to the effect of vignetting, it is not that bad because the original performance is good. It looks like it is also well-described at a shooting distance of about the upper body and above the knee, where the amount of bokeh is halfway. If you look closely, the corners may look busy, but it seems that you can deal with this by changing the shooting distance or the direction of the shot.
Vignetting
What is vignetting?
Unnatural drop in light intensity around the frame.
The light intensity is lower than in the central area, and there is insufficient exposure in the four corners of the frame. This mainly occurs with large-aperture lenses and wide-angle lenses.
Although this is a phenomenon that can be easily corrected using software, it is necessary to be careful about the fact that it can cause noise, as the insufficient exposure is covered by post-processing correction (sensitization). In particular, when using high sensitivity for nightscape or starry sky photography, there is a possibility that noise will appear strongly.


Minimum focusing distance
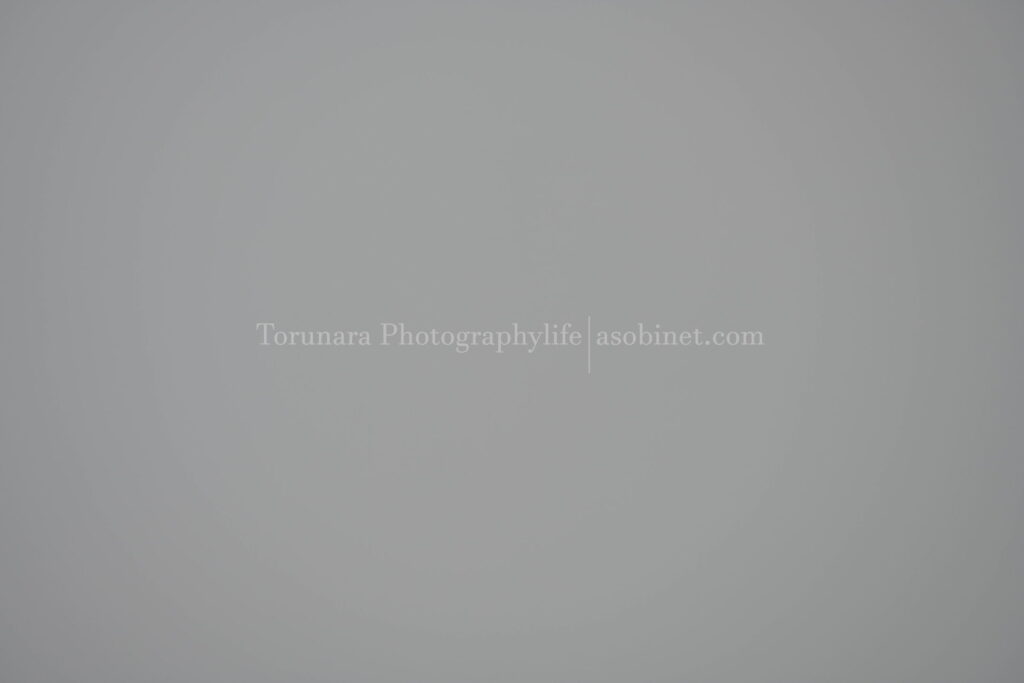
You can see a slight drop in light when shooting wide open, but it is almost zero. You can completely suppress it by stopping down one stop. You don't need to worry about vignetting when shooting macro.
(Note: Although it is written as ‘F2.8’, Nikon displays the effective F-number, so it is actually ‘F4.5? F51’).
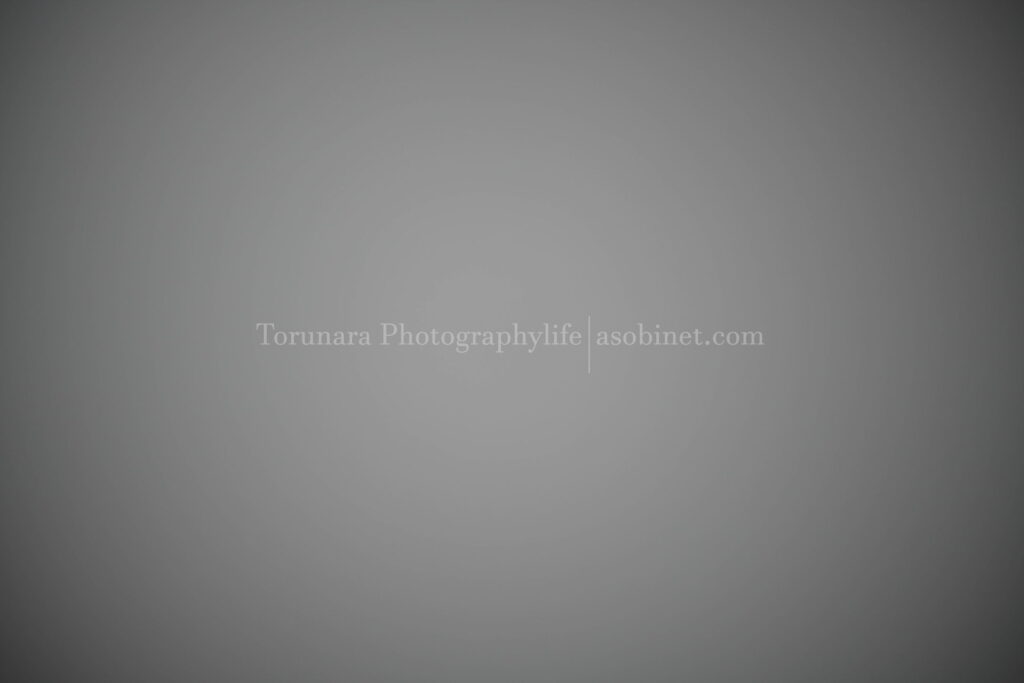
Infinity
Compared to the minimum shooting distance, the amount of light loss is much more noticeable. For a lens with an aperture of F2.8, this is quite noticeable and affects a wide area. It improves rapidly when the aperture is narrowed, but even when the aperture is narrowed to F5.6, there is still a slight amount of light loss. When the aperture is narrowed to F8, the problem is finally resolved.
Of course, it can be easily corrected using automatic correction, but you need to consider the increase in noise caused by lifting the shadows (especially at high ISO sensitivity).
Backlight resistance, sunstar
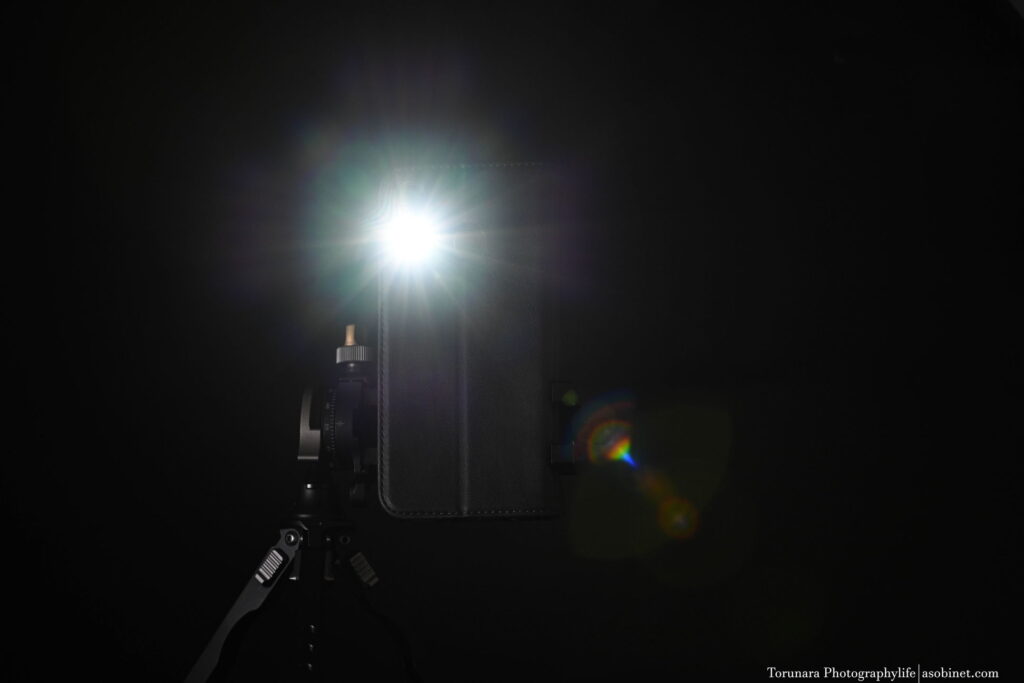
centre
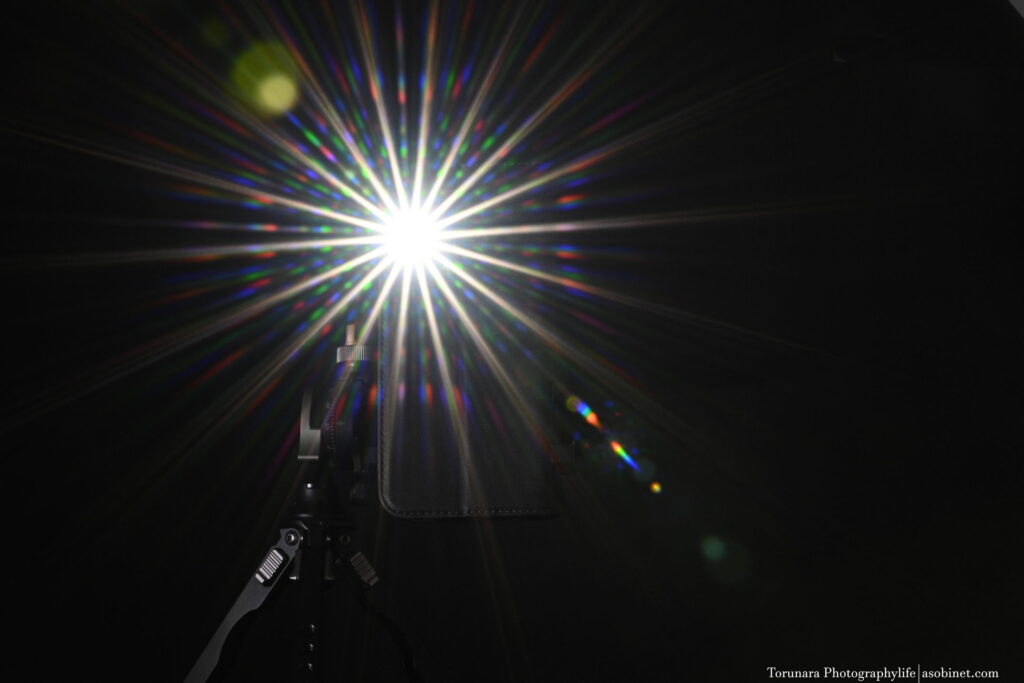
These lenses use two types of coating: the conventional Nano Crystal Coat and the new ARNEO Coat. The new ARNEO Coat is said to be highly effective against direct incident light, and when you check the actual photos, it looks like the contrast is maintained even around strong light sources. (The RGB ghosting around the light source is a reflection on the sensor surface, so it is difficult to avoid.)
Although the ghosting is of a moderate level, it is well suppressed for a 100mm-class lens. There should be few scenes in which ghosting is a problem in actual photography.
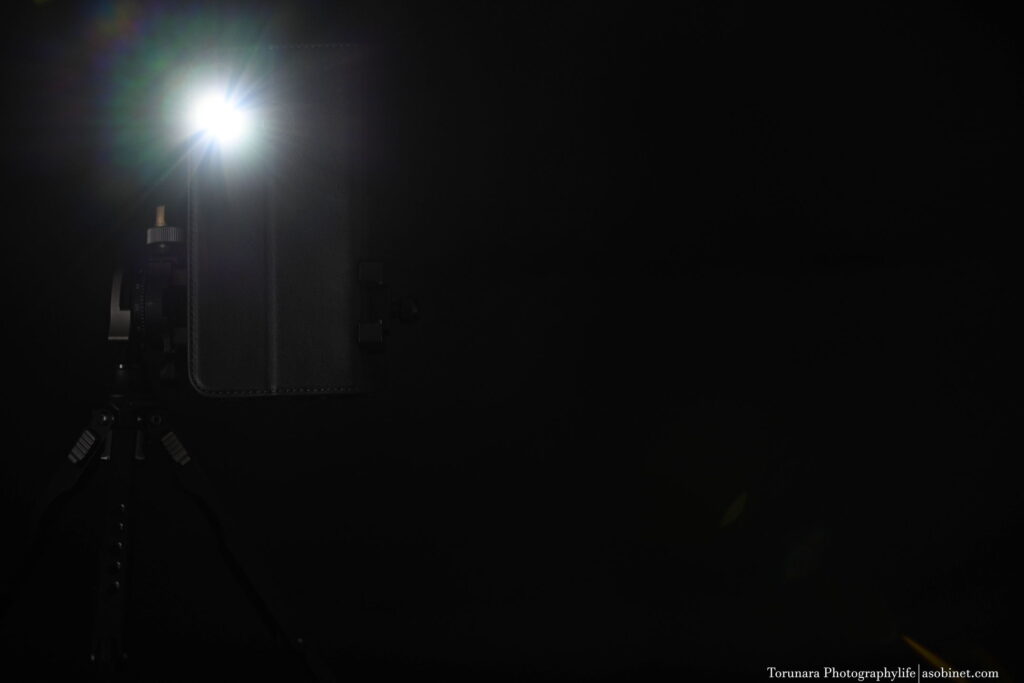
corner
When a strong light source is moved to the corner, the effect of ghosting is very slight. Nikon Z S-Line lenses tend to be resistant to backlighting, and this lens appears to be no exception. The slight ghosting that does occur is of a density and colour that is not noticeable, so it is unlikely to be a problem.

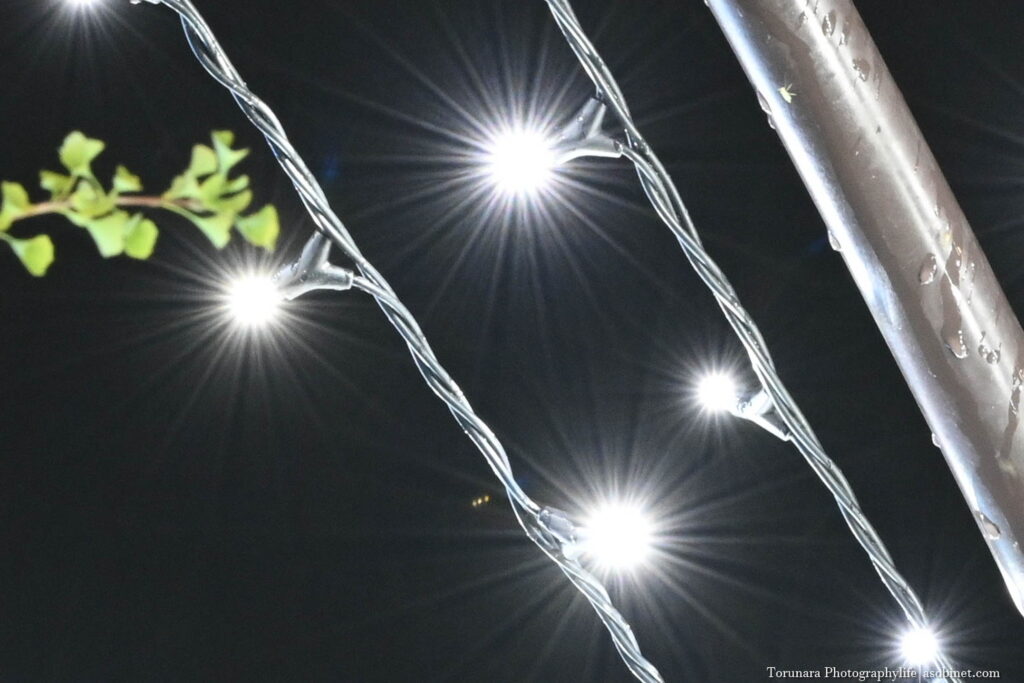
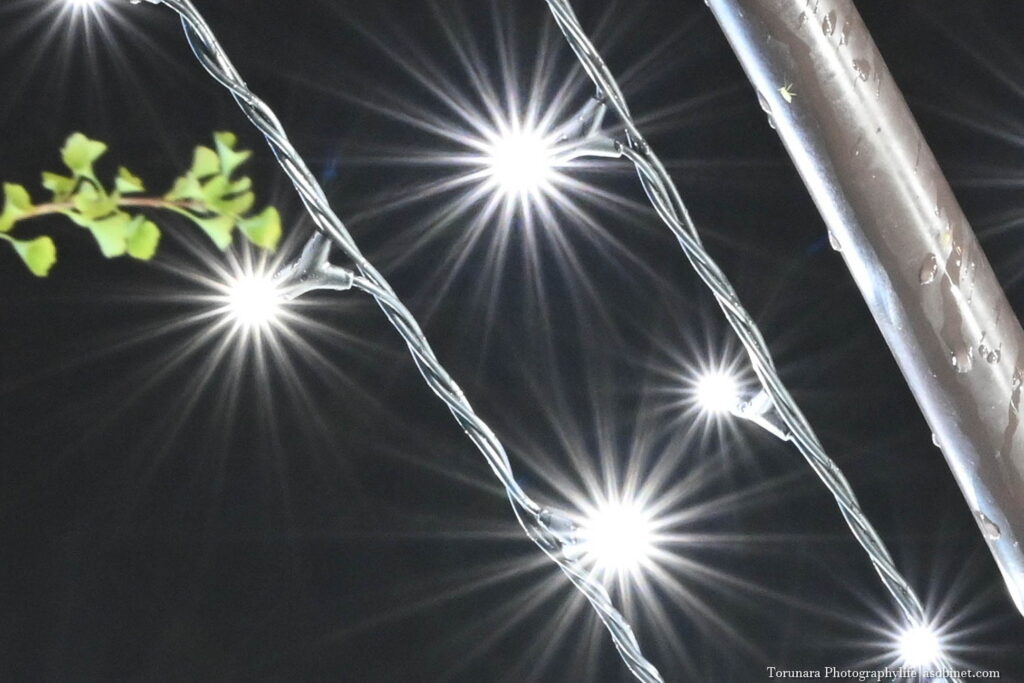
sunstar
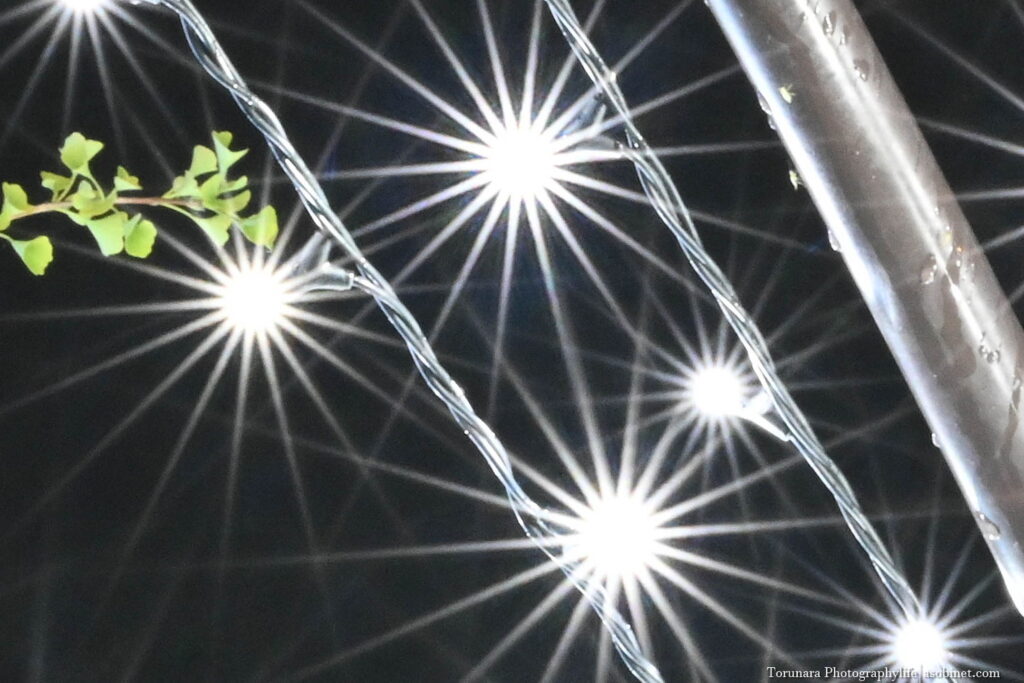
It looks like sunstars are appearing from F2.8, but sharp sunstars only appear at around F5.6. Interestingly, after changing to a dispersed type of sunstar at F11-F16, it changes to a sharp sunstar at F22-F32. Overall, it is necessary to narrow the aperture considerably in order to produce sunstars that are useful in actual photography, and considering the effects of diffraction, it cannot be said to be practical. If you want to strike a balance between resolution performance and aperture, F8 is the best.

Summary
Good points
Robust, dustproof and splashproof lens barrel
Plentiful control points
OLED display
Smooth, long-stroke focus ring
3 AF limiters
High-speed, quiet AF at typical shooting distances
Extremely high resolution across entire frame, regardless of shooting distance
Lateral chromatic aberration is non-existent
Longitudinal chromatic aberration is non-existent
Neutral, easy-to-use bokeh
High contrast
Rich colour reproduction
Slight distortion
Slight coma
Fairly good resistance to backlighting
This is a great lens that offers high resolution performance with the homogeneity typical of macro lenses, and also offers stable performance regardless of the shooting distance, from infinity to macro. Chromatic aberration is thoroughly suppressed, and distortion and coma aberration are also minimal. There are no points to criticise other than vignetting, and this is a micro lens that Nikon Z users should definitely have. The bokeh may become busy depending on the shooting distance, but this can be avoided by adjusting the shooting distance and background, so there is no need to worry excessively about it.
Bad points
There are not many functions that can be assigned to the control ring
There are not many functions that can be assigned to L-Fn
The control ring has a limited clickless feel
The lens hood is cheap-looking
The effect of vignetting is quite strong
Vignetting is noticeable at infinity
The sunstar is slow to appear
The most important thing to be aware of is vignetting. This is particularly noticeable at distances other than macro, and it is a shame that vignetting and bokehball deformation are noticeable even at a shooting distance of around 1m, depending on the distance of the background.
Furthermore, although the control ring and L-Fn button look functional, the fact that there are few functions that can be assigned to the camera makes it difficult to use. It would have been nice if the control ring could at least be switched between ‘clickless click’.
Conclusion
The main reason for the reduction in points is vignetting, and some people may find that the sweet spot is limited because of this. Vignetting must be corrected, and the only way to correct the deformation of bokehballs is to stop down the aperture.
However, that's about the only thing that's worth worrying about, and we can look forward to custom functions in future firmware updates and new models. The optical performance is remarkable, and the AF and image stabilisation are also very good.
I think the price is cheap for this performance. If you do a lot of macro photography, this is a lens worth considering.
Lens Buying Guide
Creating in-depth reviews like this requires time and resources.If you found this article useful and decided to buy a lens, please consider using the affiliate link. This will help us to create more content in the future.
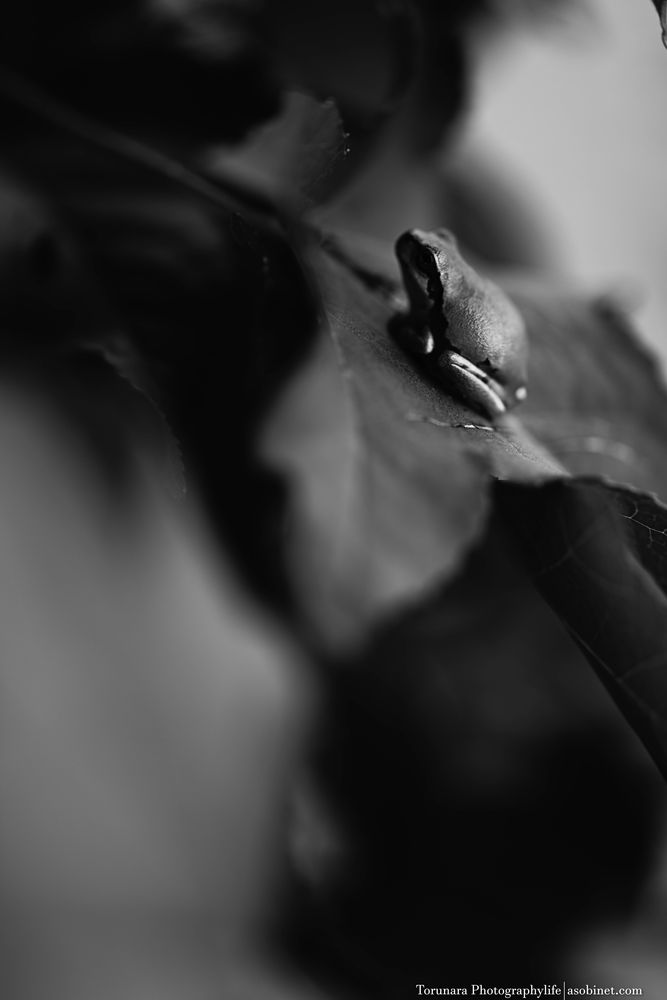
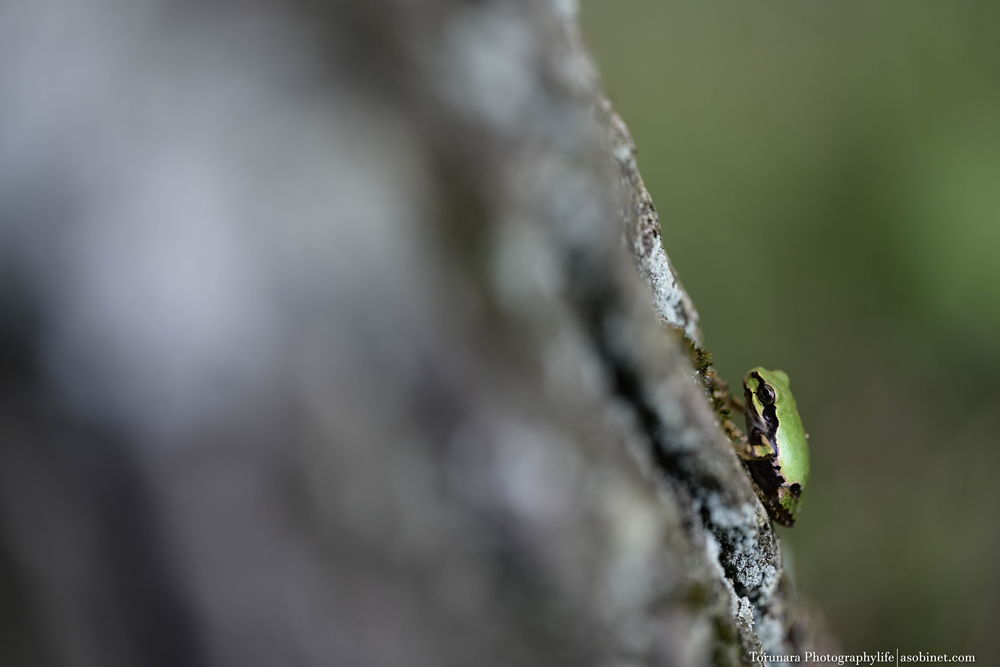
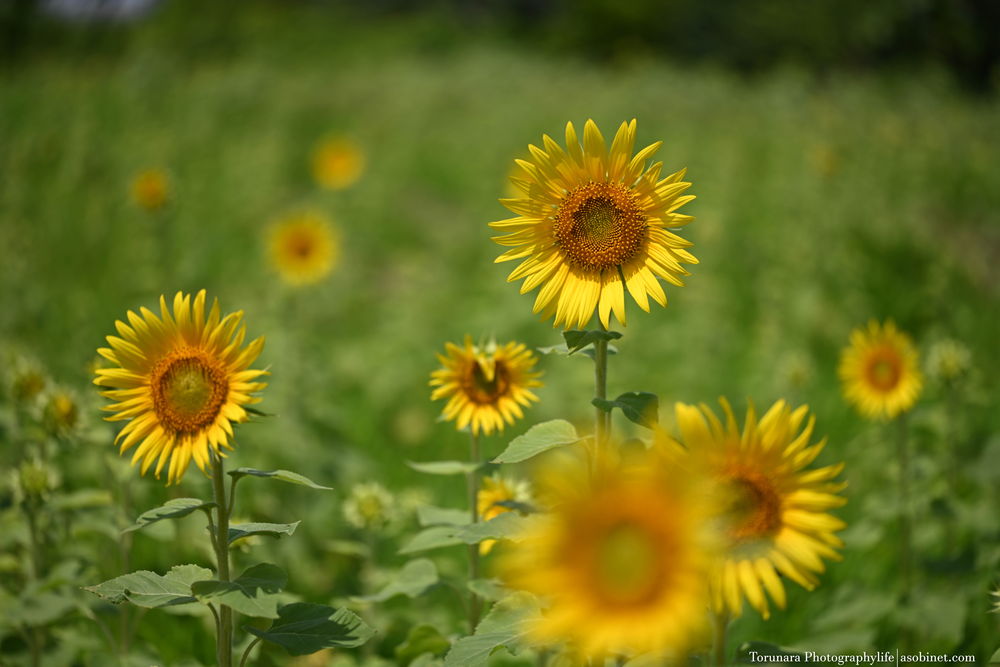
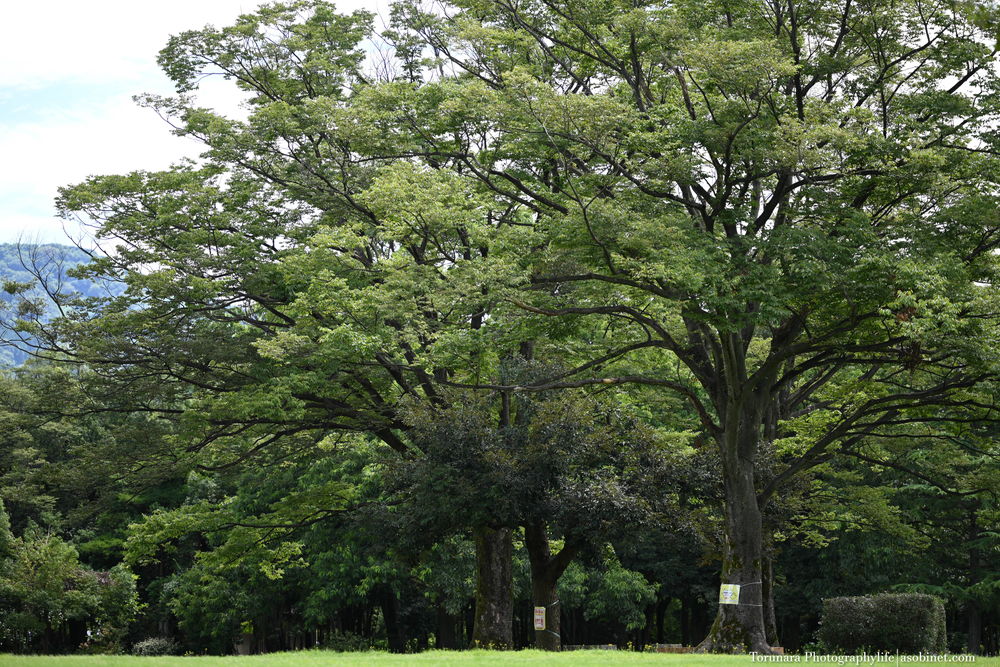
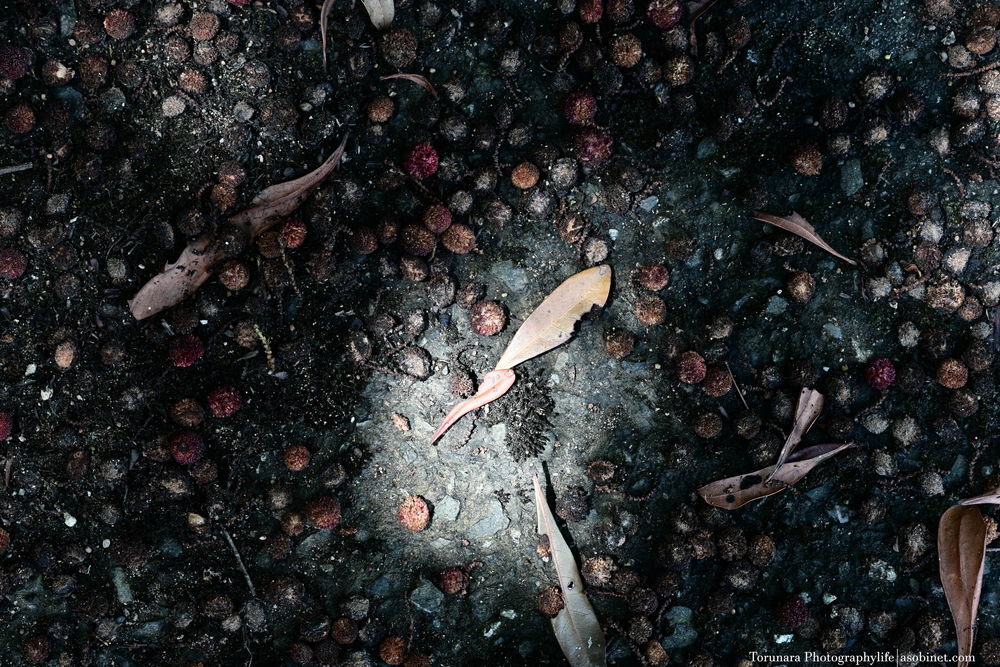
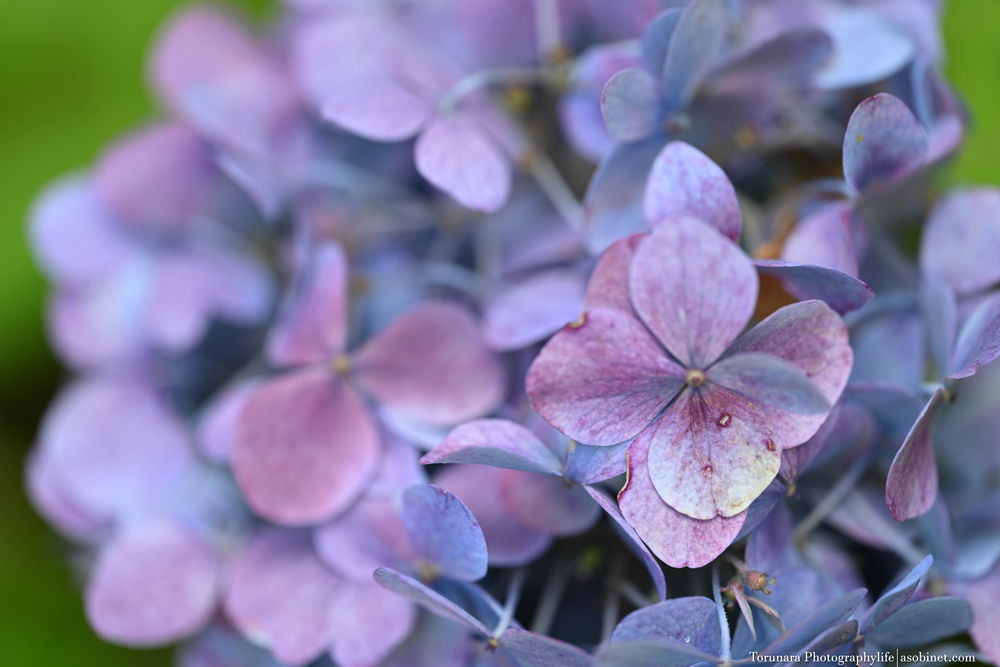
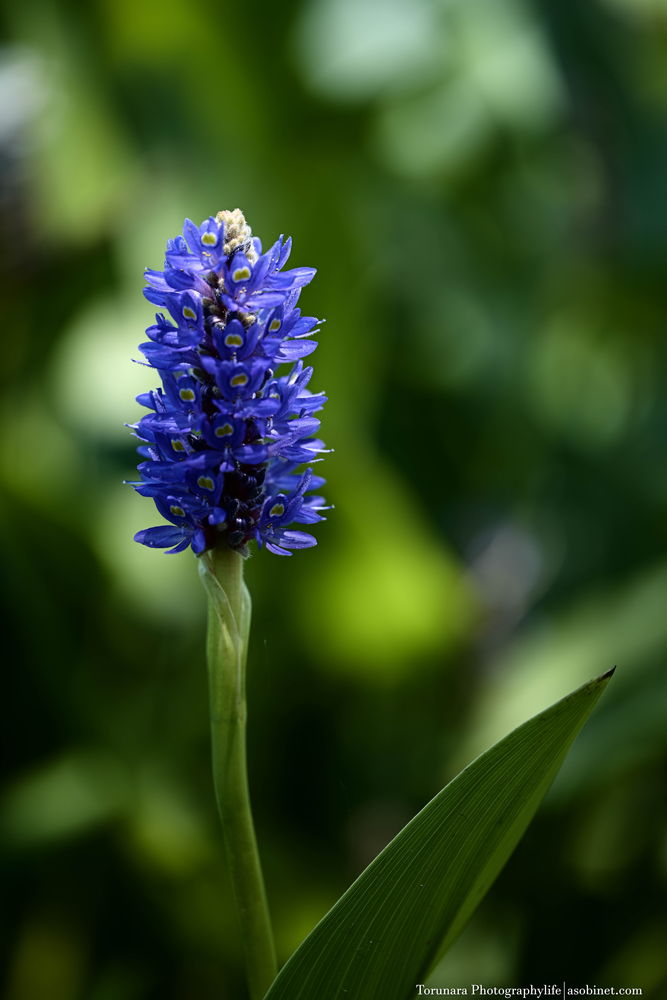
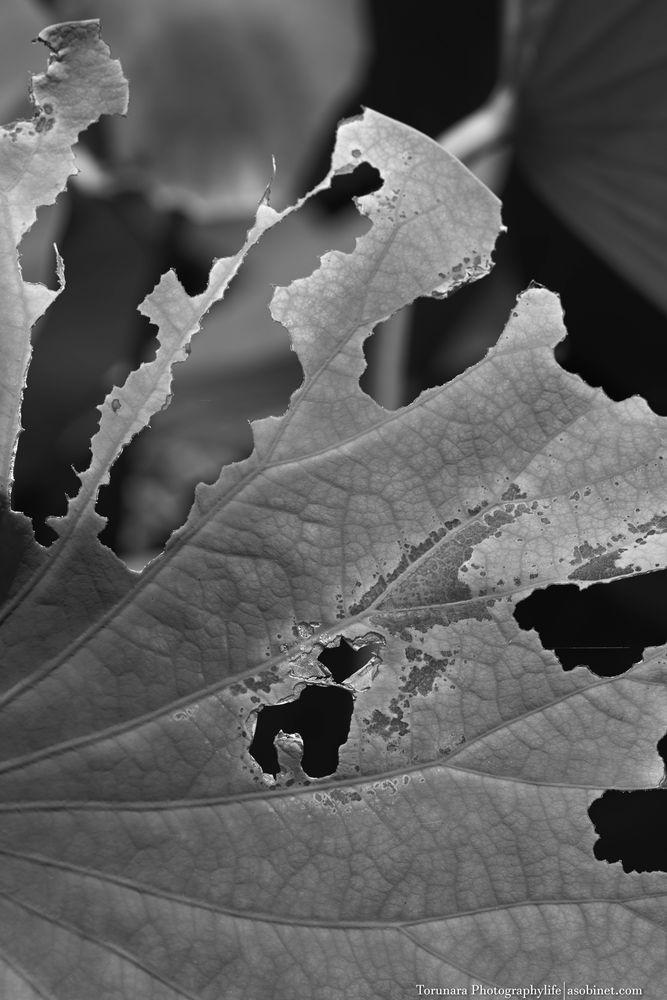
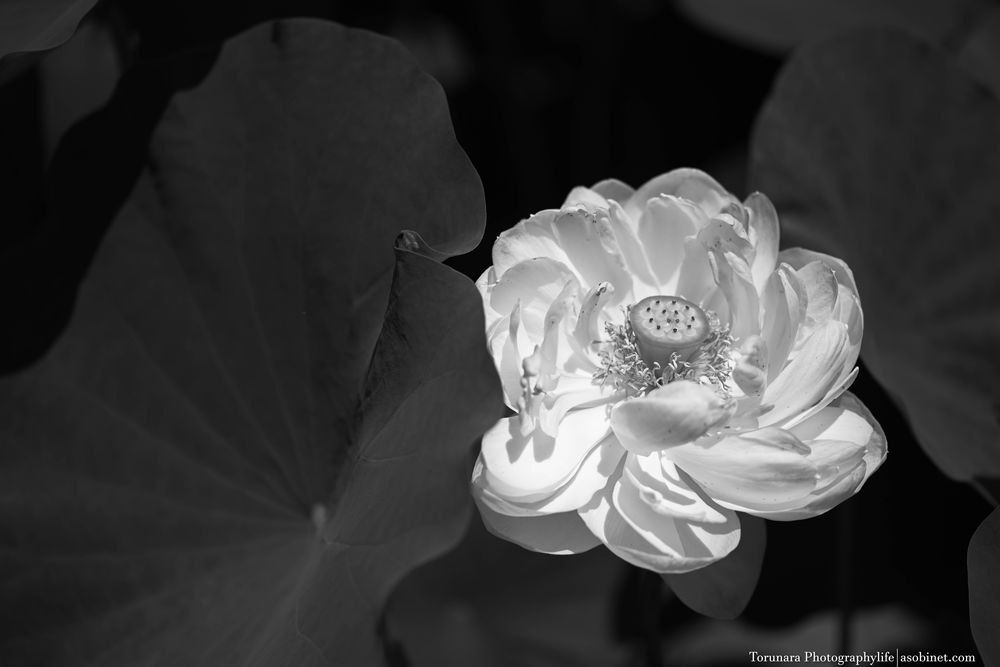
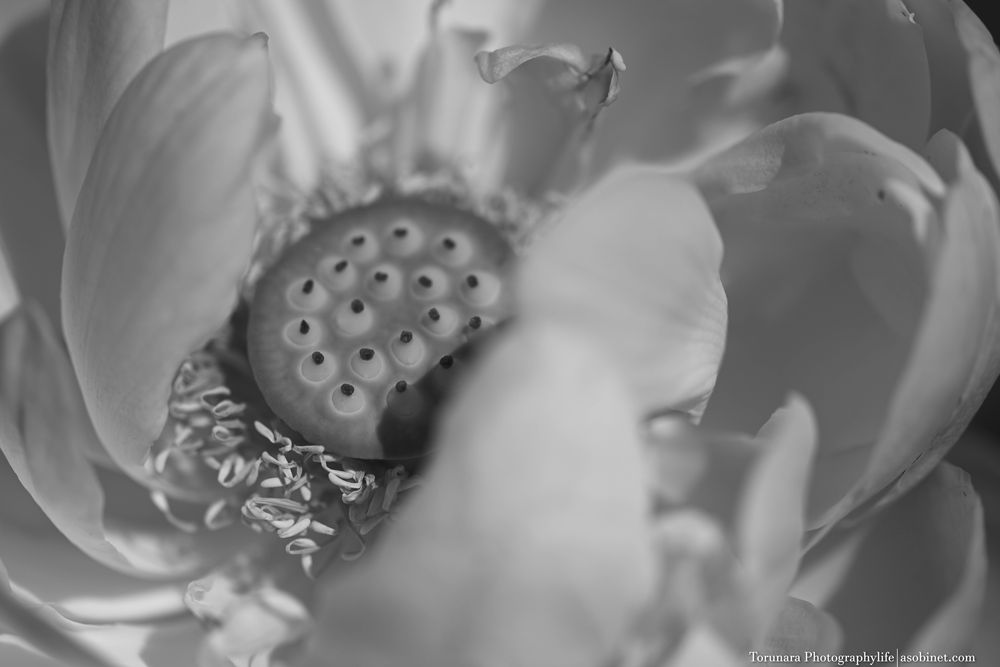
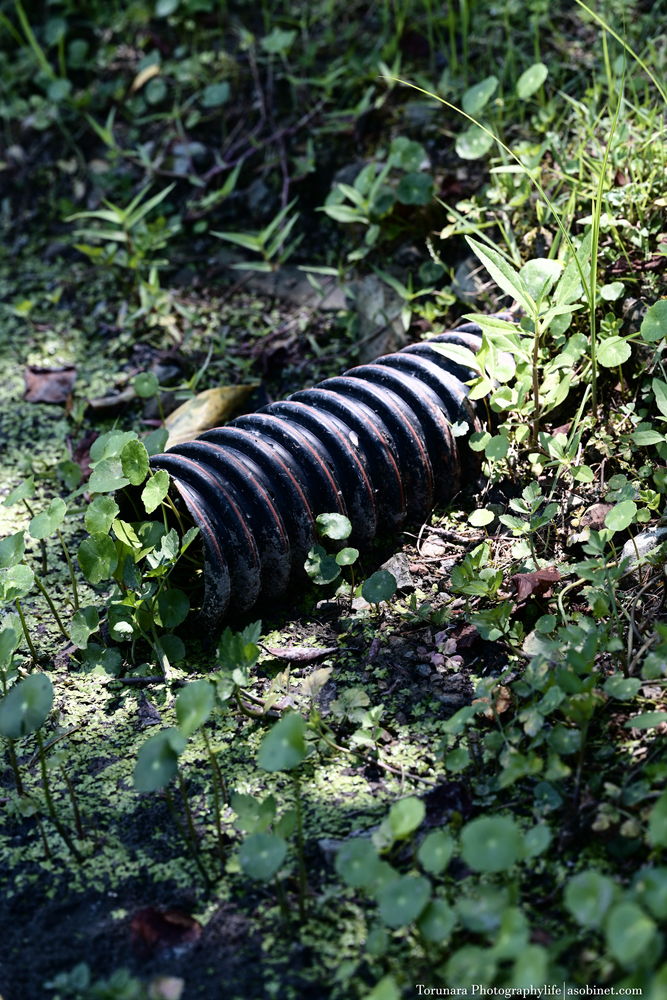
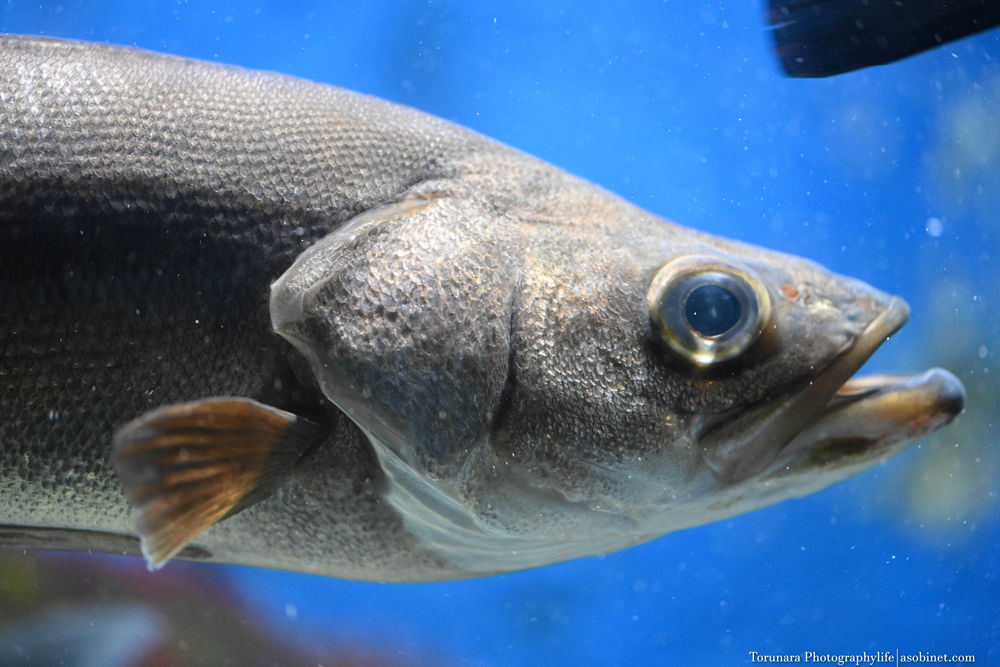
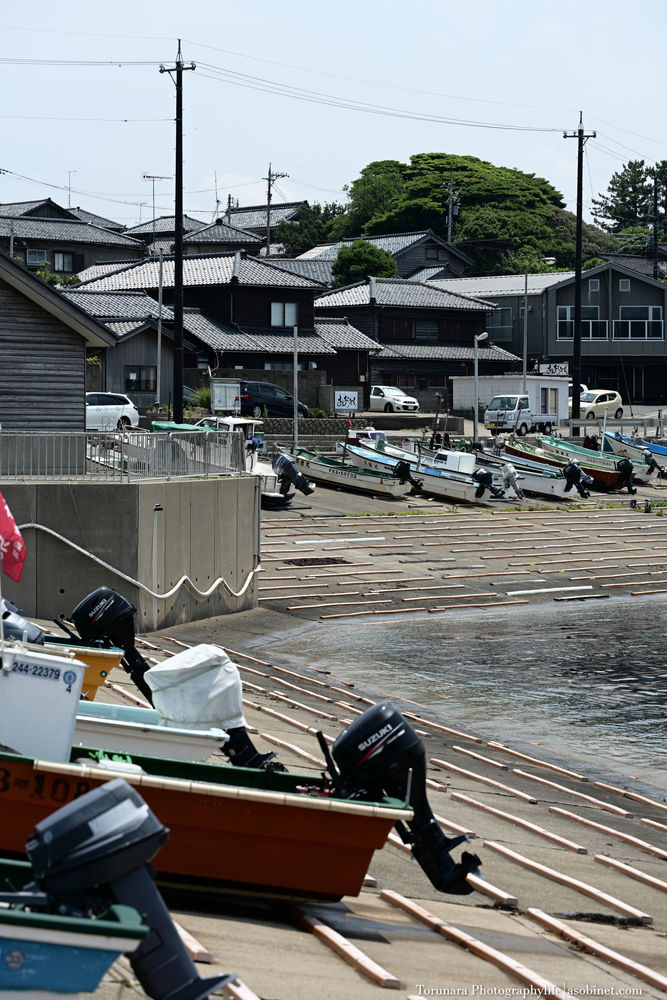
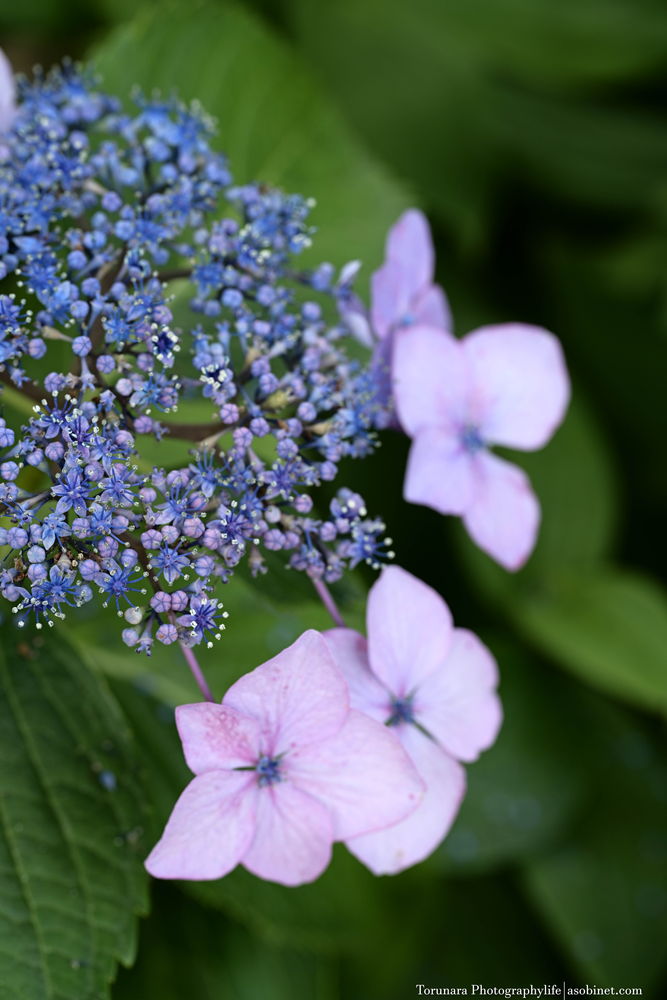
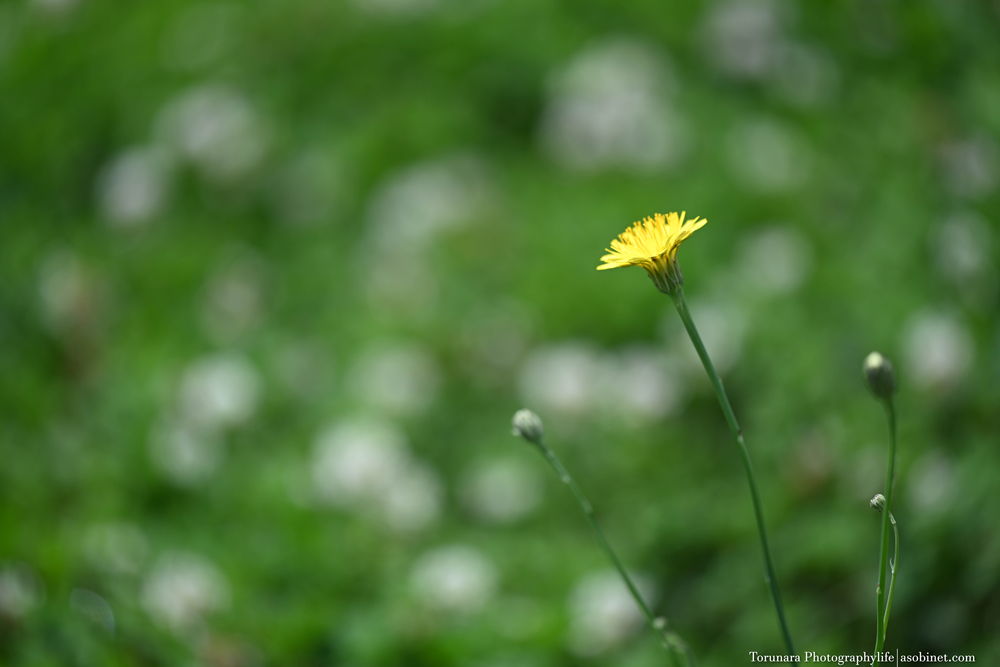
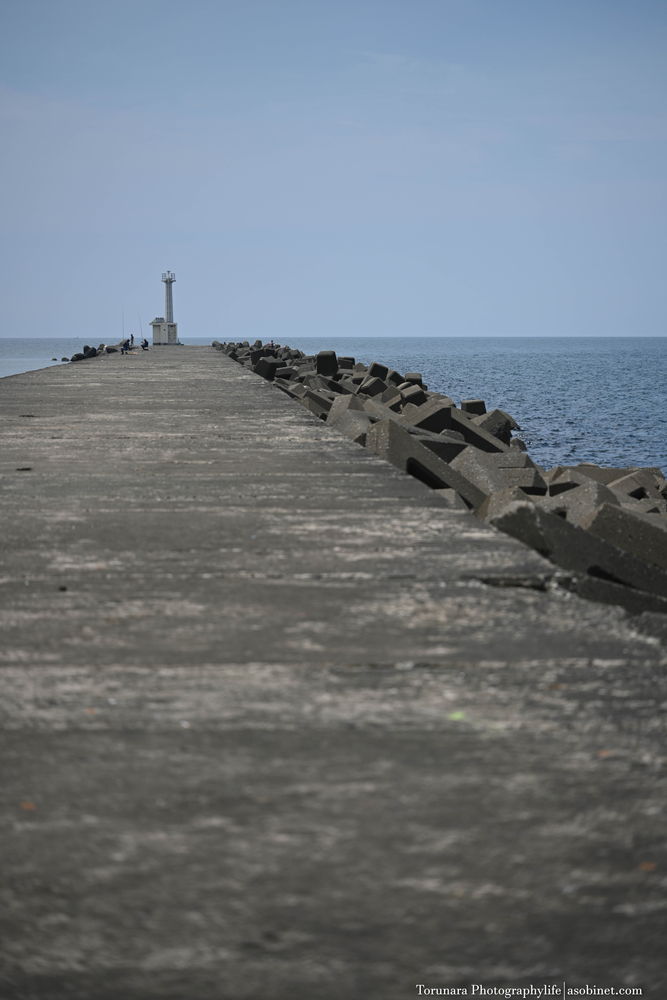
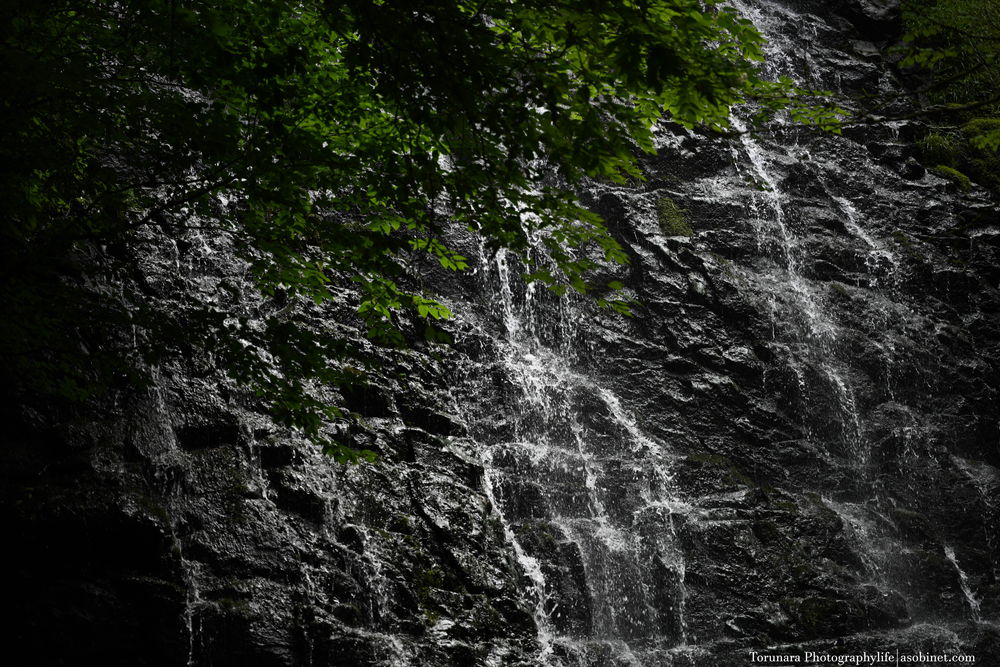
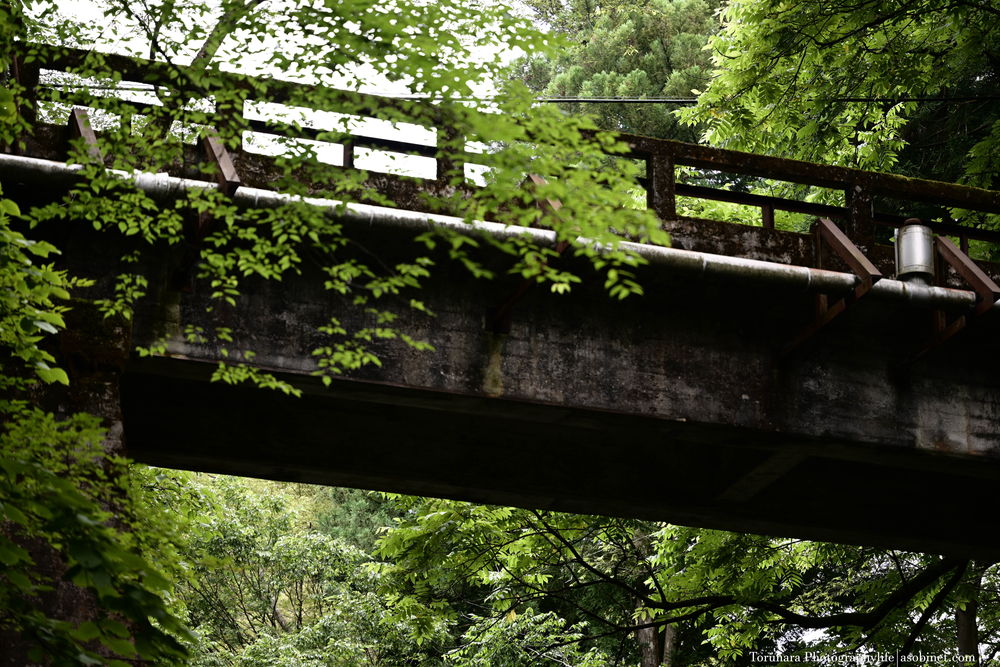
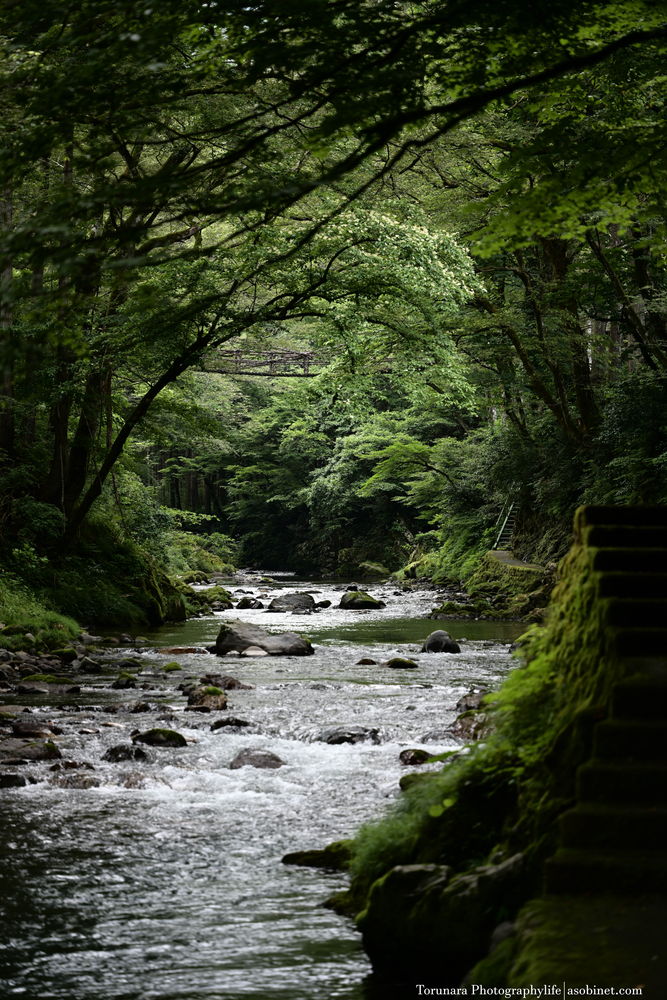
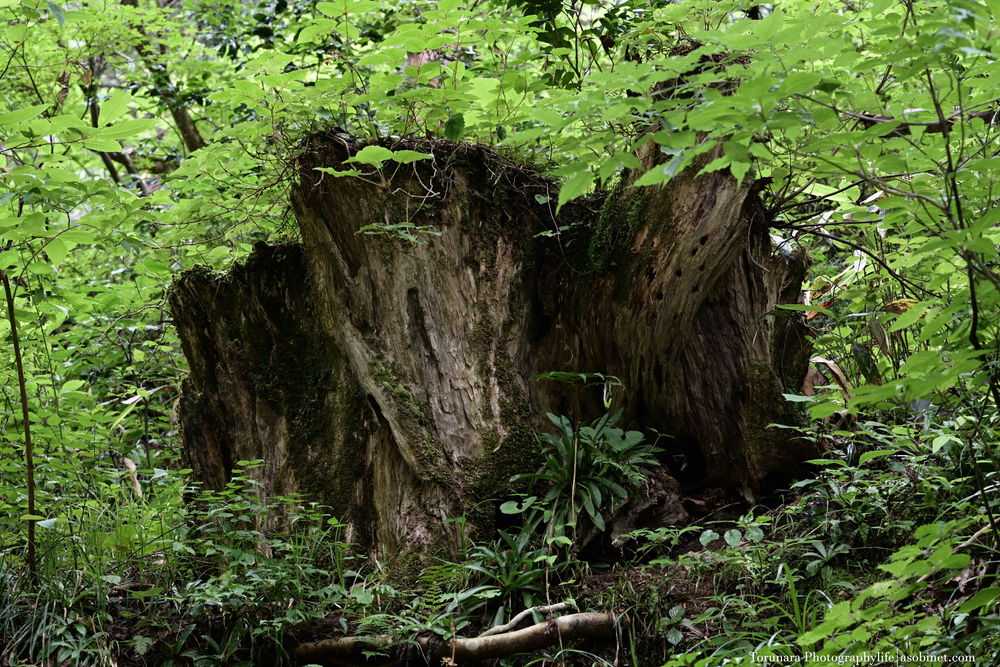
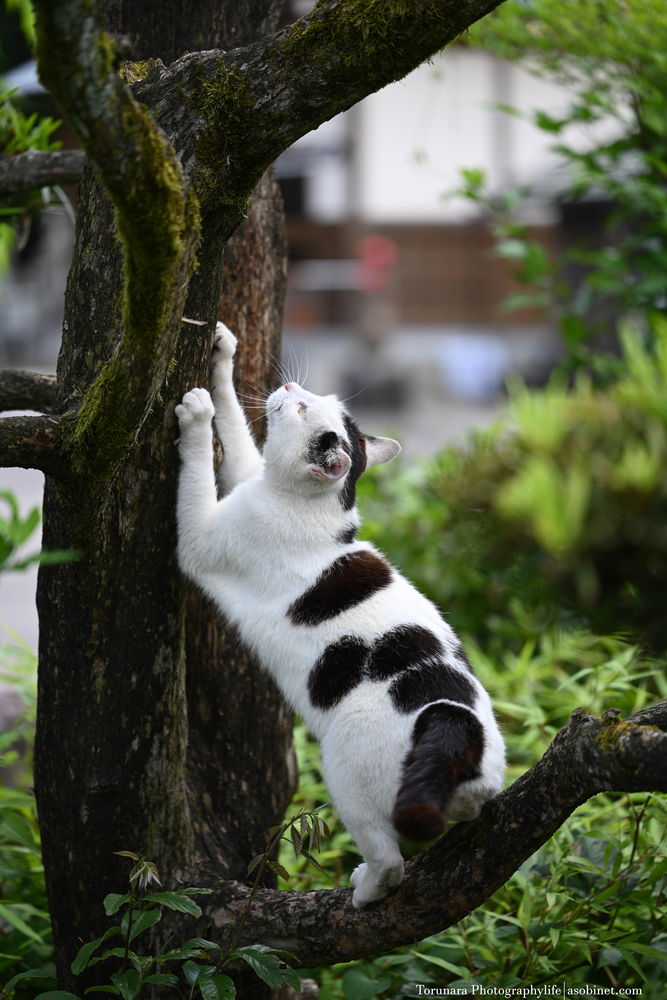
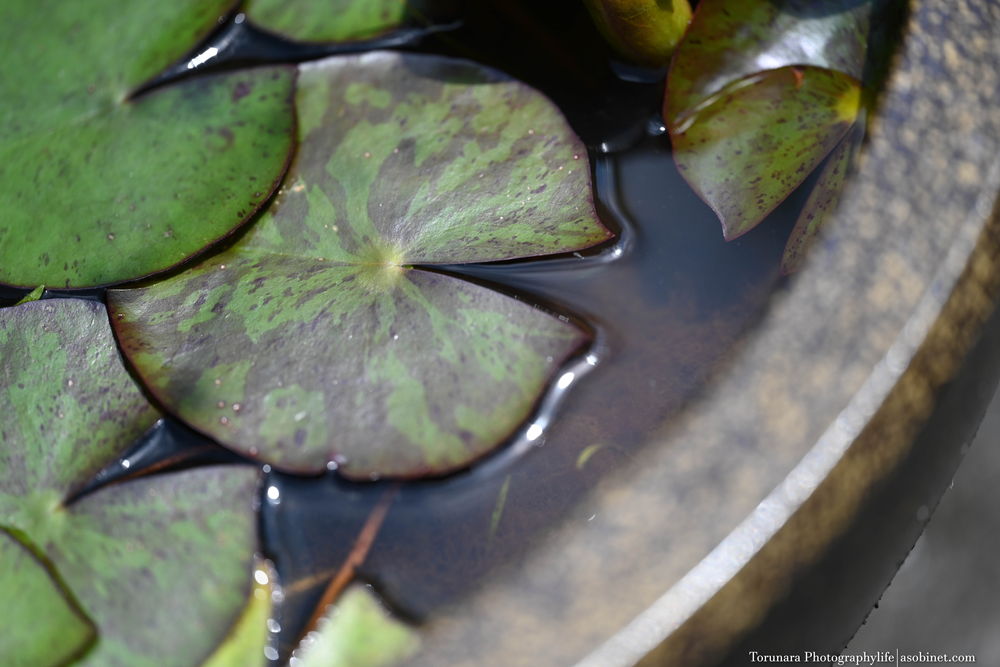
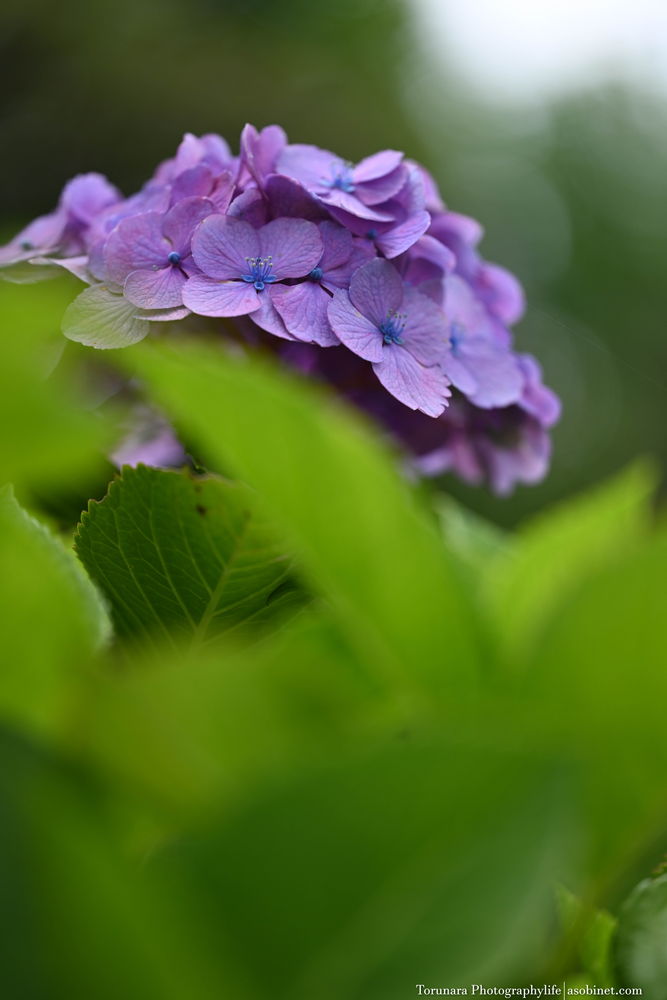
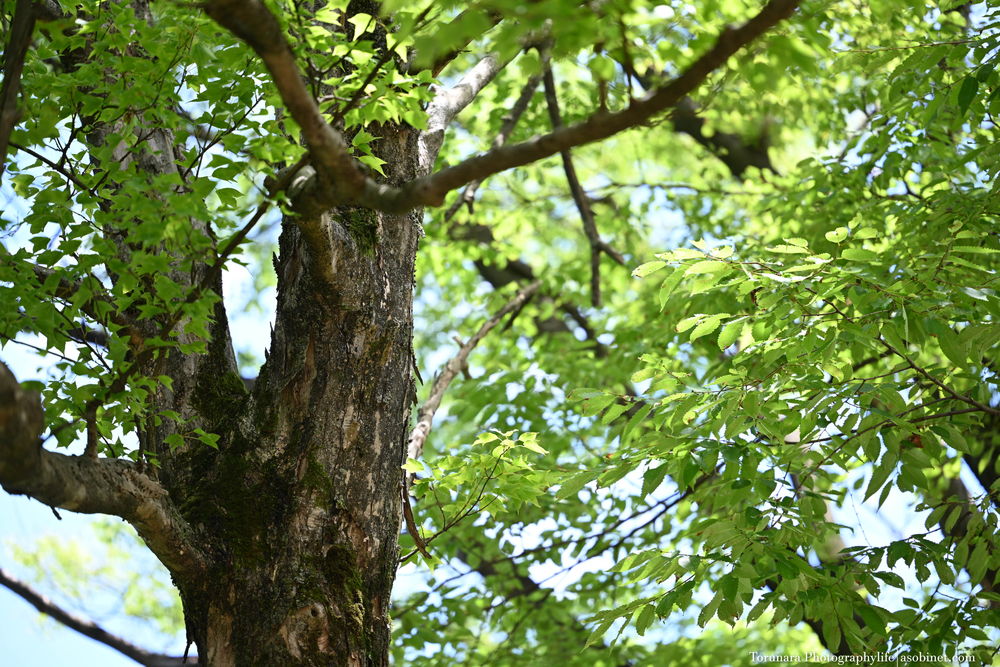
Example
The original data is available on Flickr.