This page contains reviews of FE 50mm F1.4 GM.
Lens Summary
| Price | It's a bit expensive for a 50mm f/1.4 lens. |
| Size | Considering its performance, it's very small. |
| Weight | Considering its performance, it's very light. |
| Ease of use | Very functional |
| AF performance | Fast, quiet and smooth |
| Resolution performance | Overall, very good |
| Bokeh | Smooth depiction over a wide area |
| chromatic aberration | Very good correction status |
| distortion | A small spool-shaped |
| coma aberration | Very good correction status |
| Vignetting | For a 50mm f/1.4, it's mild. |
| flare resistance | Not bad, but ordinary |
| Overall evaluation | Expensive, but the best option |
Evaluation:
Despite being small and lightweight for a 50mm F1.4, it is extremely high-performance. Apart from its resistance to backlighting, it has no particular drawbacks, and it offers excellent resolution performance and smooth bokeh. The AF is quiet and fast, and any noticeable breathing can be corrected on the camera side. It is the most expensive option for a 50mm F1.4, but it is a worthy choice if you want the best.
Foreword
- Release Date:2023.2.22
- Product page
- My Flickr album
- Flickr Group Page
- Japanese user contribution site
- B&H photo
- Adorama
A standard large-aperture lens for the Sony E-mount to be released in April 2023. This is the fourth F1.4 GM lens after the 85mm, 24mm and 35mm. As the FE 50mm F1.2 GM appeared in 2021, many people probably expected that there would be no F1.4 GM. However, Sony has introduced a second large-aperture standard lens in a short period of time, contrary to most expectations. As it is a relatively compact, lightweight and inexpensive option, it may be an interesting choice for those who did not have their fingers crossed for the F1.2 GM.
What is particularly noteworthy is the lens size. The F1.2 GM is a compact and lightweight lens, even when compared to the F1.4 ZA. This lens seems to be a good match for the portable α7 series. Despite its compact size, it is equipped with an AFL button in two places, and the aperture ring supports A-position locking and a declick function. In addition, AF has been made faster using an XD linear motor. It is a high-function, high-performance lens that is also compact and lightweight.
specifications
| lens mount | Sony E mount |
| Supported sensor size | Full Frame |
| focal length | 50mm |
| Lens construction | 14 lenses in 11 groups |
| Aperture | F1.4 - F16 |
| Aperture blades | 11 |
| Minimum focusing distance | 0.41m |
| Maximum magnification | ×0.16 |
| Filter diameter | 67mm |
| image stabilisation | - |
| Teleconversion lens | - |
| Coating | Nano AR Coating II |
| Size | φ80.6×96mm |
| Weight | 516g |
| weather sealing | Support |
| AF | XD Linear |
| Aperture ring | With click release function |
| Other controls | AFL button x 2 AF/MF switch |
| Accessories | Lens hood Lens case Cap |
FE 50mm F1.4 GM Review
Appearance and operability
Boxes and accessories

The design is the same as before, using Sony's signature black and international orange. The focal length and F-number of the lens are clearly displayed, and you can also see the G Master logo.The lens itself is stored in the included carrying case instead of the cushioning material. The lens hood and case strap are also stored in this case.
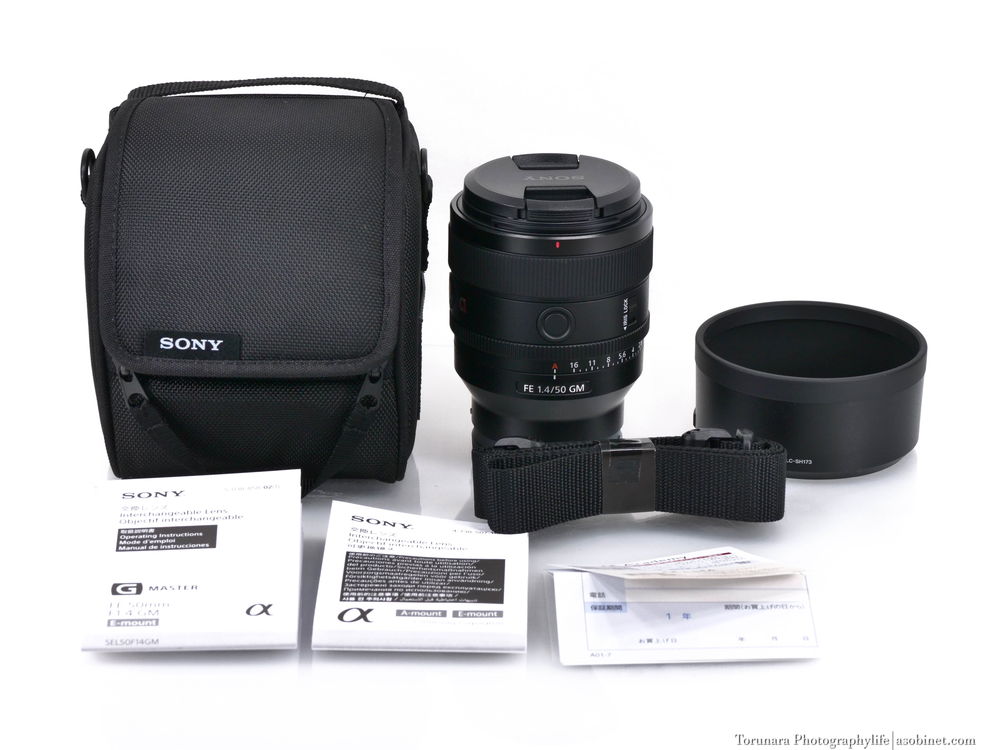
In addition to the lens itself, a hood, carrying case, strap, instruction manual and warranty are included. Only Sony and Sigma include a decent case with lenses in this price range. I think the accessories are high-quality and befitting of the G Master.
Appearance
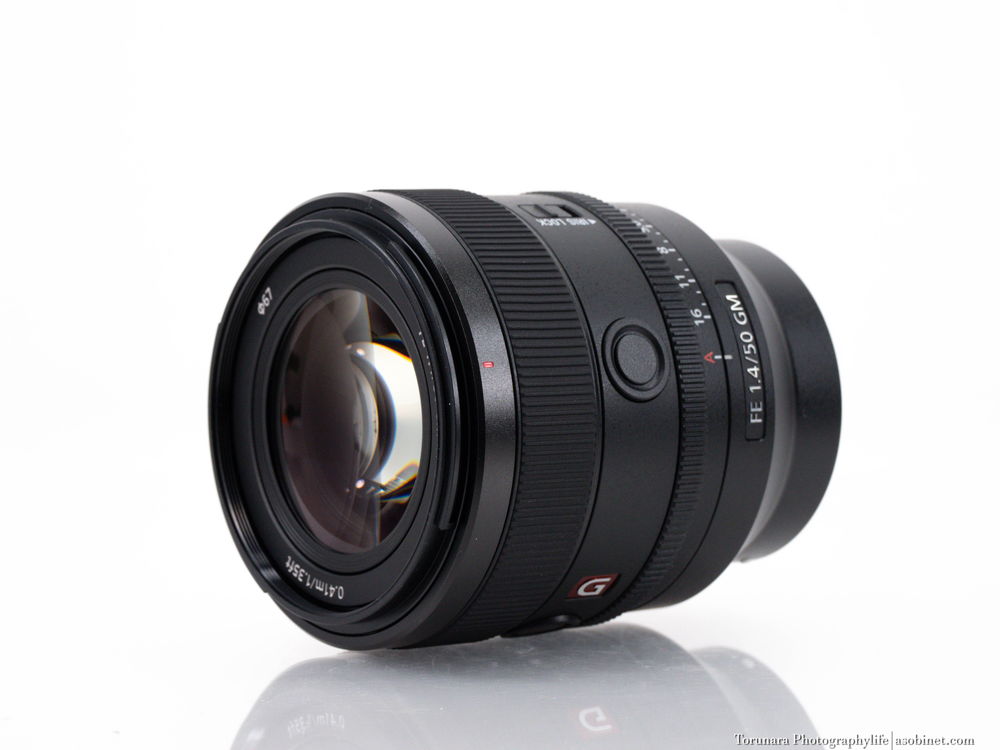
The exterior is made entirely of plastic, with the only exception being the rubber focus ring, which has a different texture. The design emphasizes practicality in the G Master style, and the texture is inferior to that of the ZA series, which uses a metal exterior. However, there is no concern about robustness, and it is solidly made.

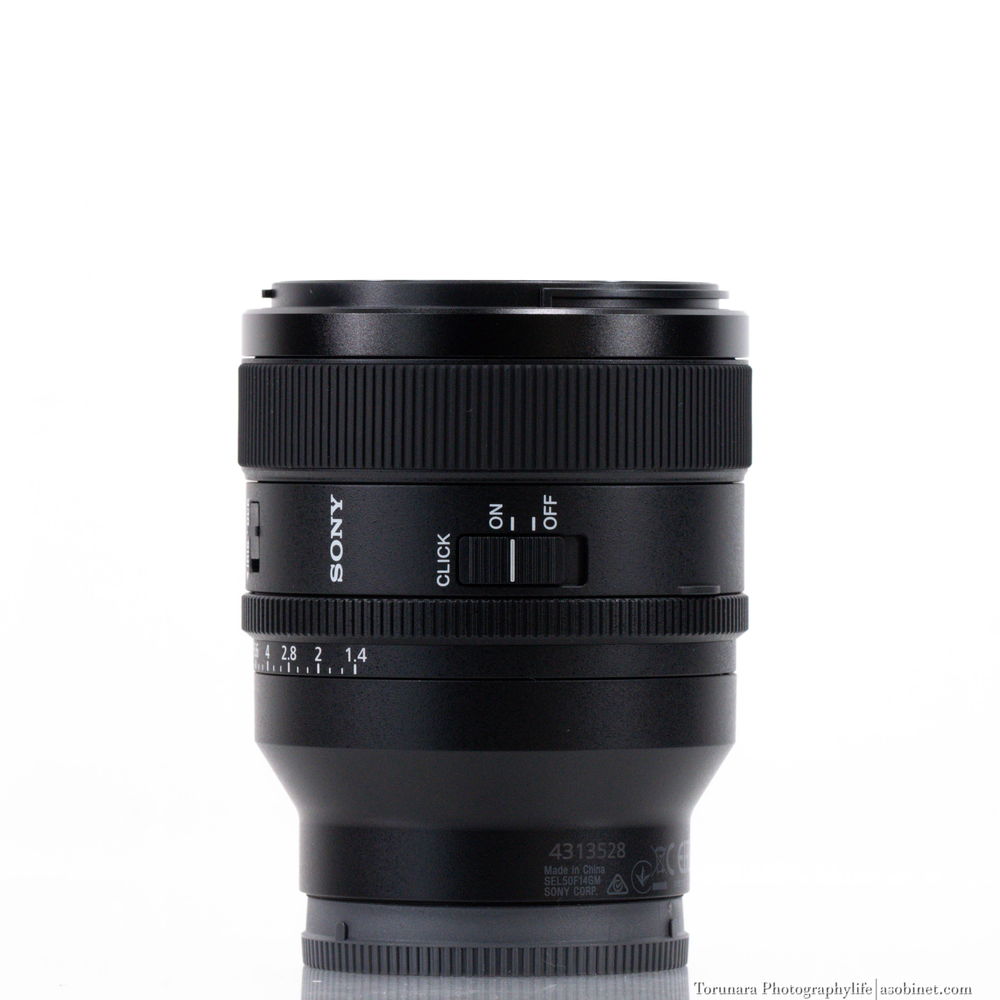
The G Master badge and lens logo are solidly processed with a raised texture. All other markings are printed without any processing. The serial number is not a sticker, so there is little chance of it falling off. The product was manufactured in China.
Hands-on
全長96mm、重量516g。最新設計の50mm F1.4としては小型軽量で、これ以上の携帯性を実現しているのはサムヤン「AF 50mm F1.4 II FE」のみ。しっかりとした防塵防滴、豊富なコントロールなどを考慮すると、驚くほどコンパクトにまとまっています。
Front and back
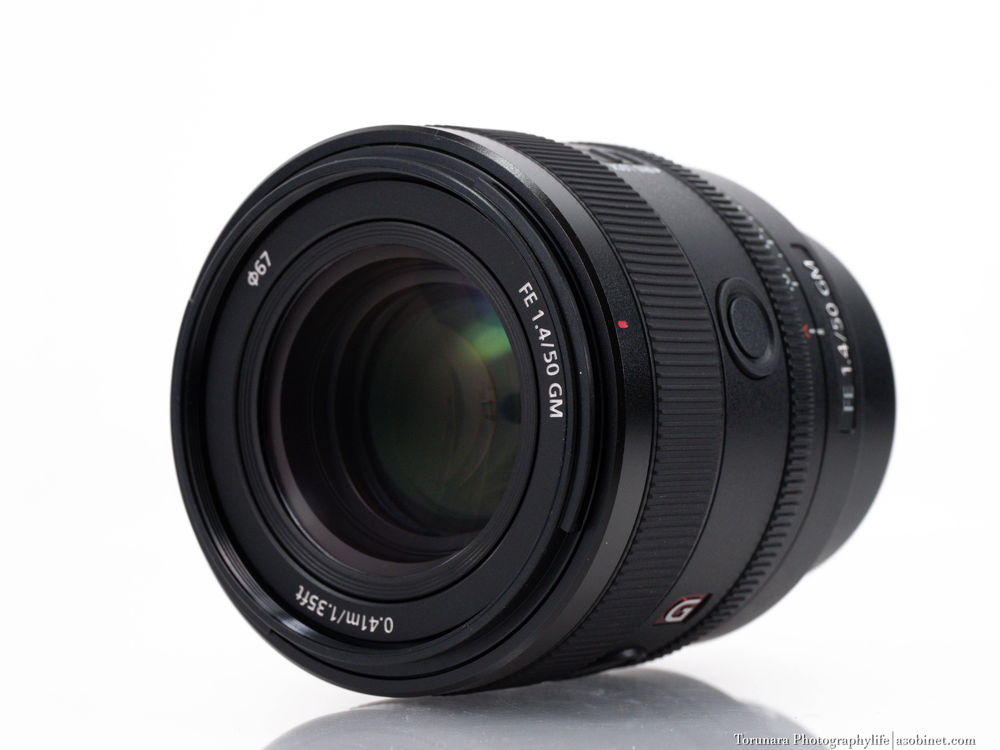
The front of the lens is compatible with fluorine coatings. It is resistant to water droplets and oil stains, and easy to maintain. If you expect physical damage, you should attach a protective filter, but if it's just water droplets, there seems to be little need to attach one. The filter diameter is 67mm, which is compact for a 50mm F1.4 lens. There are many lenses that are compatible with this filter diameter, and it seems to be easy to use if you have C-PL, ND, etc.
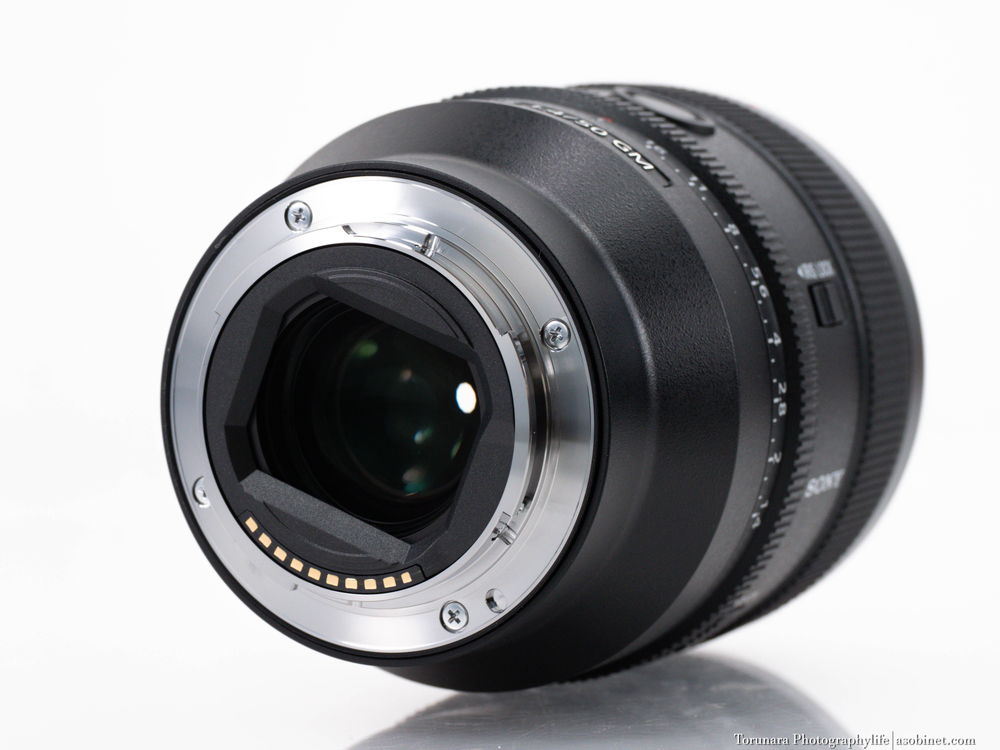
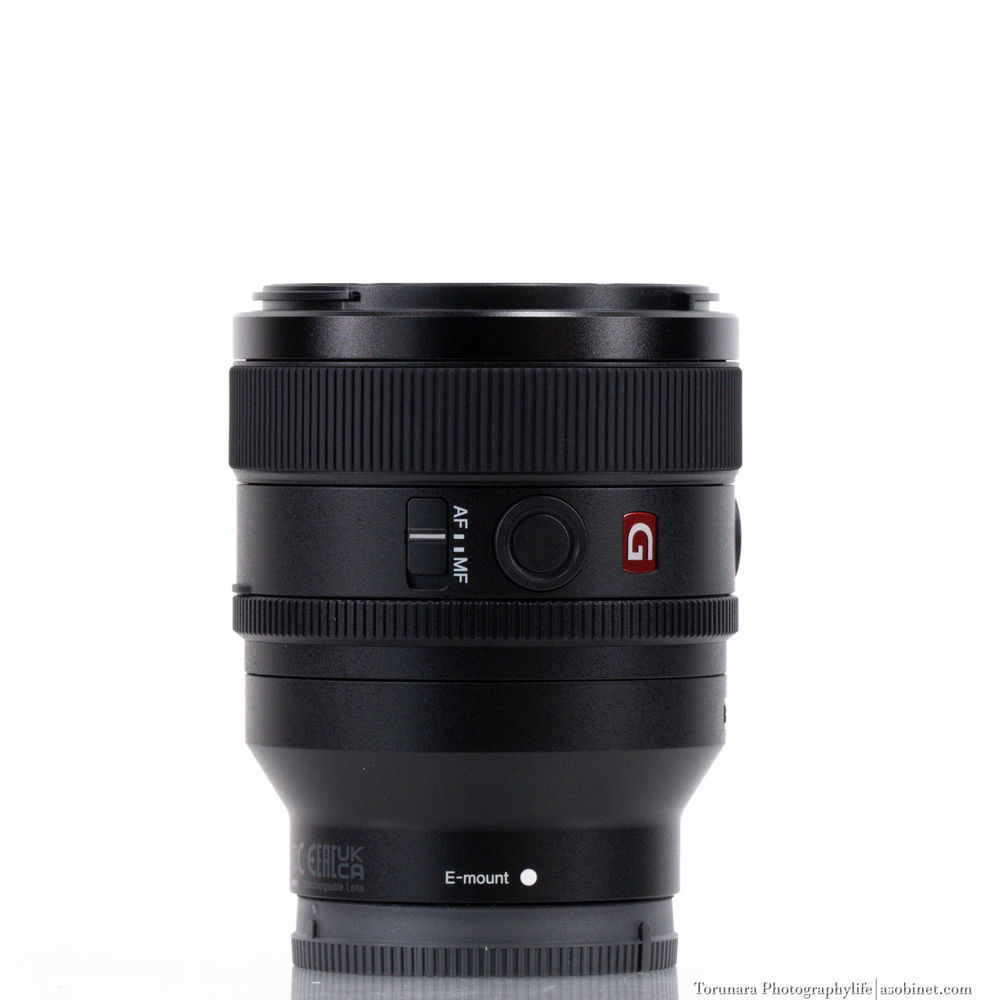
The metal lens mount is secured with four screws. There is a dust- and splash-proof seal around the perimeter. The lens is attached to the camera without being too tight or too loose. The last lens appears to be fixed near the mount.
Focus ring
It has a smoothly rotating focus ring made of rubber. However, it has almost no resistance, and I personally feel that it is “too loose”. It has good linear response and good reproducibility. The stroke for the entire focus range is about 135-180 degrees.
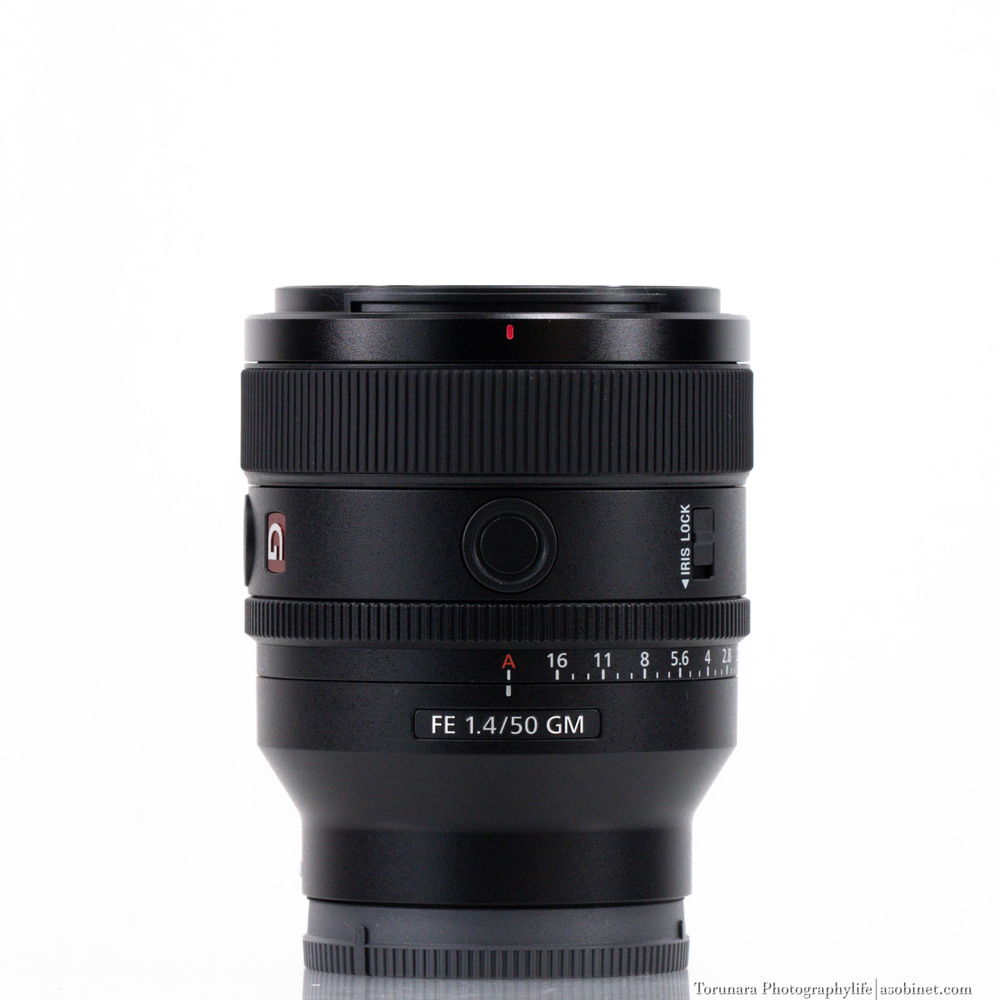
Aperture ring
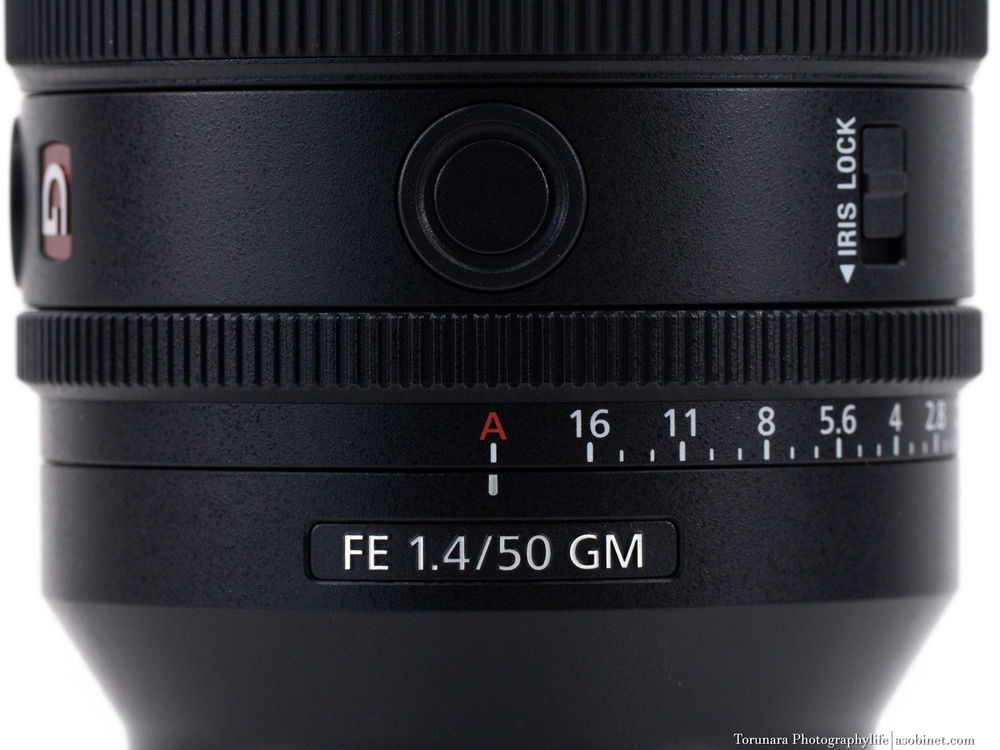
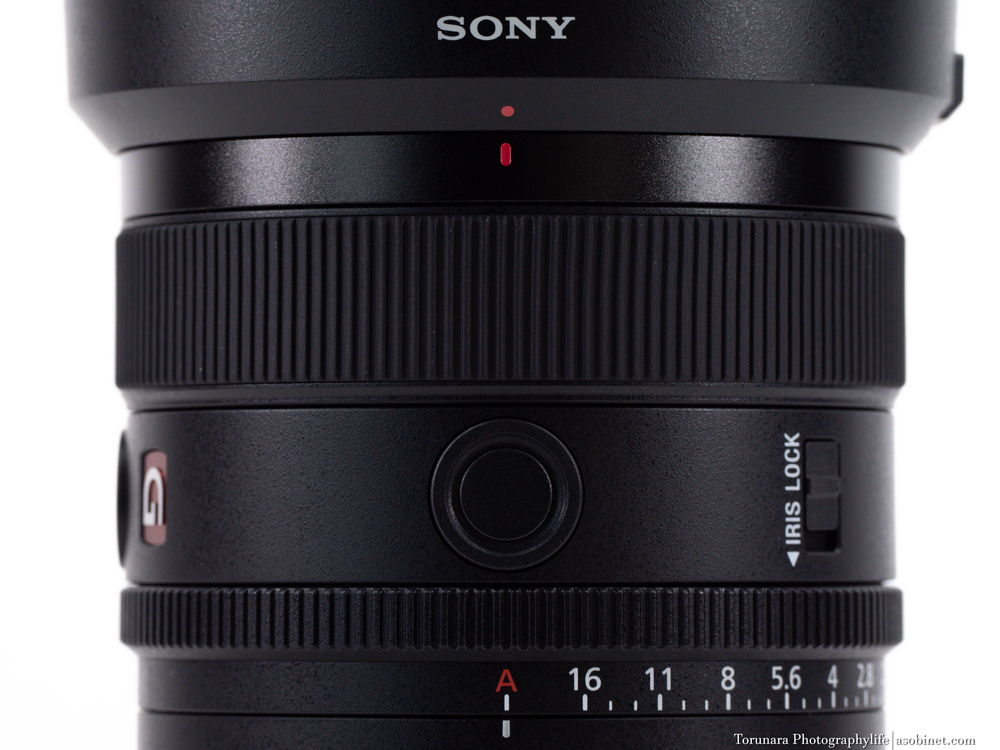
The mount is equipped with a plastic aperture ring. Unlike the focus ring, it has a high resistance and the possibility of accidental operation is low. A little force is required to turn it, but it can be firmly gripped, so you won't find it difficult to turn. There is a switch on the right side to release the click feeling.
Switch/Button
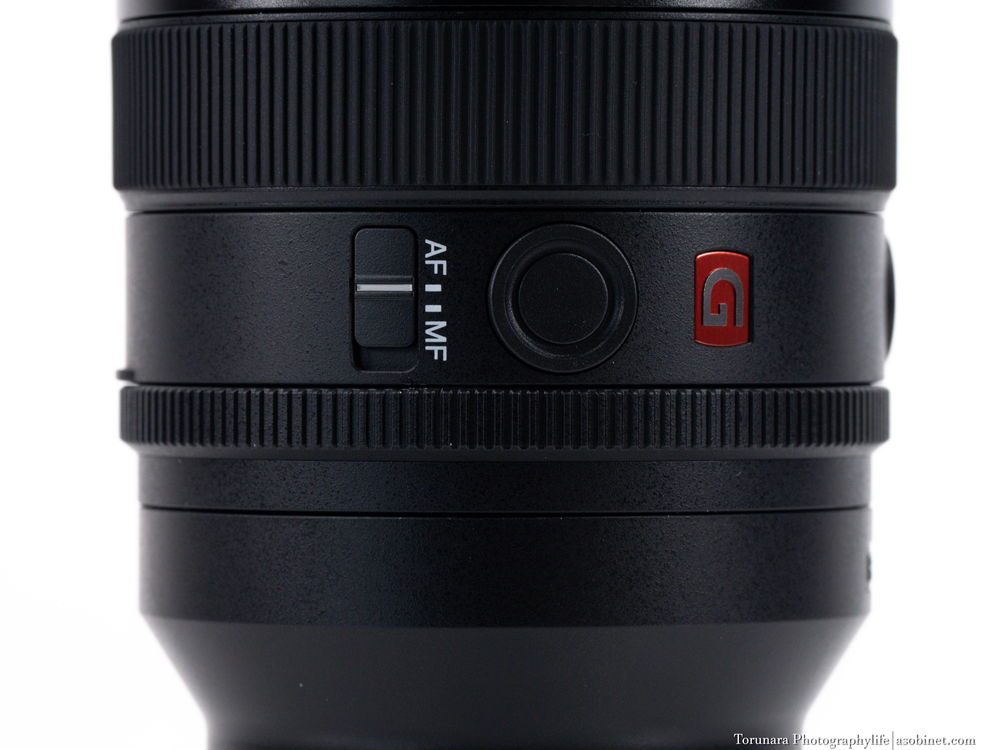
On the side, there is an AF/MF switch and two AFL buttons. The operability is the same as before, so there are no particular problems.
On the right side, there is a switch that allows you to set the click/declick of the aperture ring, and another switch that allows you to lock the aperture ring in position A. If you want to control the aperture from the camera side, it is a good idea to lock it in position A.
Lens Hood
Comes with a plastic cylindrical lens hood. The tip is coated with a non-slip rubber coating, and the inside is painted matte black to prevent reflections. It can be attached upside down, but in this case the focus ring cannot be accessed.
When attached to the lens body, it is automatically fixed in place, and to remove it, you need to operate the release button on the side.
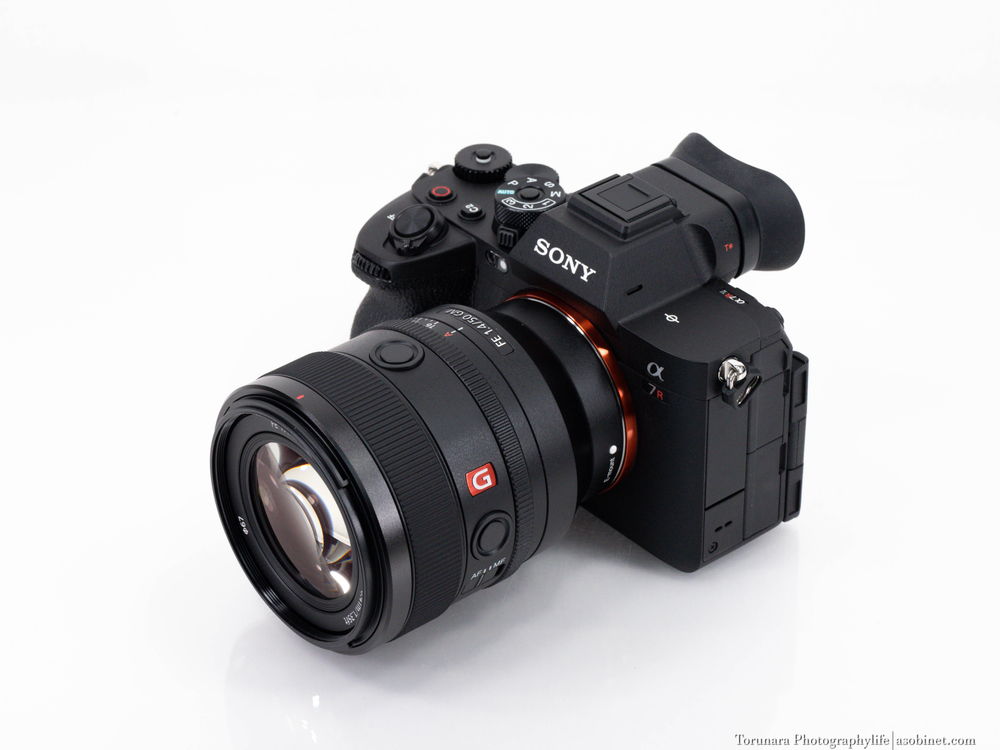
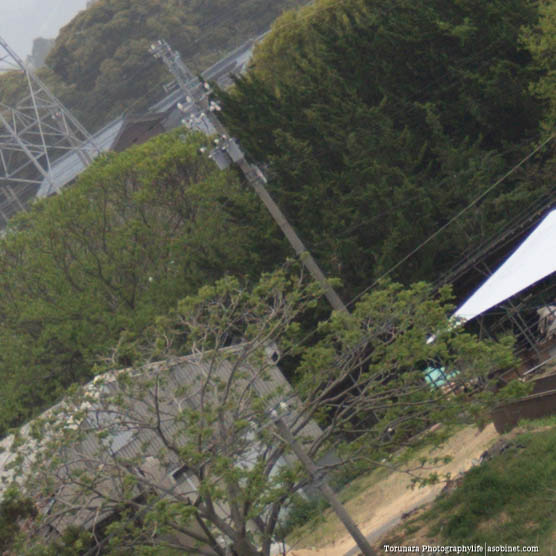
Example of use
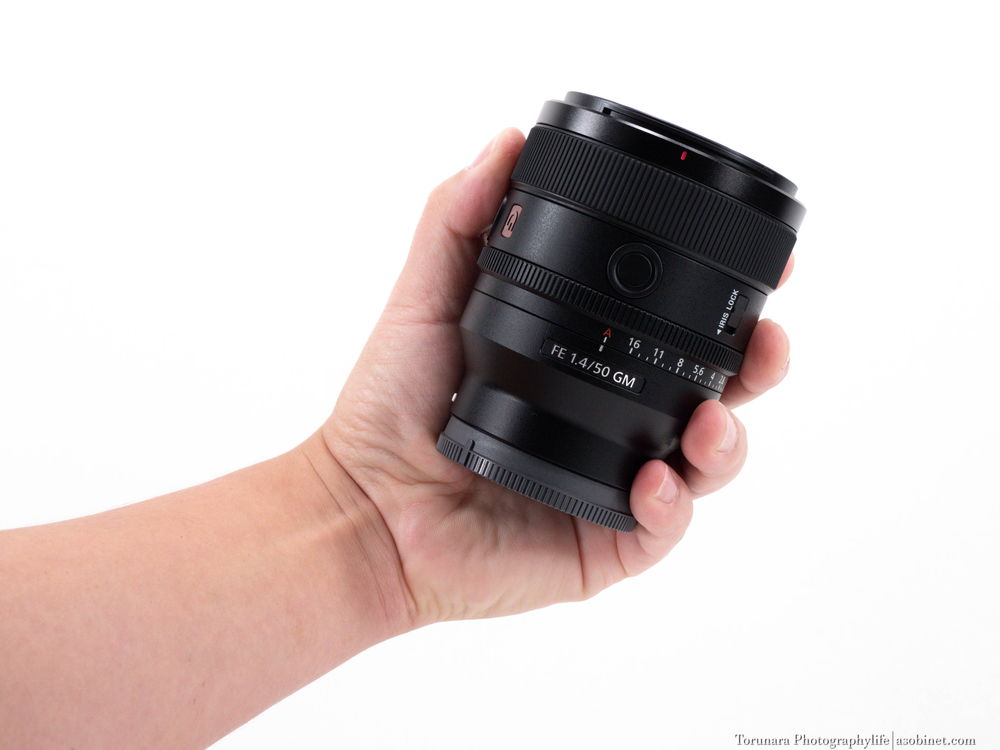
Fitted to the α7R IV. It is compact for a 50mm F1.4 lens, and has good balance without being overly front-heavy. It is also possible to operate it with one hand. When the lens hood is attached, the overall length increases, but there is no problem when storing it by attaching it upside down.
AF・MF
Focus Speed
The focus lens is driven by two XD linear motors. Despite its large diameter, it achieves a comfortable focusing speed from close-up to infinity. The performance is constant for AF-S and AF-C. It also supports high-speed continuous shooting on models with stacked CMOS sensors. There is no problem at all, but the rival Sigma “50mm F1.4 DG DN” also achieves a faster focusing speed with linear motor drive.
Breathing
Focus breathing refers to the change in the angle of view depending on the focus position.If the change in angle of view is significant, the field of view will expand or contract during focusing, potentially causing distractions and affecting autofocus stability. Ideally, it is better to have no focusing breathing. In order to check the effects of breathing, we took the following photos with the lens stopped down to the minimum aperture, at the minimum shooting distance and at infinity.
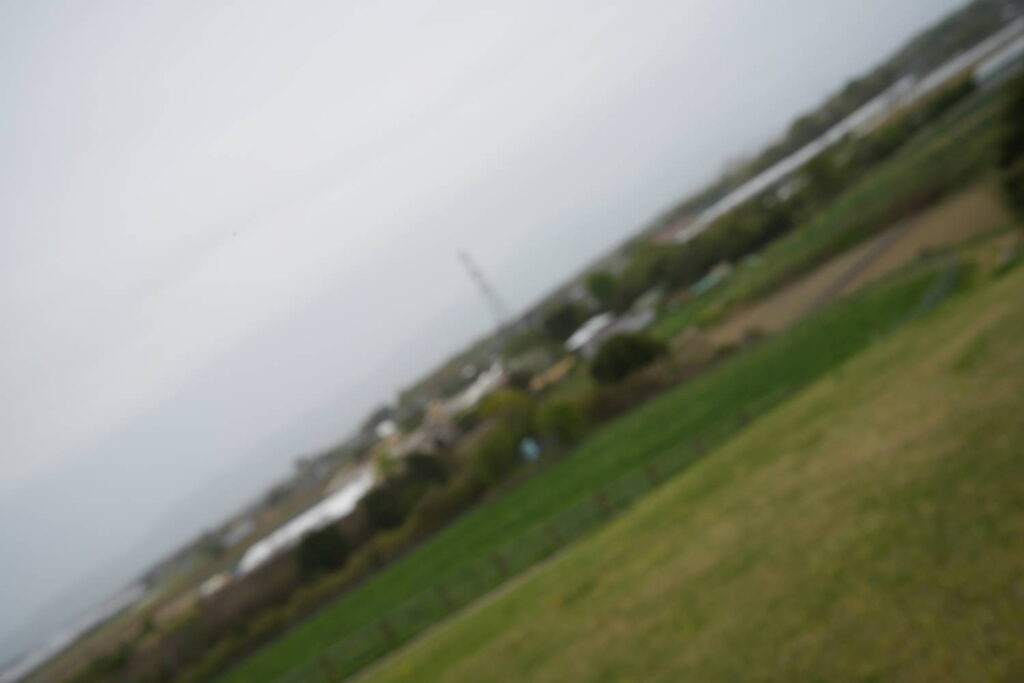
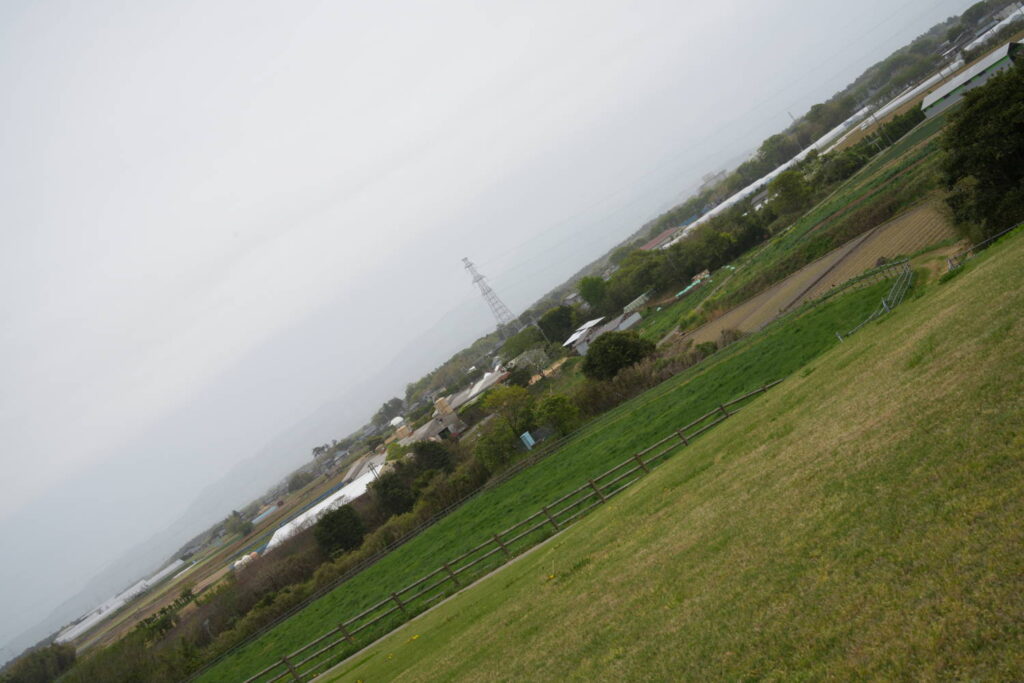
As you can see, the angle of view changes greatly between the minimum shooting distance and infinity. If you are concerned about this when shooting video, you will need to use a camera that supports “breathing correction” to correct it electronically. There is no way to correct it for still images, so you need to be especially careful when using AF in the peripheral areas.
AF accuracy
There were no problems with AF accuracy when used in combination with the α7R IV. It was possible to focus comfortably even in low light and low contrast.
MF
As mentioned above, although I felt that the focus ring was too loose, I was able to use it without any problems for fine-tuning the focus because of the long stroke.
Resolution Chart
Test conditions
- Camera body:A7RV
- Interchangeable lens:FE 50mm F1.4 GM
- Pearl Optical Industry Co.
‘[HR23348] ISO12233-compliant 8K resolution test chart (for still cameras)’ - Olympus HYRes 3.1 analysis software
- The lighting environment is constant indoors.
- Tripod, self-timer 10 seconds, electronic shutter
- RAW output
- ISO 100
- RAW development in Adobe Lightroom Classic CC
・Sharpness: Off
・Noise reduction: Off
・Chromatic aberration correction: Off - Focus on each point to be analysed and take a picture
(image plane curvature is difficult to measure at close range, so check at infinity) - Note that this is a test at close range (infinity may be even better).
- If you adjust the sharpness when developing JPEG or RAW images, the values may improve. Please note that the values given here are the ‘minimum values’.
Test results
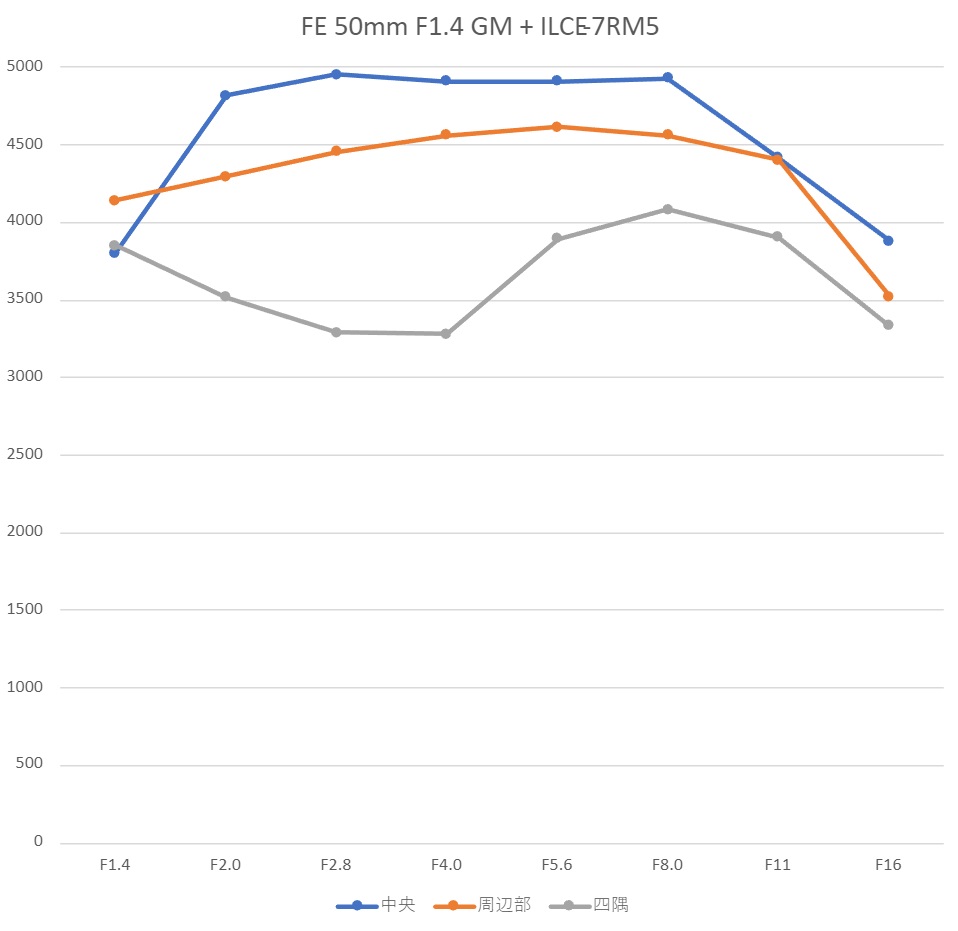
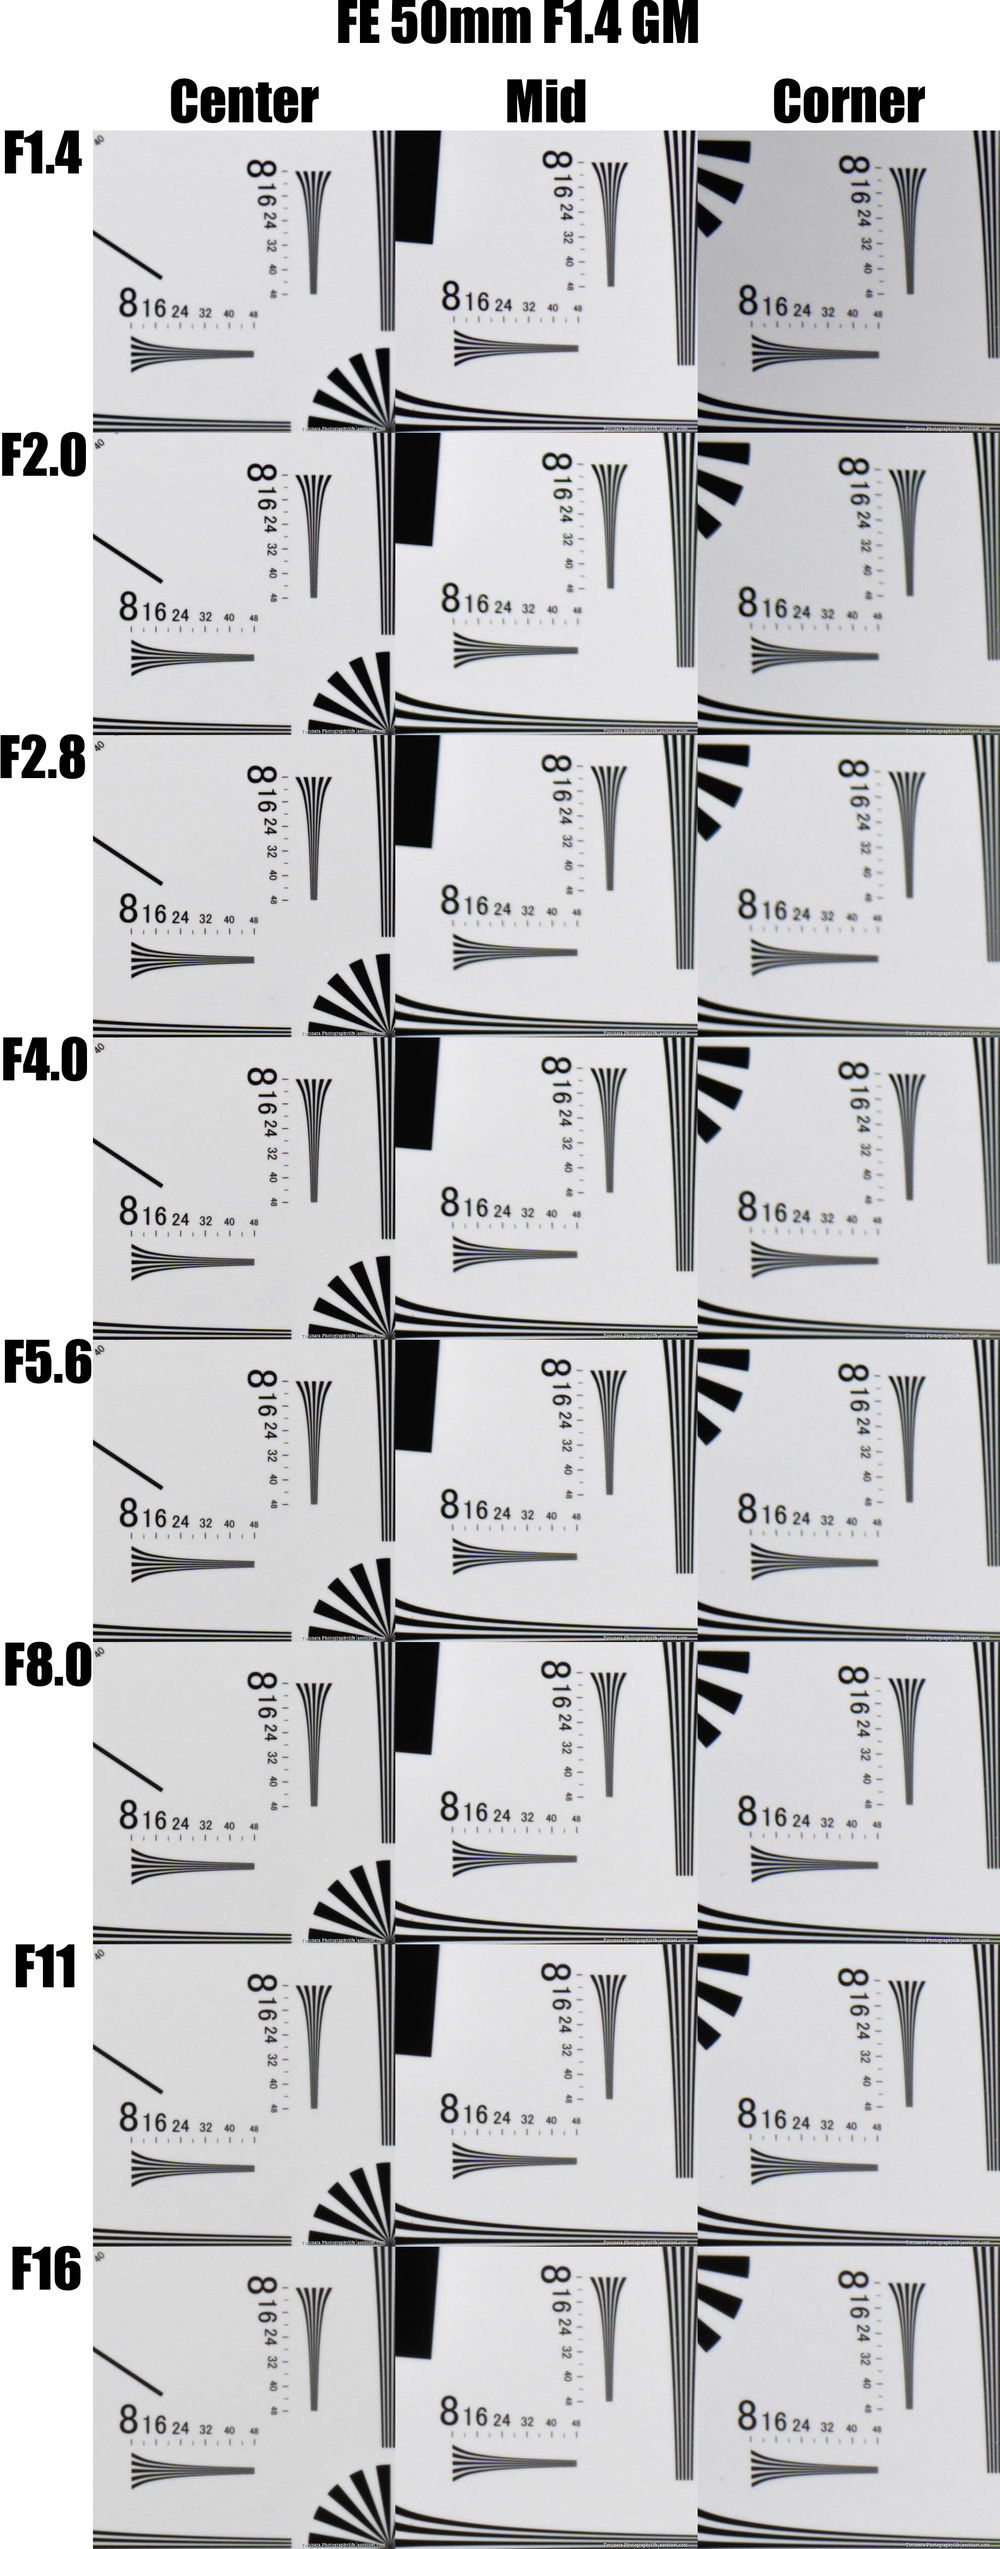
This lens offers very good resolution performance from f/1.4. What is surprising is that it offers consistent resolution performance from the center to the edge of the frame even when shooting close-ups, which is a point where it clearly differs from competitors such as Sigma and Samyang. It is the perfect lens for situations where consistent results are required regardless of the focusing distance. Compared to the FE 35mm F1.4 GM in the same series, it is inferior in terms of performance at maximum aperture and resolution performance in the periphery.
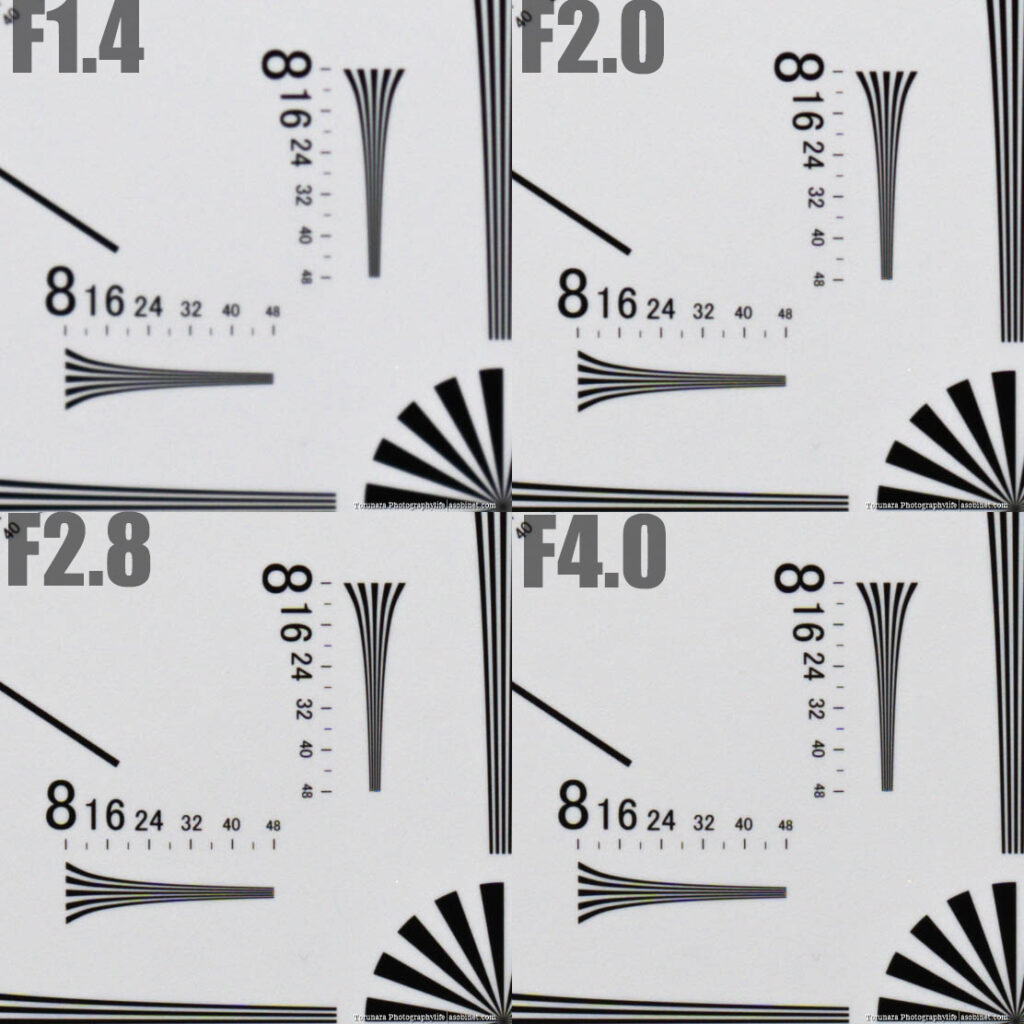
Centre of frame
Good results can be obtained from F1.4, but performance drops slightly at the maximum aperture. From F2 onwards, performance is very good, reaching the upper limit of the chart test, which can measure up to 4800 lines. Up to F8, the chart upper limit is reached, and from F11 to F16, performance drops due to diffraction. Nevertheless, results close to those at the maximum aperture can be obtained. It can be said that the performance is excellent across the entire aperture range.
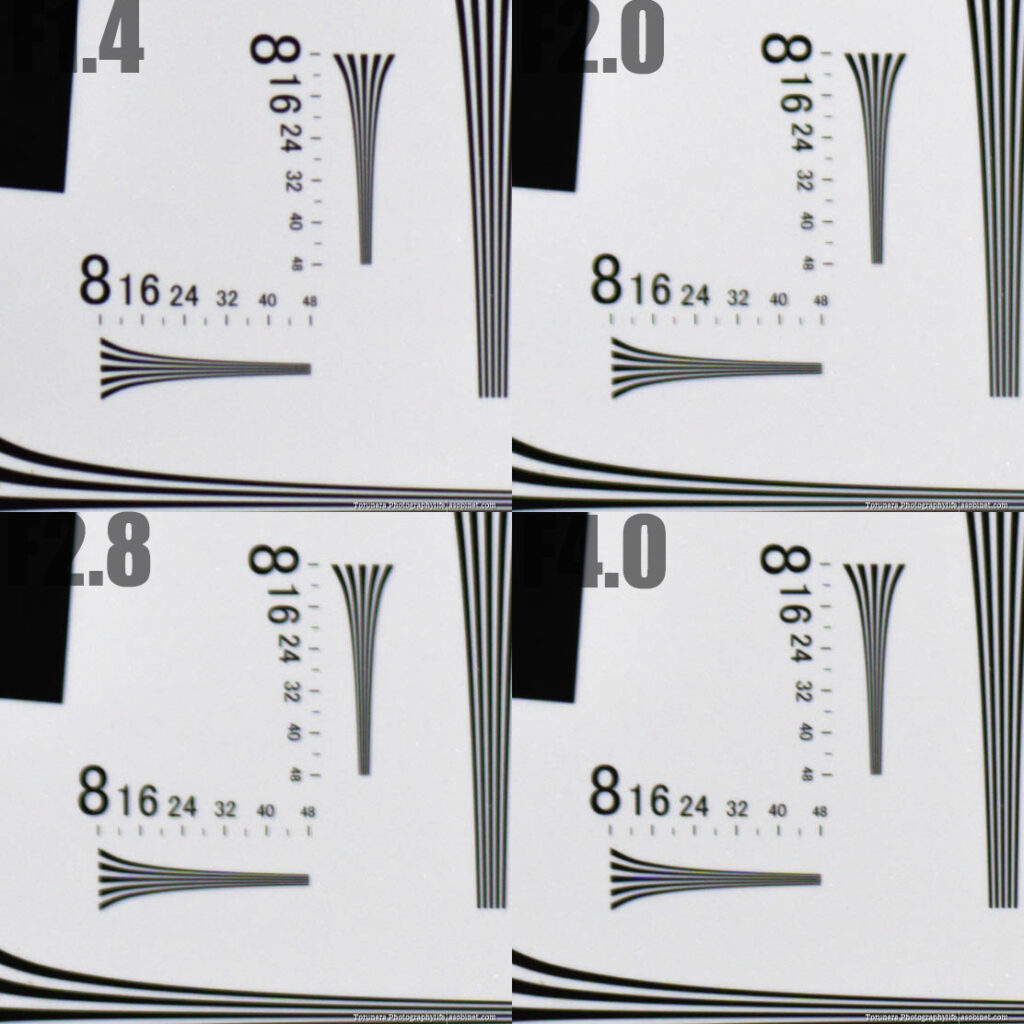
Middle of frame
You can get results that are close to the center even when you open the aperture, but there is no significant change in image quality even when you close the aperture.
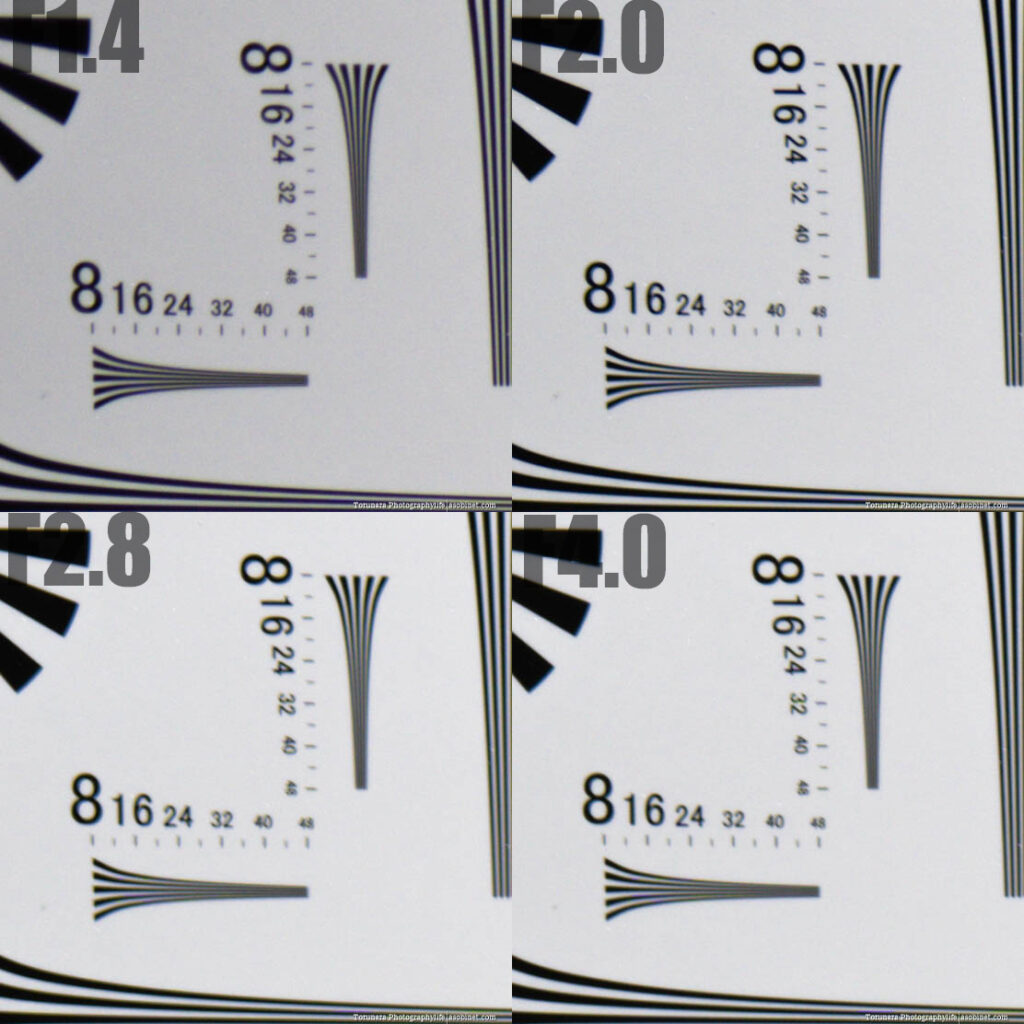
Four corners of frame
You can get excellent results from F1.4. Interestingly, we saw a drop in performance around F2.0-4.0. We retested, taking into account the effects of focus shift, but the only results affected were those in the corners.
Sample
Comparison with other lenses
Sigma is good at the center of F1.4, but the results in the peripheral and corner areas are overwhelmingly better than Sigma and Samyang. However, the Sigma, which improves dramatically even in the corners when stopped down, starts to lose its edge around F4~F5.6. The Samyang is also quite poor in the corners even when stopped down. The FE 35mm F1.4 GM from the same series has surprising performance from wide open, and when compared, the 50mm GM is a little soft at F1.4, and the difference seems to be mainly in the contrast of the details.
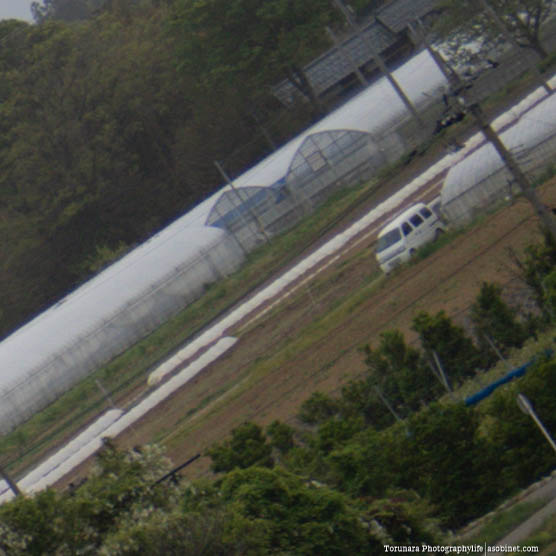
far-field resolution
Test environment
Date of shooting: April 21, 2023
Camera: α7R V
Tripod: Leofoto LS-365C
Head: SUNWAYFOTO GH-PRO II
Exposure: ISO 100, Aperture Priority AE
RAW: Developed using Adobe Camera RAW
- Sharpness off
- Noise reduction off
- Lens correction off
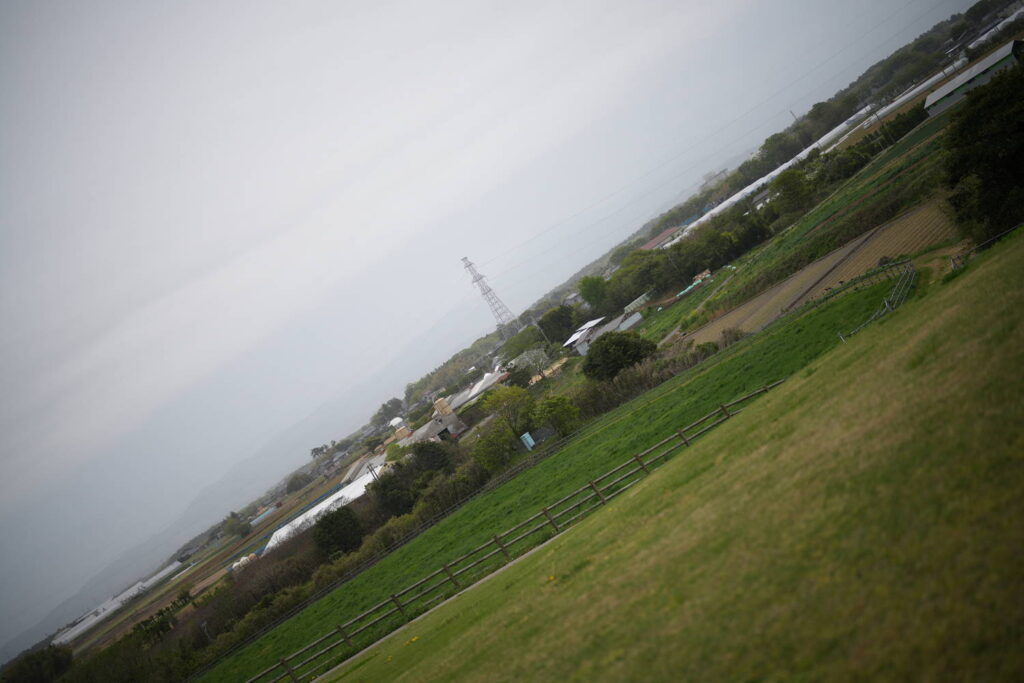
Test results
From the maximum aperture of F1.4, it demonstrates excellent resolution performance from corner to corner. If you stop down to around F2.8, the sharpness increases even more, but even with the 61-megapixel α7R V, the difference is minimal (that's how good it is from F1.4). After that, the same performance continues up to around F8, and after F11, it decreases due to diffraction.
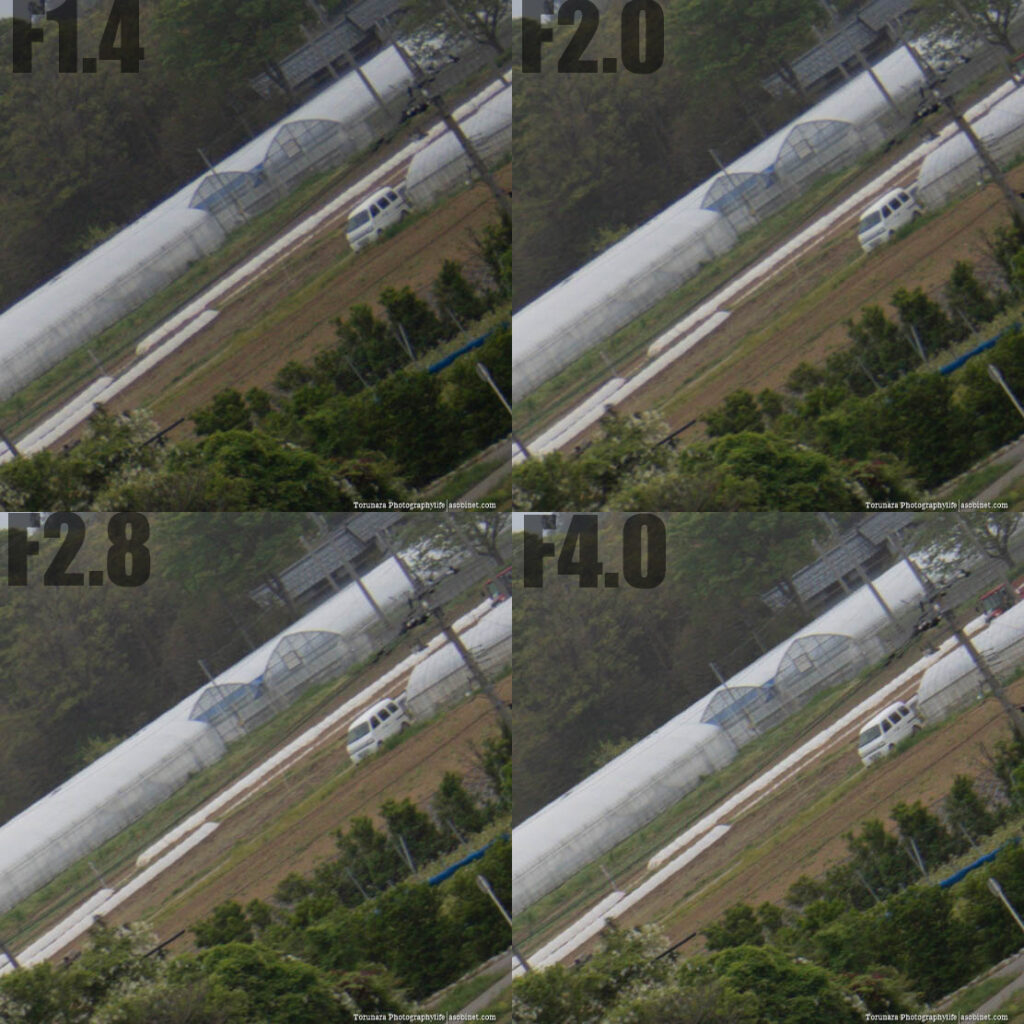
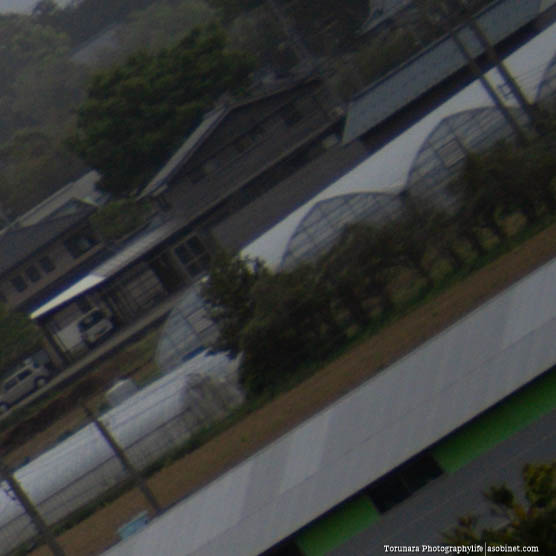
Centre of frame
It demonstrates excellent resolution performance from F1.4, but if you look closely, you can see that the contrast improves as you go from F1.4 to F2.8. As you can see from the white roof on the right, this is due to the effects of residual longitudinal chromatic aberration. It's not something to be particularly concerned about, so you can ignore it. If you want to do your best, I recommend using around F2.8-8.

Middle of frame
There is almost no loss of resolution even in the peripheral areas. As there is still a very slight effect of longitudinal chromatic aberration, it is recommended to stop down to around F2.8 if you want to get the best results.
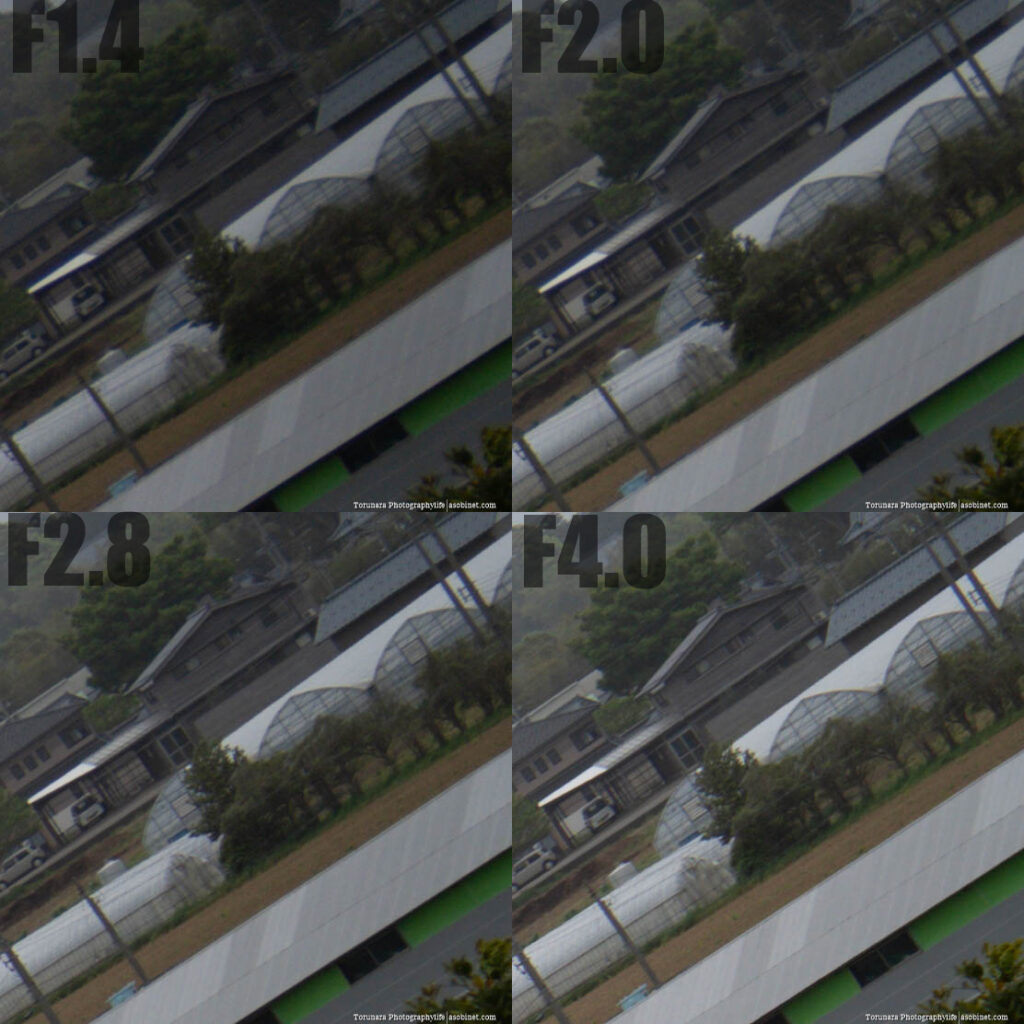
Four corners of frame
Even when the corners of the frame are heavily cropped, you can see that the resolution performance is still good. However, compared to the center and the surrounding areas, the contrast is lower and the details are slightly blurred. If you are particular about the details, it is better to at least stop down to f/2.8~f/4. However, this is only when using the 61-megapixel image sensor model. If you use a 24-megapixel or 33-megapixel image sensor, you will hardly notice any difference in image quality between the center and the surrounding areas.
curvature of a surface
What is surface curvature?
This refers to the fact that the shooting distance at which the image is in focus differs from the centre to the four corners. For example, even if the image is in focus at a shooting distance of 1m, if the subject is moving back and forth around 1m at the edge of the frame, there is a possibility of field curvature.
Although there are few lenses that have noticeable field curvature, in recent lenses, aberration may increase and become noticeable at close distances. However, there are few opportunities to take photos of flat subjects at close range, so even if there is some image curvature, there is no need to worry.
However, if there is an effect even at infinity, you should be careful. If you are trying to achieve a pan-focus effect, for example in a landscape, there is a possibility that you will end up with an unintentional out-of-focus image. As there is no way to correct this aberration, the only way to avoid the problem is to increase the F-number to widen the depth of field.
Test results
Lateral chromatic aberration
What is lateral chromatic aberration?
A colour shift that appears mainly around the edges and corners of the frame. Unlike longitudinal chromatic aberration, the effect of correcting this aberration using the aperture is small, so it is necessary to correct it at the stage of optical design. However, it is possible to digitally correct chromatic aberration using the image processing engine built into the camera body. This makes it possible to correct chromatic aberration, which is difficult to correct optically alone, and recently, there have been lenses that prioritise the correction of other aberrations over chromatic aberration correction. In particular, mirrorless systems tend to rely on post-processing.
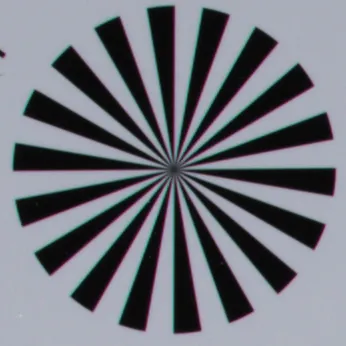
Test results
The correction is very good right up to the edge of the frame. If there is noticeable color fringing in the actual image, you should suspect longitudinal chromatic aberration rather than lateral chromatic aberration.
Longitudinal Chromatic Aberration
What is longitudinal chromatic aberration?
Longitudinal chromatic aberration is a colour shift that occurs in front of and behind the plane of focus. If the area in front of the plane of focus is mainly purple fringing, and the area behind the plane of focus has unnatural green colouring in the out-of-focus area, then the main cause is likely to be longitudinal chromatic aberration. This is more likely to occur with large-aperture lenses such as F1.4 and F1.8, and in such cases it is necessary to close down the aperture to improve the situation. It is possible to correct this using development software, but it is more difficult to process than lateral chromatic aberration, so it is best to suppress the aberration optically if possible. However, when suppressing longitudinal chromatic aberration with a large-aperture lens, the product price tends to be higher. Lenses that perfectly correct for longitudinal chromatic aberration have high contrast on the focal plane from wide open aperture, so you can expect a punchy resolution.
Test results
The correction is good, but there is a slight color cast in front of and behind the focus point. While this is not a problem in many scenes, it may be noticeable at F1.4 in medium and long distances where the area of slight blur is wide. This can be resolved by stopping down to F2-2.8.

Distortion
What is Image Distortion?
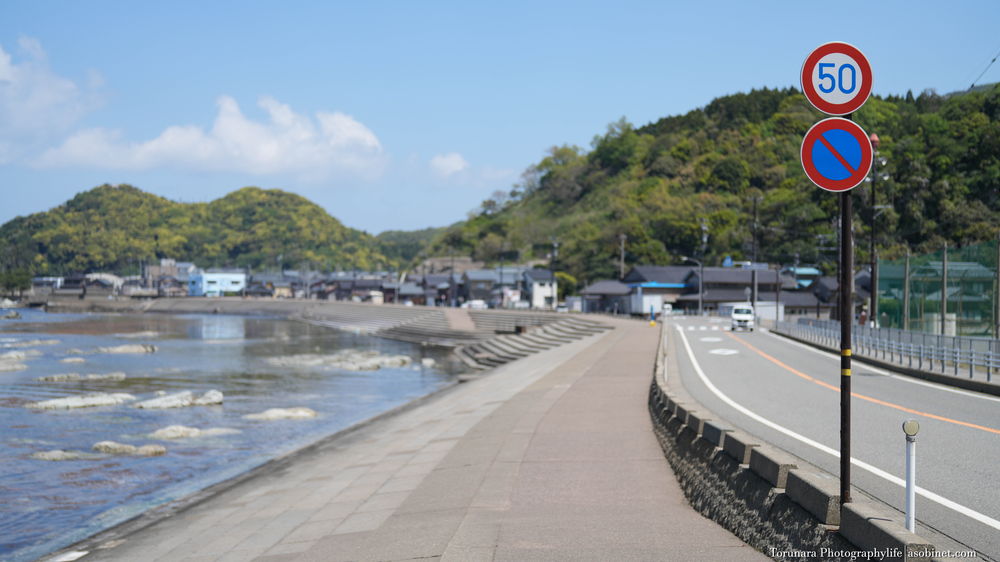
Distortion refers to the phenomenon where straight lines do not appear straight on a flat surface. It is particularly noticeable when there are many straight lines, such as when there are man-made objects or a horizon in the image, and it can be divided into two types: barrel distortion, which is similar to that of a fisheye lens, and pincushion distortion, where the centre of the image appears compressed.
This is an aberration that can be corrected relatively easily, but it is difficult to manually correct distortions with complex shapes. In this case, a correction profile that matches the lens is required.
Test results
Without correction, a slight barrel distortion occurs. Compared to the competing Sigma DG DN, the correction is in good condition.

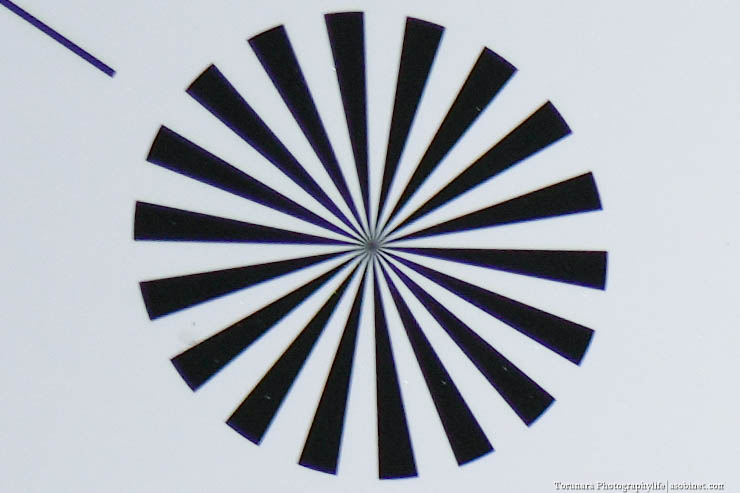
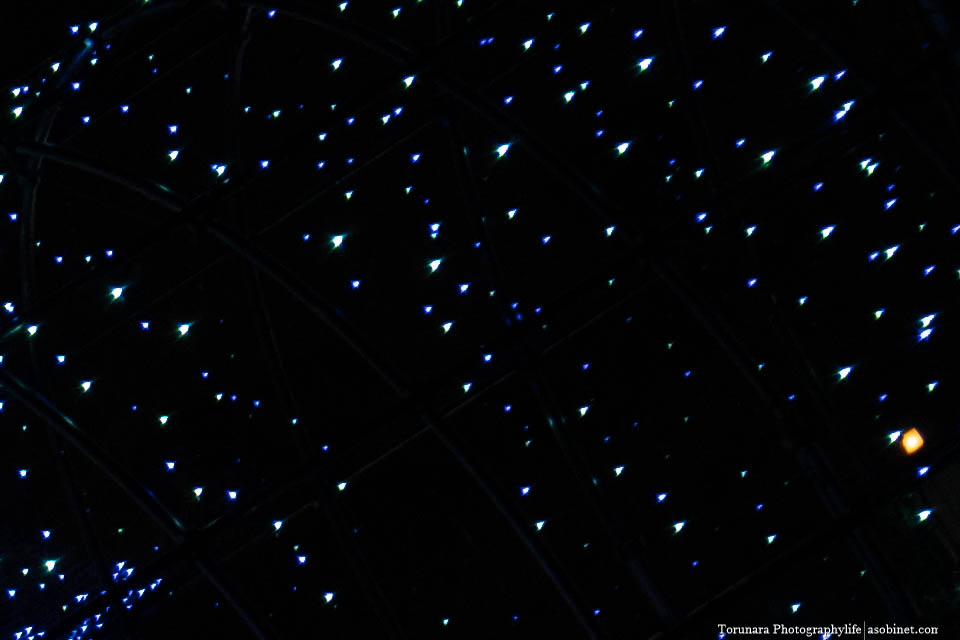
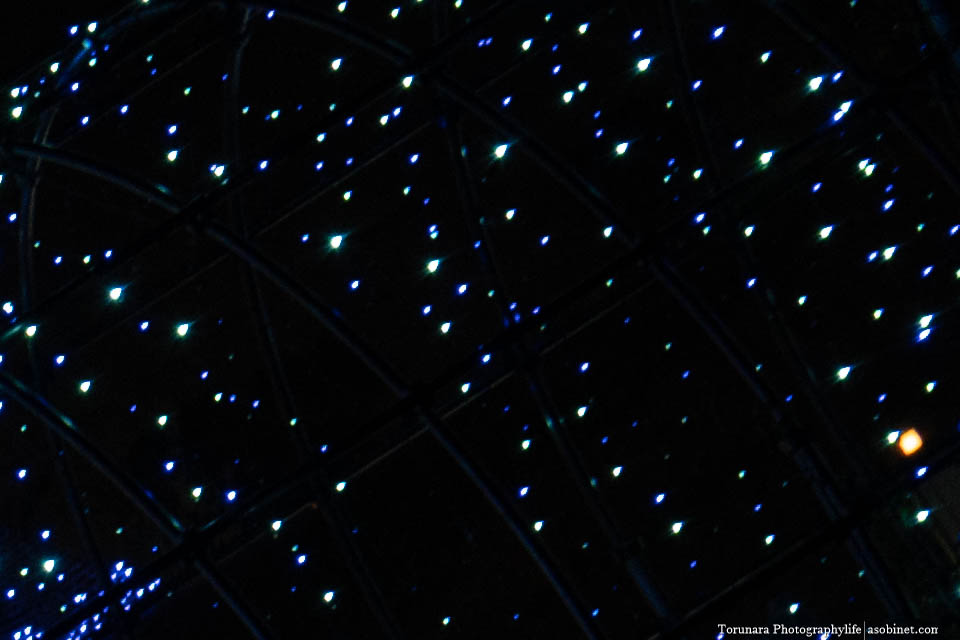
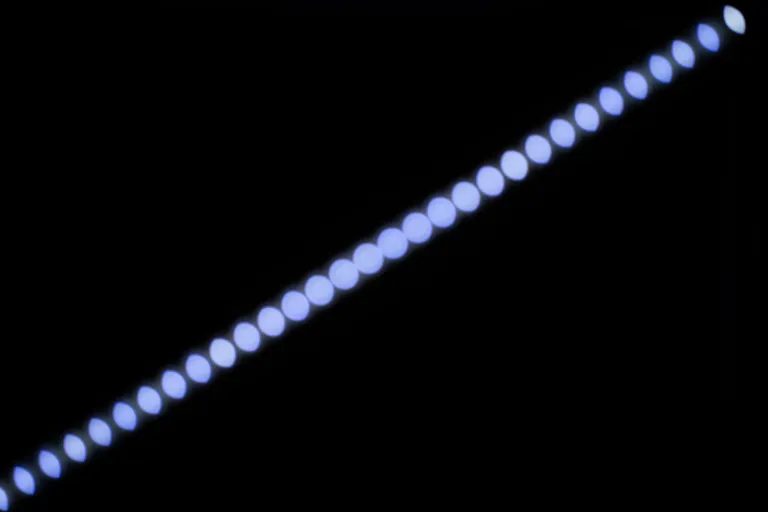
Coma aberration
What are coma and astigmatism?
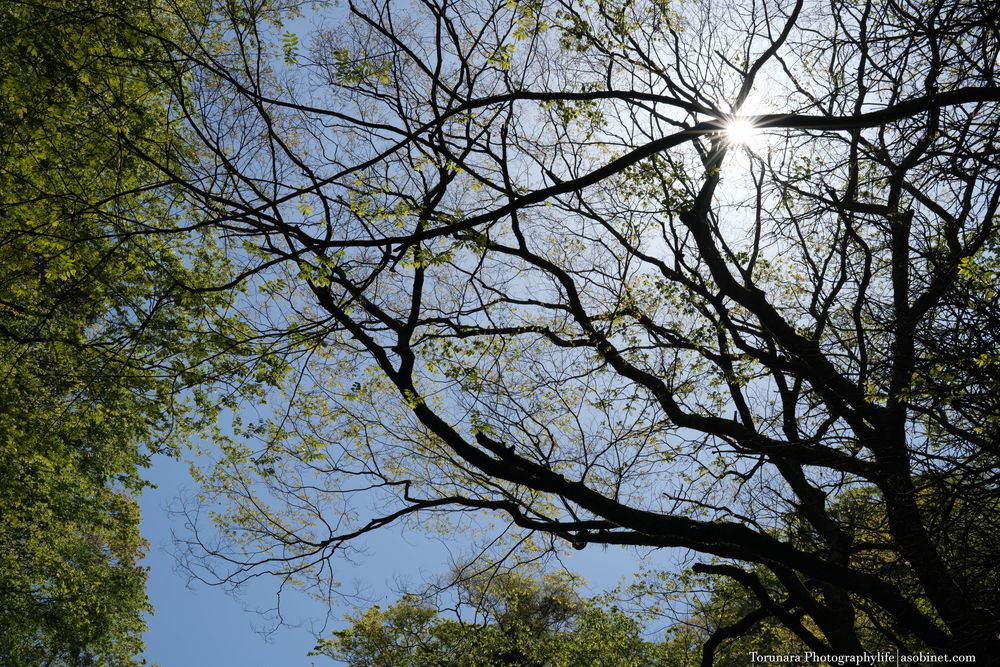
Coma and astigmatism are mainly the failure of a point of light to appear as a point of light in the four corners of the frame. For example, this can be seen in artificial lights, stars and illuminations in night scenes. Even during the day, bright point light sources such as sunlight filtering through trees can also have an effect. As this problem cannot be corrected in post-processing, it is necessary to correct it optically.
Although it can be improved by narrowing the aperture, in situations where shutter speed is important, such as night scenes and astrophotography, it is not possible to narrow the aperture, and optical correction may be necessary.
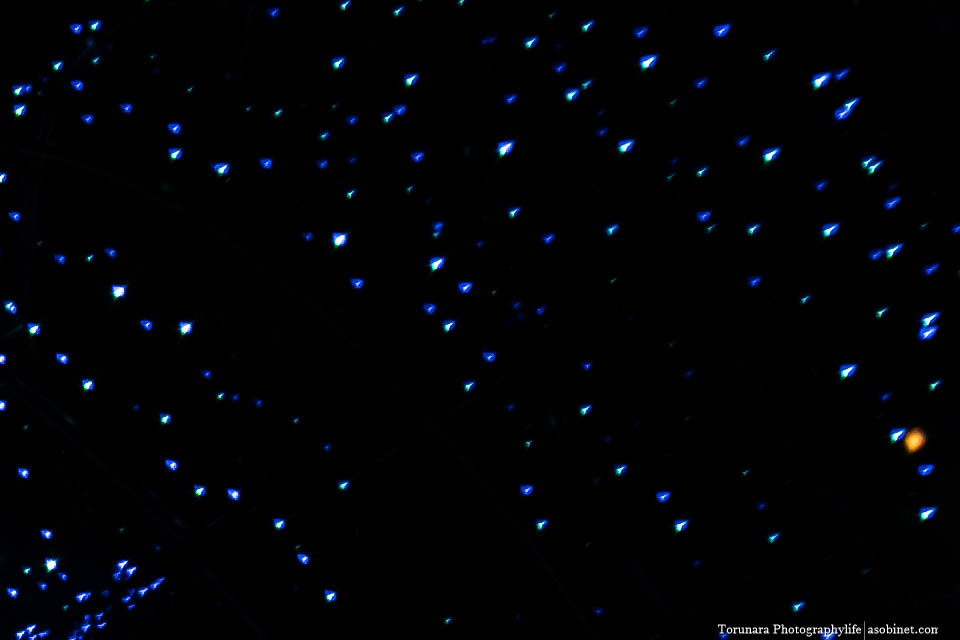
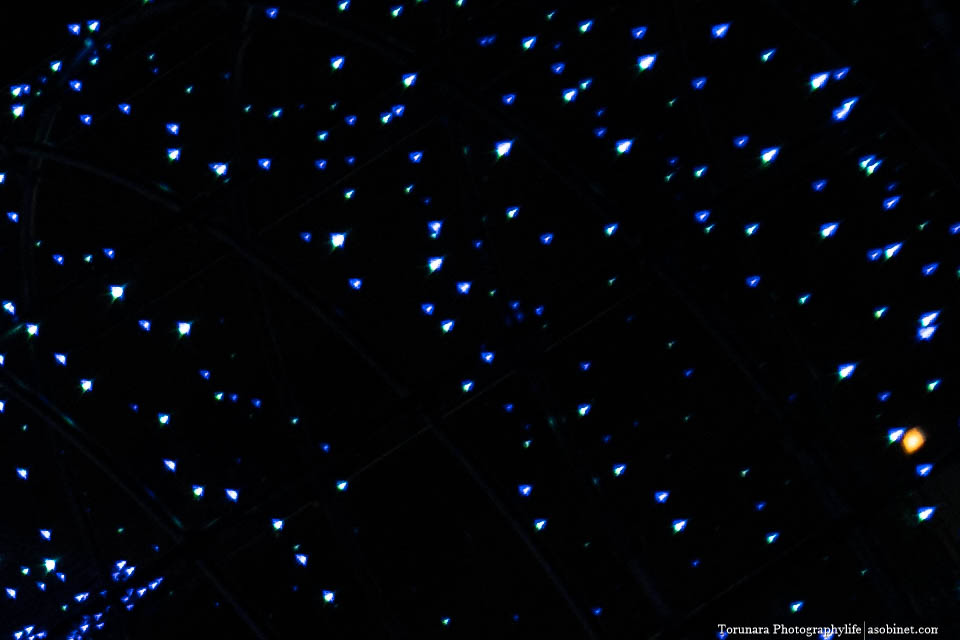
Test results
Even when the aperture is fully open, there is almost no change in the point light source. The correction is better than with the Sigma DG DN.
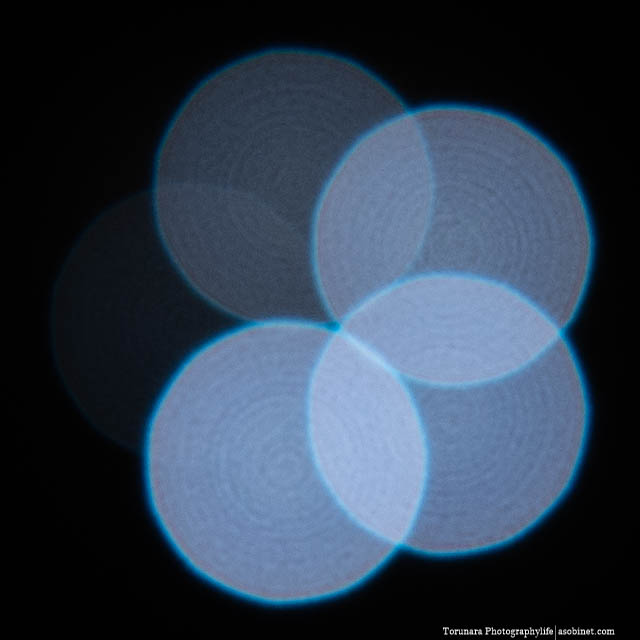
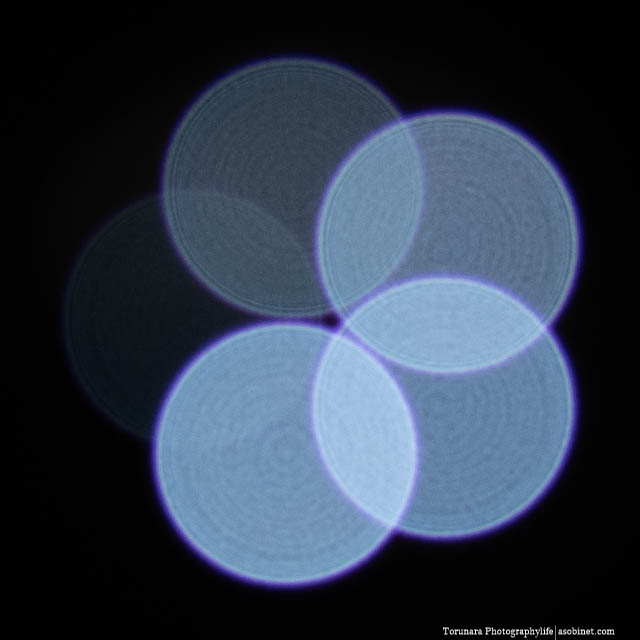
Spherical aberration
Overall, the correction is good. If you check it carefully, you will notice that there is a slight difference in the quality of the blur before and after.
Foreground and background blur
What is a beautiful blur and a busy blur?
The evaluation of bokeh tends to be subjective, but I personally think that ‘soft, diffused bokeh’ is beautiful, while ‘sudden bokeh or hard-edged bokeh’ is not so good (or is a unique depiction). However, everyone has their own preferences, so there may be people who prefer the opposite. For reference, here are some examples of ‘blurred bokeh’ and ‘hard-edged bokeh’. The difference in the tendency of the depiction is mainly due to the state of correction of spherical aberration, and when the bokeh on either side is soft, there is a tendency for the bokeh on the other side to become hard.

Back Blur
While the background blur in close-up shots is a soft depiction with a blurring effect, the background blur in long-distance shots is a little harder with a more defined edge. I don't think there are many scenes where the foreground blur is important in close-up shots, so you could say that the good bokeh quality of the background blur is well-balanced. The correction of longitudinal chromatic aberration is not perfect, and in some cases there is a possibility of coloration occurring in the bokeh. However, the soft background blur is also blurred, so the coloration is less noticeable.


Front Blur


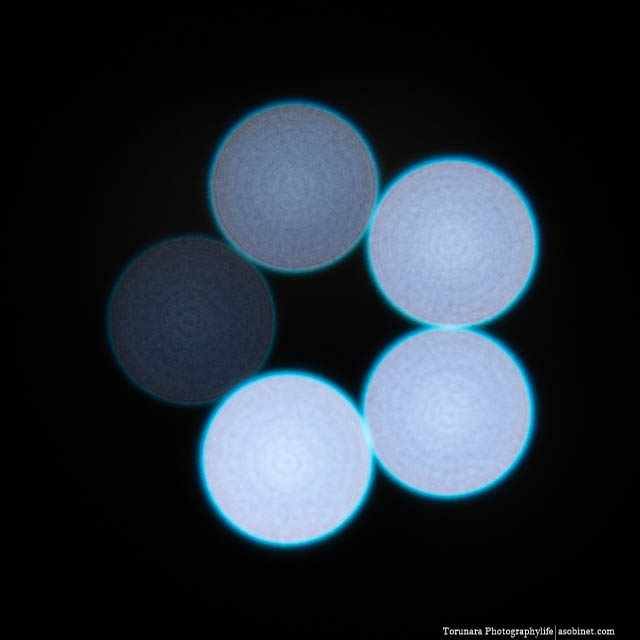
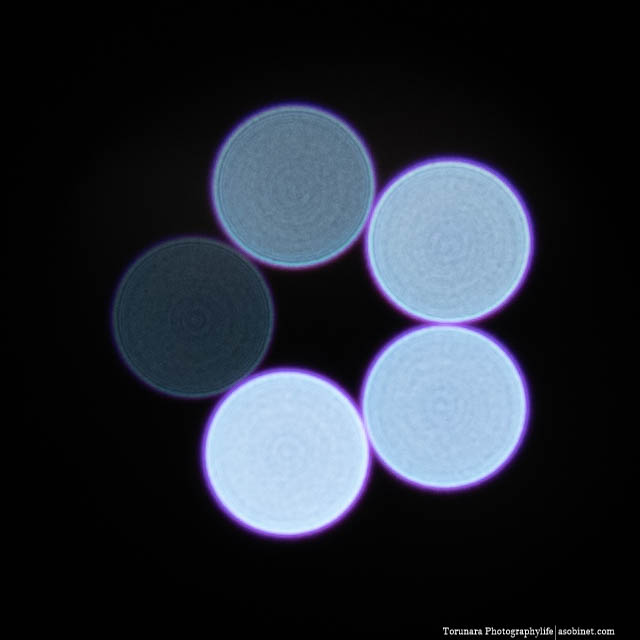
Bokehball
Effects of Vignetting and Spherical Aberration
If vignetting is strong, the bokeh at the four corners of the frame will be elliptically deformed or partially missing. The only way to solve this problem is to close down the aperture. However, closing down the aperture will make the bokeh smaller and in some cases the shape of the aperture blades may become visible, so it is necessary to compromise on the amount of vignetting depending on the situation.
If the amount of vignetting is small, it is possible to get a circular bokeh from wide open to the four corners. Ideally, a lens with little vignetting is preferable, but to eliminate it, it is necessary to fundamentally increase the size of the lens. There is a need to strike a balance between portability and cost, so some kind of compromise is necessary.
If the correction of spherical aberration is not perfect, there will be a difference in the depiction of the bokeh in front and behind (as shown in the review of bokeh in front and behind). In this case, one side will have a smooth depiction with blurring, while the other side will have a hard depiction like double-line bokeh.
Test results
As you would expect from a compact, lightweight F1.4 standard large-aperture lens, it is affected by vignetting towards the corners. Although the vignetting is noticeable, it is typical for this class of lens. If you stop down to F2.8, most of the vignetting will be improved. The bokeh has only a slight edge, and the inside is smoothly depicted. Although it uses multiple aspherical lenses, the onion bokeh is not noticeable at all.

Sample of a boke
Close range
The bokeh is very large, and the subject is completely separated from the background. Immediately after the in-focus plane, the image is softly rendered with a soft focus, and the bokeh quality is good overall. When you stop down, the spherical aberration converges and the contrast improves, and the sharpness of the in-focus plane increases. However, the contrast of the background also improves, so depending on the situation, it may become a little busy.

Short range
You can also get a soft background blur when the shooting distance is a little long. When you stop down the aperture, the contrast increases and the vignetting becomes a little stronger. The best aperture for a soft background blur is F1.4. However, even when you stop down the aperture, the bokeh quality does not become extremely rough, so you can say that the bokeh is easy to use across the entire aperture range.

Medium range
Although the bokeh becomes smaller, you can basically get smooth bokeh with the aperture wide open. I feel that it is a very user-friendly 50mm F1.4 that does not break down in the corners of the frame.

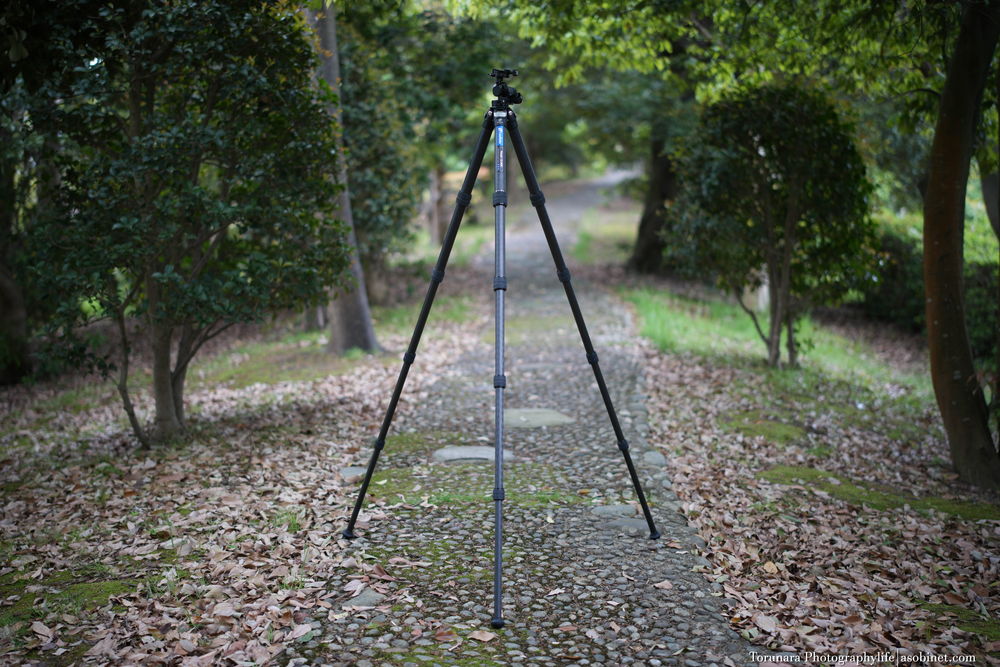
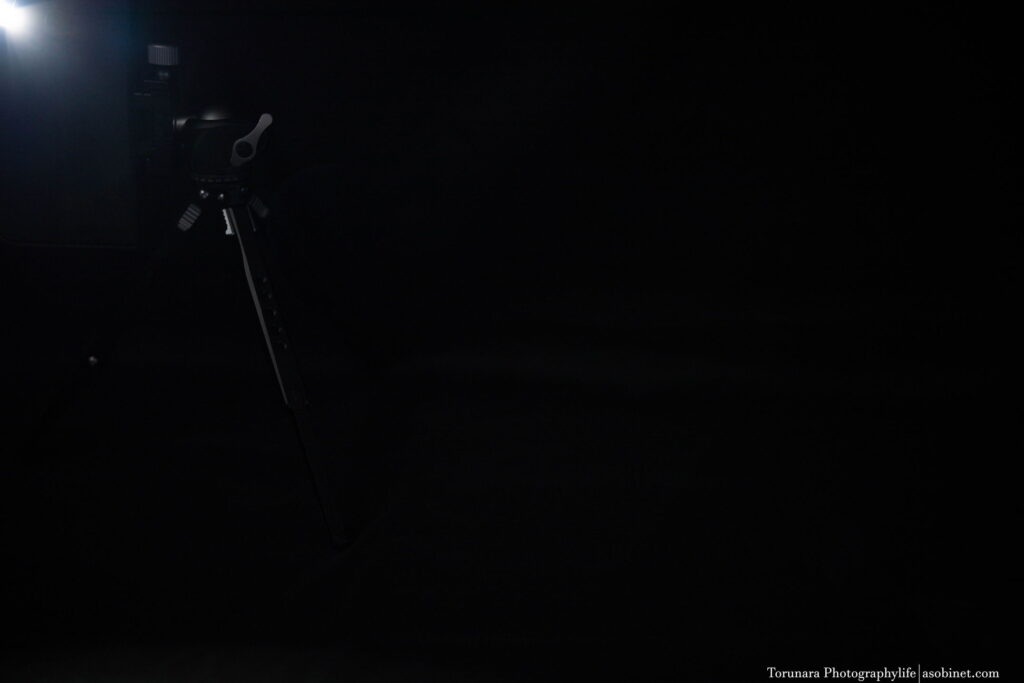
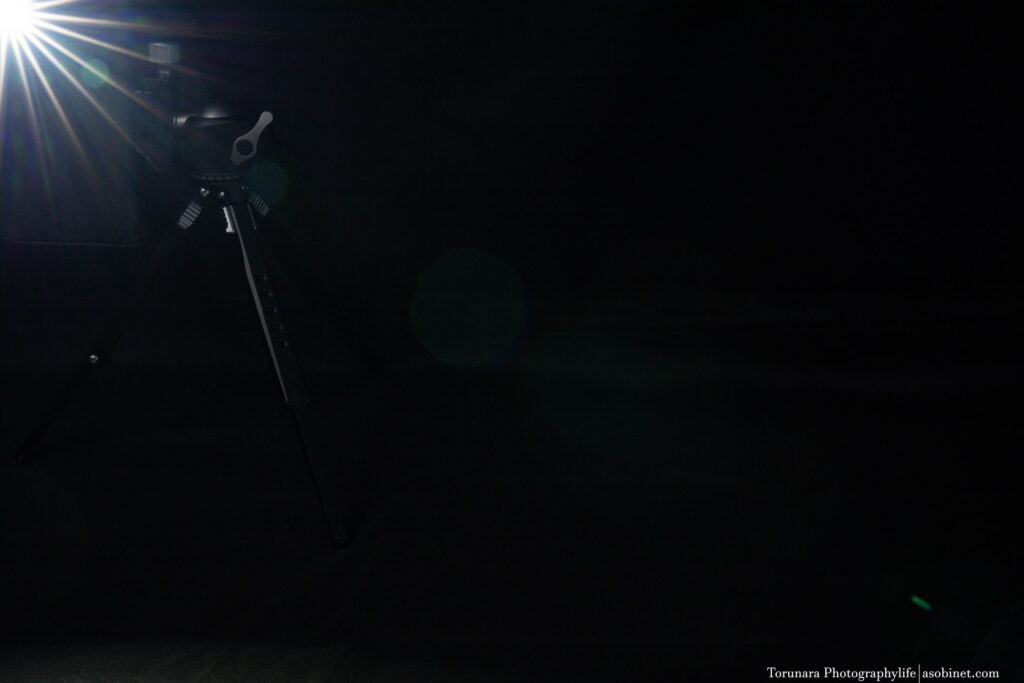
Portrait
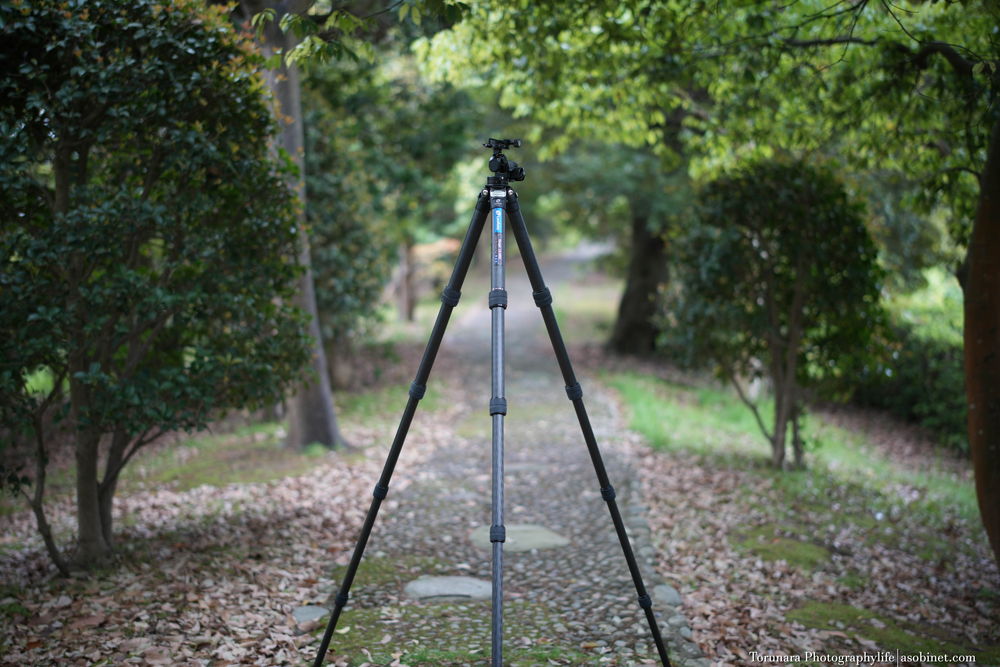
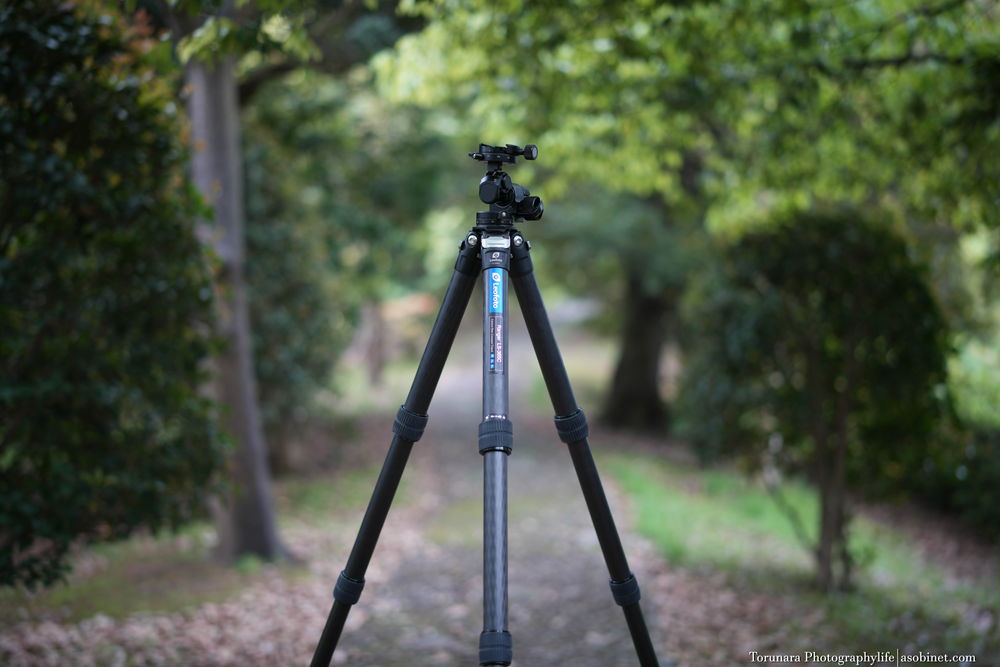
The following are the results of taking pictures of a tripod that is 170cm tall while changing the distance and aperture.
Even when the whole body is in the frame, the blur is large enough to separate it from the background. The blur quality in this case is not as smooth as to be described as “soft”, but there is no sign of the kind of aberration that would be considered a weakness, and it seems to be easy to use. The blur quality gradually improves as you get closer to the subject.
Compared to the Sigma 50mm F1.4 DG DN, you get almost the same results. However, if you look closely, you'll see that the Sony has a softer bokeh edge and a relatively smoother rendering. Personally, I prefer the Sony G Master, but the difference in price is not enough to justify the difference.

Vignetting
What is vignetting?
Unnatural drop in light intensity around the frame.
The light intensity is lower than in the central area, and there is insufficient exposure in the four corners of the frame. This mainly occurs with large-aperture lenses and wide-angle lenses.
Although this is a phenomenon that can be easily corrected using software, it is necessary to be careful about the fact that it can cause noise, as the insufficient exposure is covered by post-processing correction (sensitization). In particular, when using high sensitivity for nightscape or starry sky photography, there is a possibility that noise will appear strongly.


Minimum focusing distance
There is noticeable vignetting towards the corners when the aperture is wide open. However, as a compact and lightweight 50mm F1.4, it is not particularly strong. The Sigma DG DN is slightly more noticeable.

Infinity
Compared to the minimum shooting distance, the light reduction is slightly stronger, but there is no extreme change. However, even if you stop down, the light reduction in the corners will remain.

Backlight resistance, sunstar
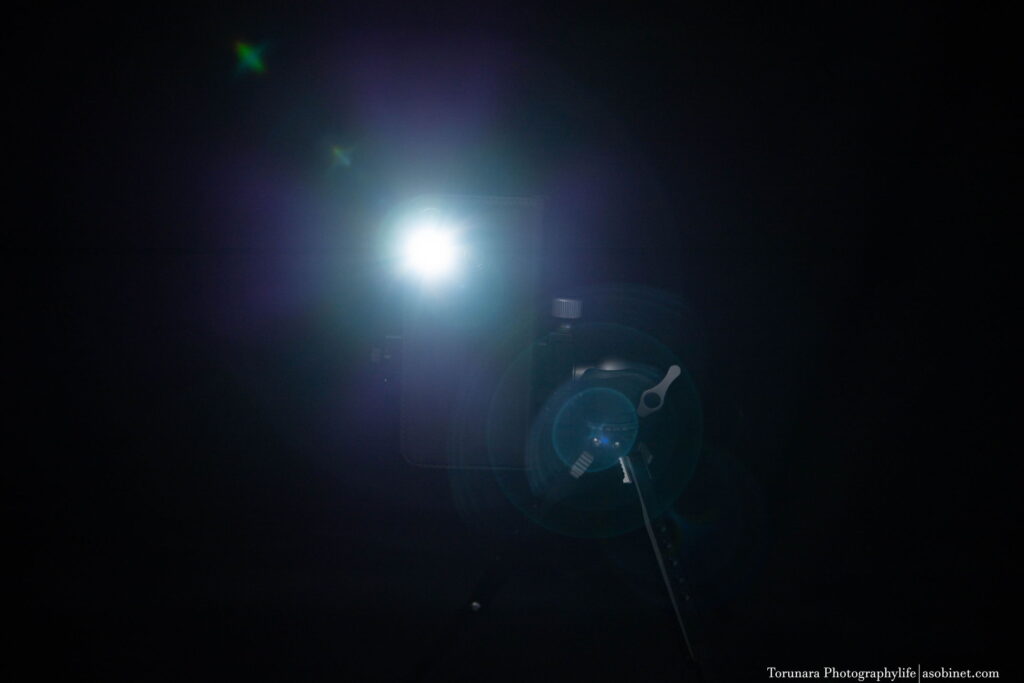
centre
If a strong light source is placed near the center of the frame, a slightly noticeable ghost will occur. The ghost that is noticeable near the open aperture can be reduced by stopping down, but on the other hand, the ghost that was hidden becomes apparent. The effect of backlighting is noticeable throughout the aperture range. The Sigma DG DN is superior in this category.
corner
Compared to the center of the frame, you can expect much better results. Although the ghosting becomes a little stronger when you narrow the aperture, it is basically not a problem.
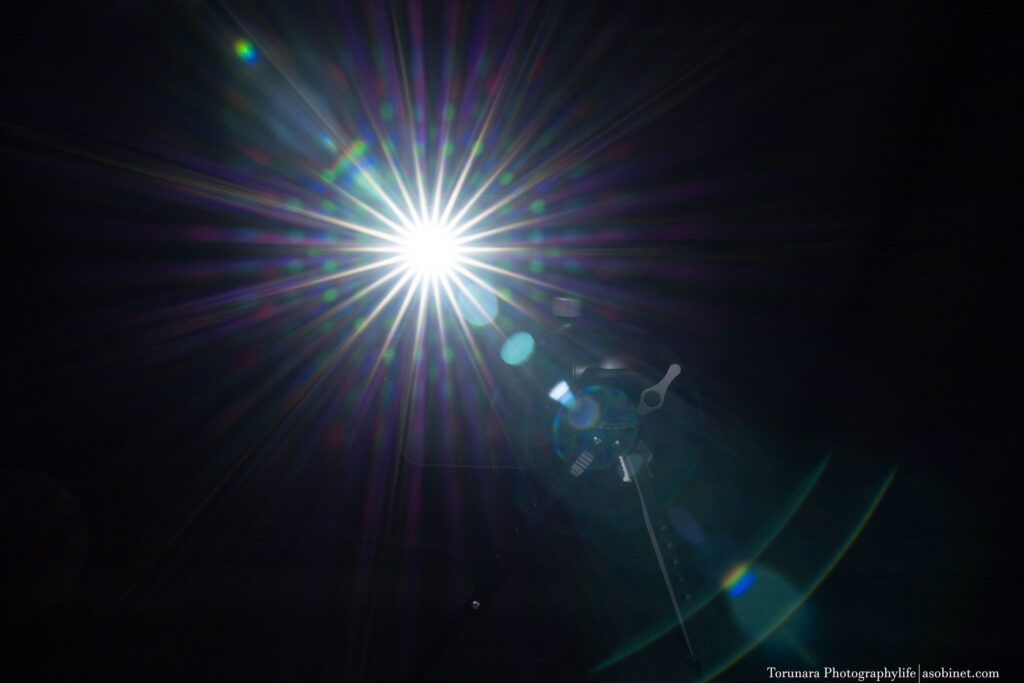
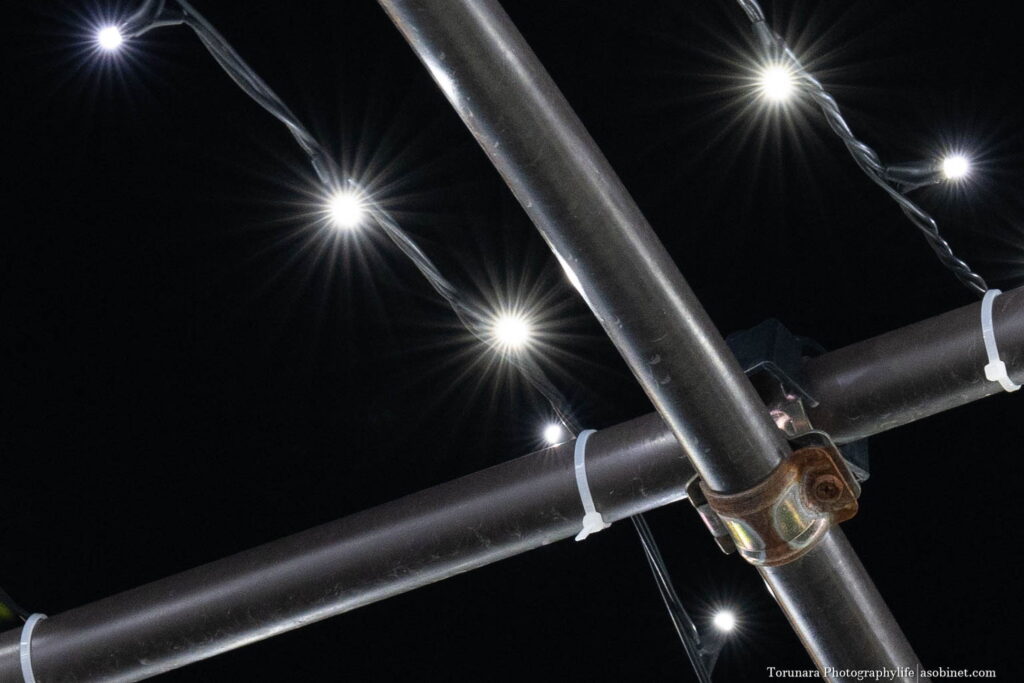
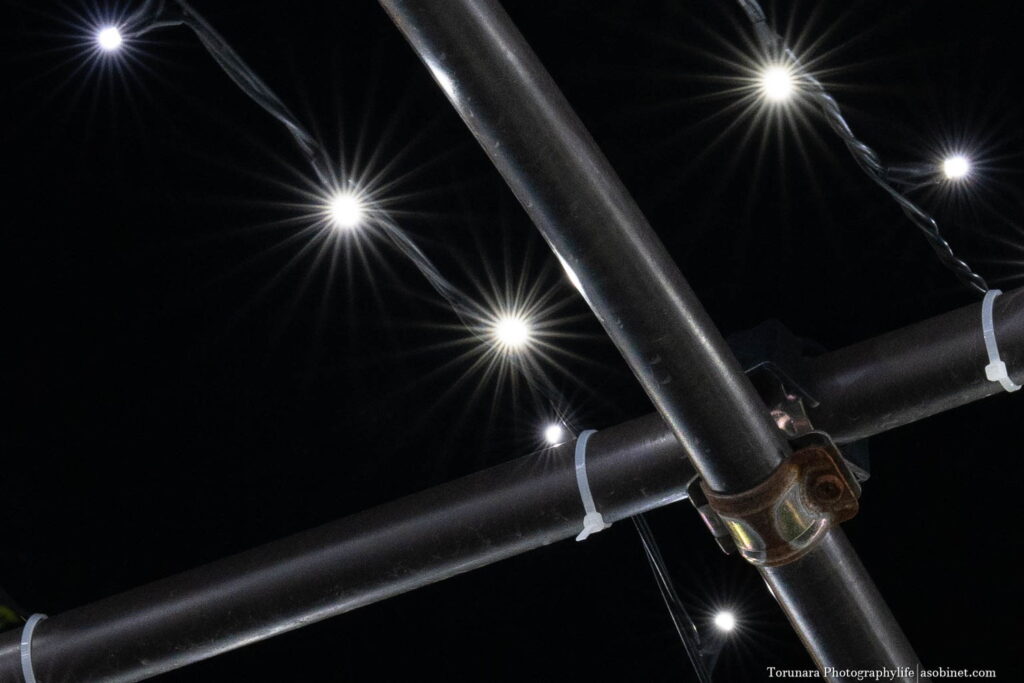
sunstar
Sunstars begin to appear from around F5.6. They become sharp at F8~F11, and the peak is at the smallest aperture of F16. Considering the balance with diffraction, F10 is recommended.
Summary
Good points
Robust lens case included
Dustproof and drip-proof
Compact and lightweight
Functional aperture ring
High-speed AF with XD linear motor
Compatible with breathing correction
Peripheral resolution performance when close up
Good central resolution performance regardless of focus
Lateral chromatic aberration correction status
Longitudinal chromatic aberration correction status
Smooth background bokeh
Smooth bokehball
Mild distortion
Moderate vignetting
Good coma correction
Beautiful sunstar
Despite being compact and lightweight for a 50mm F1.4, this lens is a high-performance lens overall. It delivers sharp results across the entire focus range, and even at medium distances it achieves smooth background bokeh and chromatic aberration correction that feels like it doesn't even need post-processing. The build quality is also very good, with features such as high-speed AF using XD linear motors and a wealth of controls.
As well as its resolving power, the smooth bokeh that can be achieved at any focusing distance is a must-see. Even when the shooting distance is long, the background of the in-focus area does not become a busy depiction, and you can get a natural, smooth out-of-focus background. There is also no noticeable color fringing caused by longitudinal chromatic aberration. The Sigma 50mm F1.4 DG DN is also good, but if you want the best, we recommend the G Master.
It's small and lightweight, but it also suppresses vignetting well. I'm not saying there are no problems from F1.4, but it's not excessive vignetting, so it can also be used to a degree.
Bad points
Expensive option for a 50mm f/1.4 lens
Not as high quality as the ZA series
Focus ring is a little loose
Focus breathing is noticeable
Ordinary backlight resistance
The most obvious optical weakness is its resistance to backlighting. If a strong light source is placed within the frame, there is a possibility that a noticeable ghosting effect will occur. However, it is not so bad as to be severely criticized, and it is only “worse than Sigma”. It is not exceptionally good, but it is not extremely bad either.
Although the resolution performance of the periphery and corners is slightly reduced when shooting close-ups, the performance degradation is milder than with Sigma and Samyang.
Conclusion
This is a lens that should be considered as a non-compromising option for 50mm F1.4. It is compact and lightweight despite its high performance, and its portability makes it a definite advantage for everyday use. The price is a sticking point, but it is not extremely expensive as an F1.4 GM series lens.
The Sigma 50mm F1.4 DG DN is a difficult choice. It is larger and heavier than the Sony equivalent, but you can get optical performance similar to the GM at a more affordable price. It is better in terms of AF speed and resistance to backlighting. However, unlike the Sony genuine lenses, it is not compatible with high-speed continuous shooting on the α1 and α9, and focus breathing correction cannot be used.
Lens Buying Guide
Creating in-depth reviews like this requires time and resources.If you found this article useful and decided to buy a lens, please consider using the affiliate link. This will help us to create more content in the future.
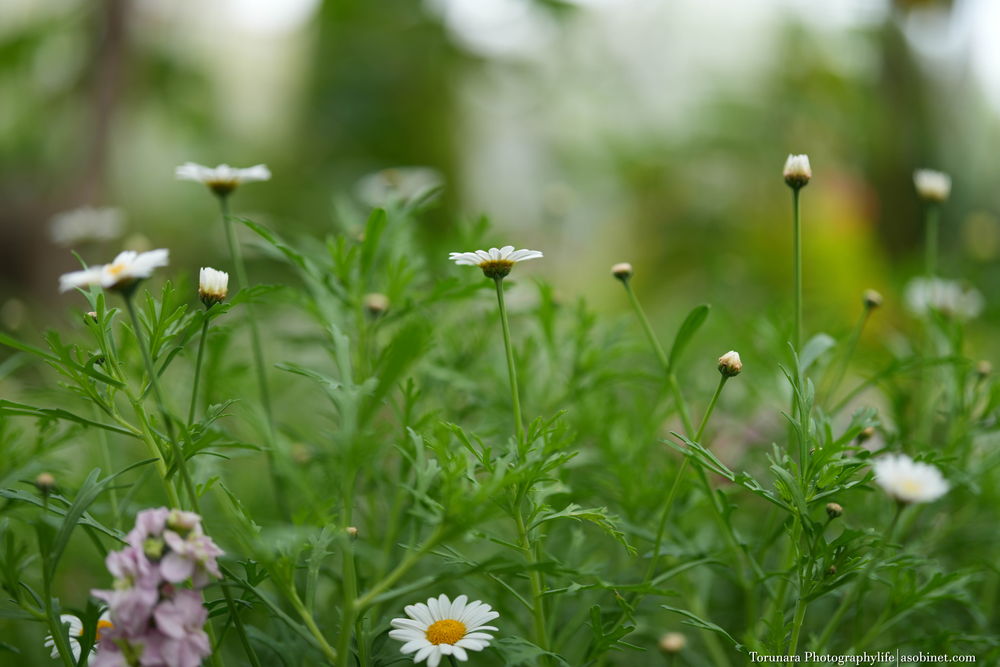
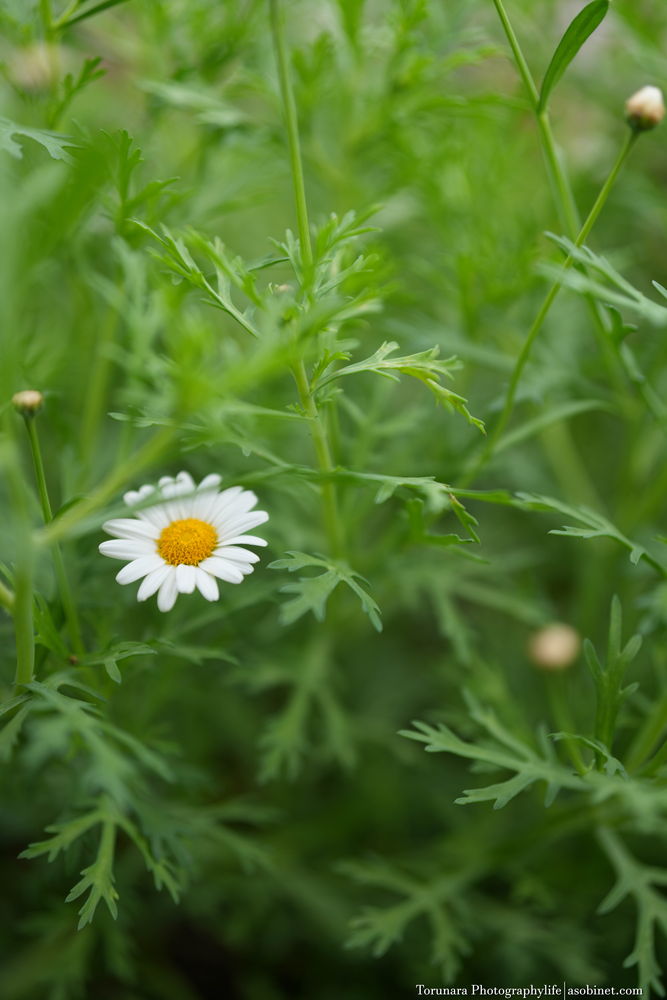
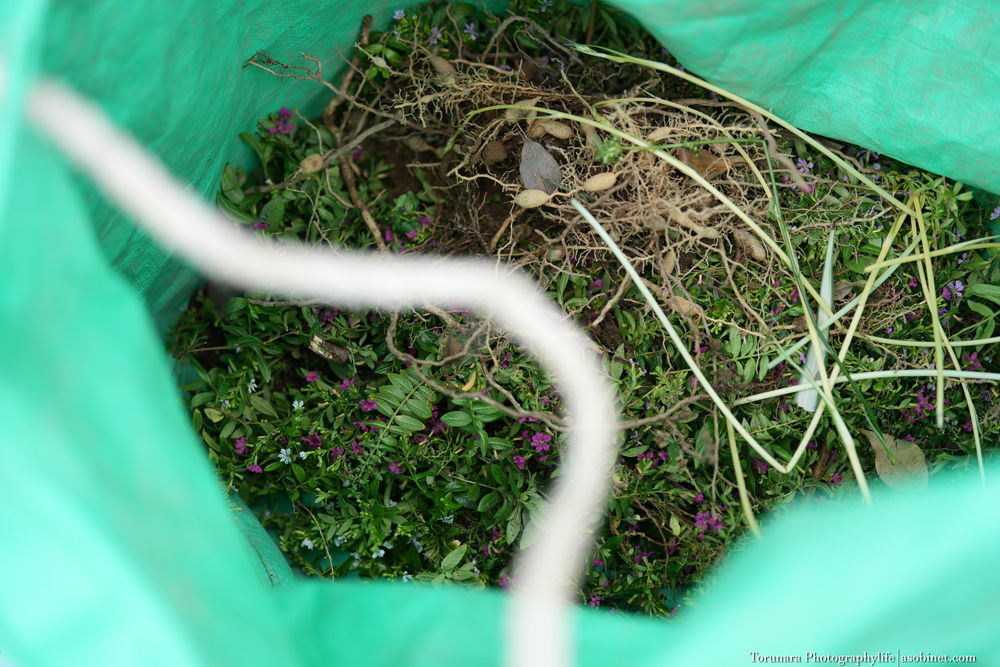
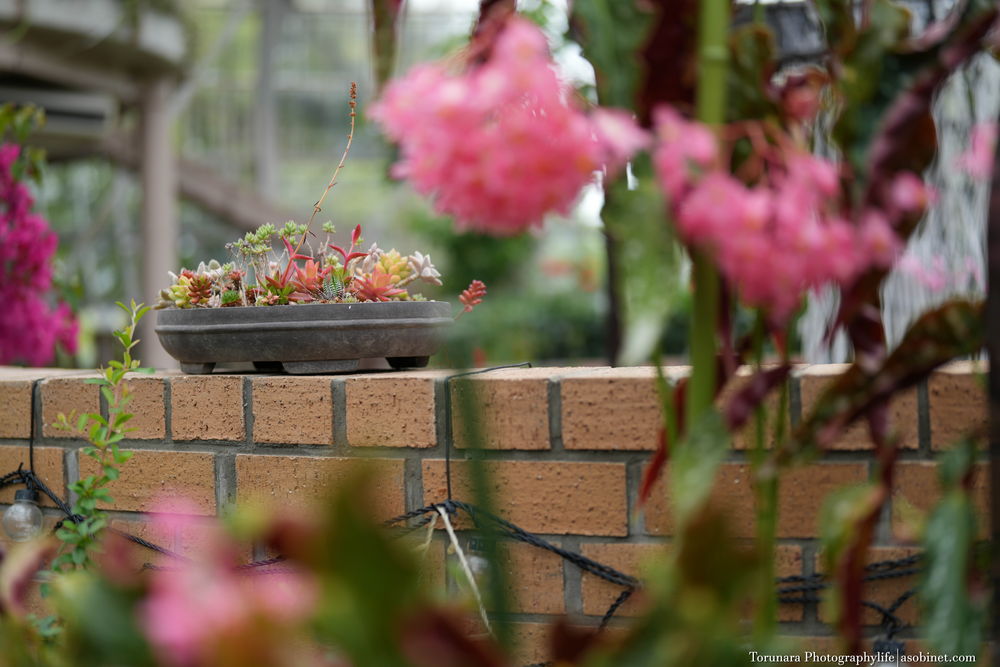
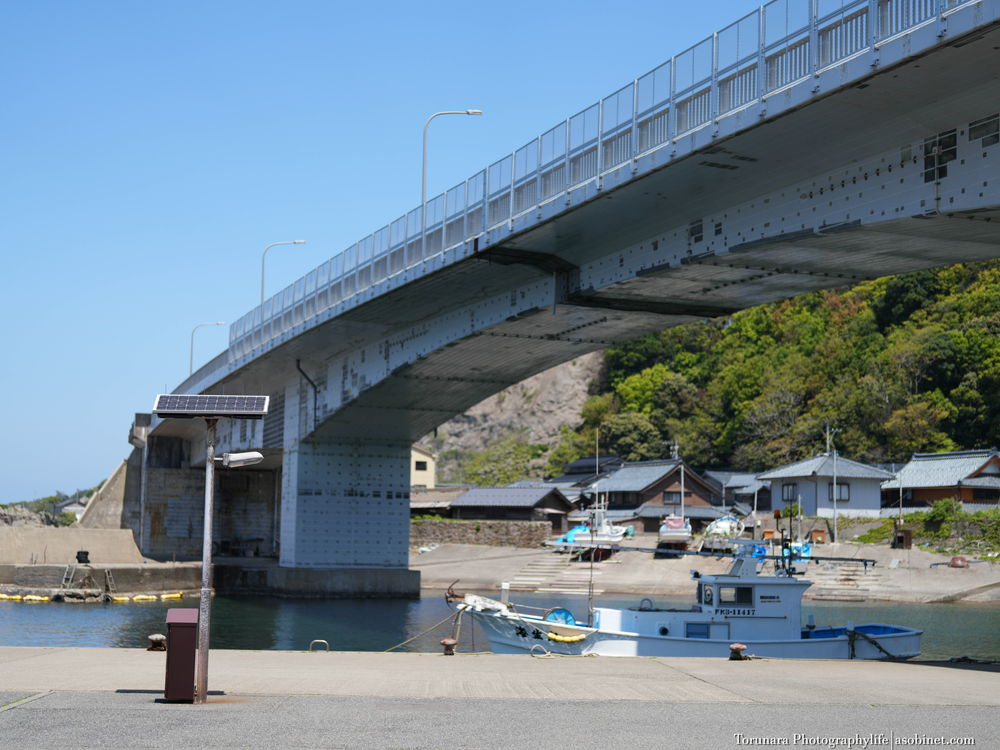
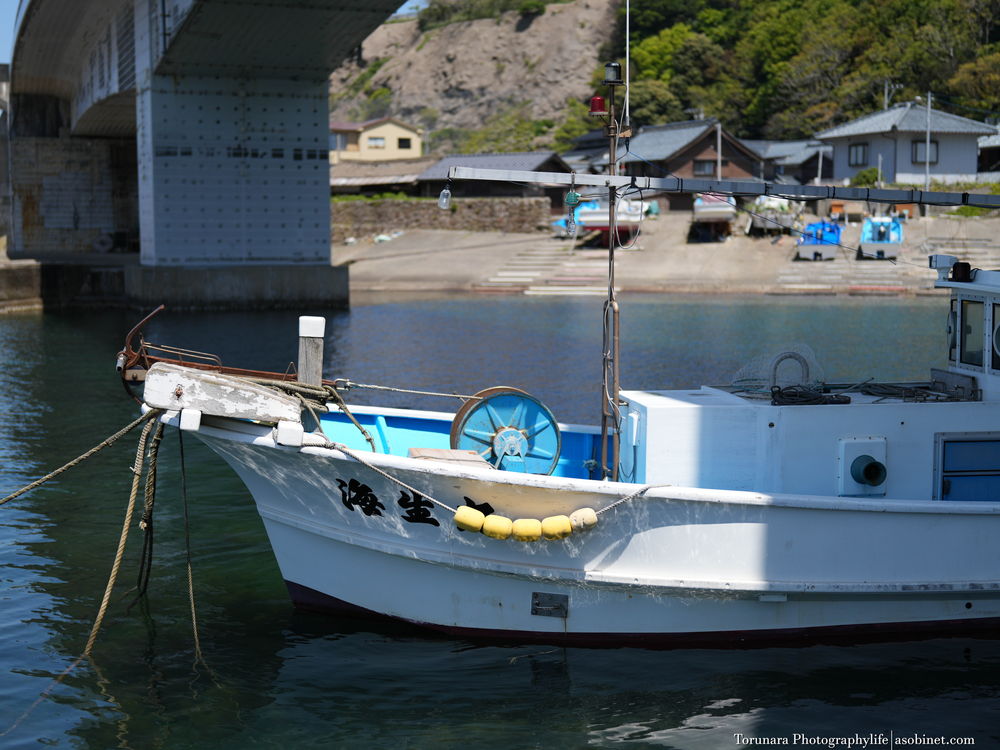
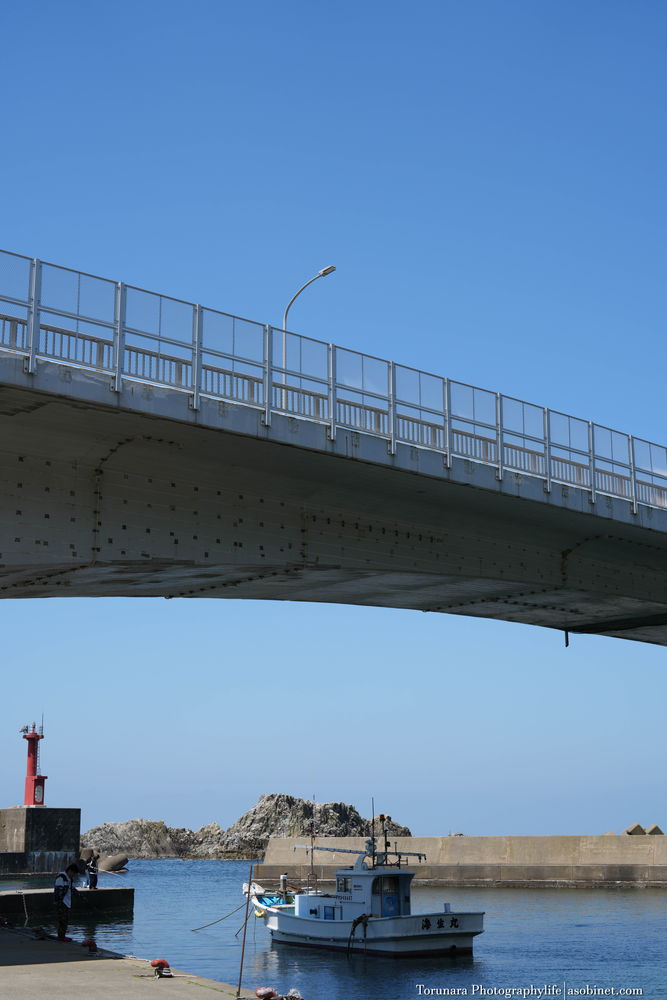
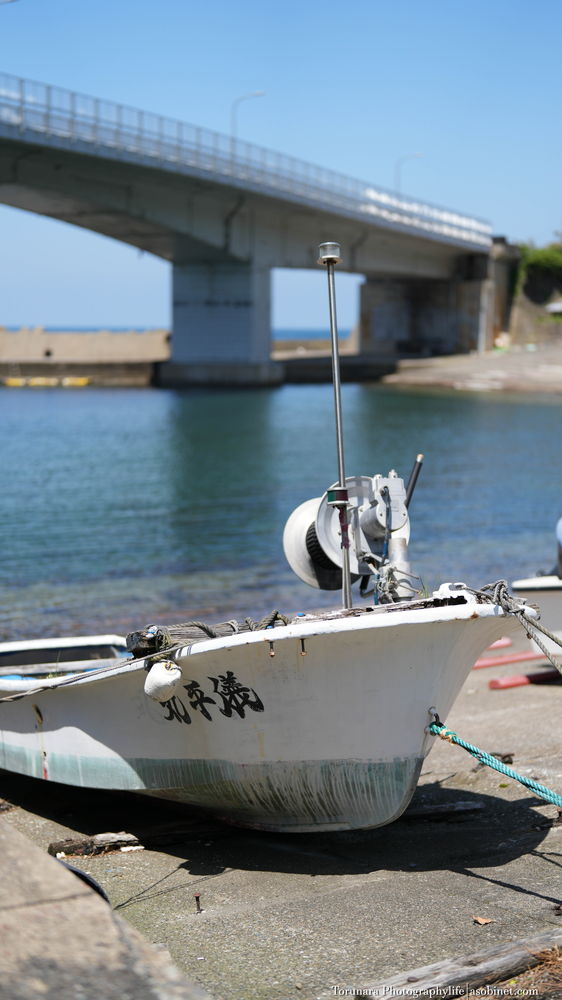
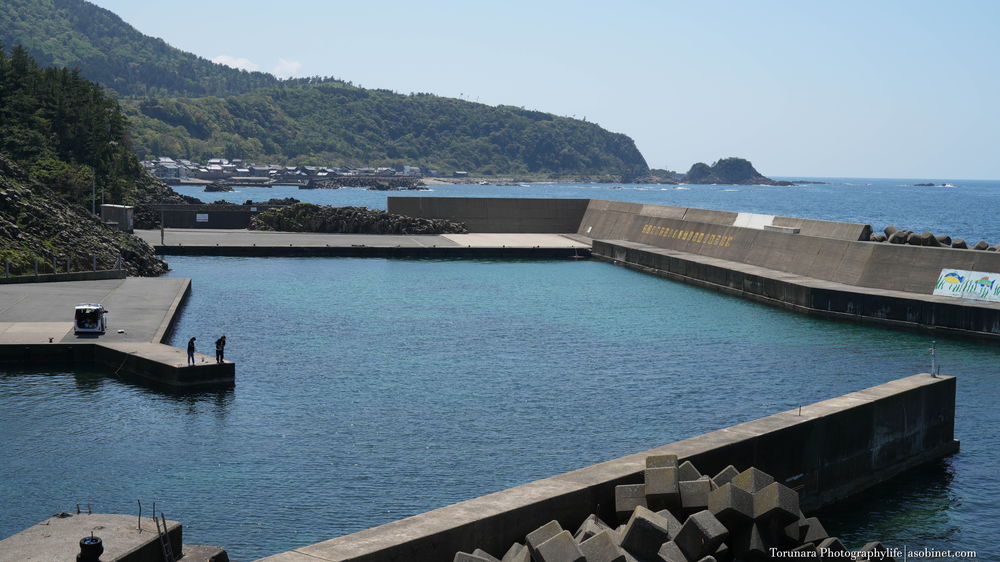
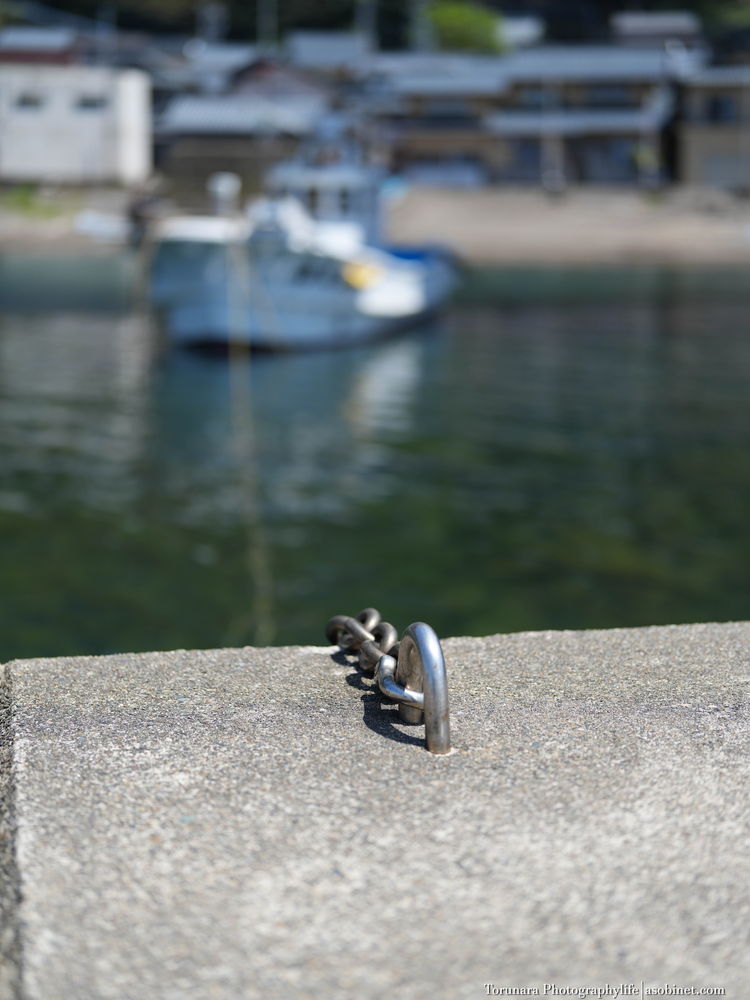
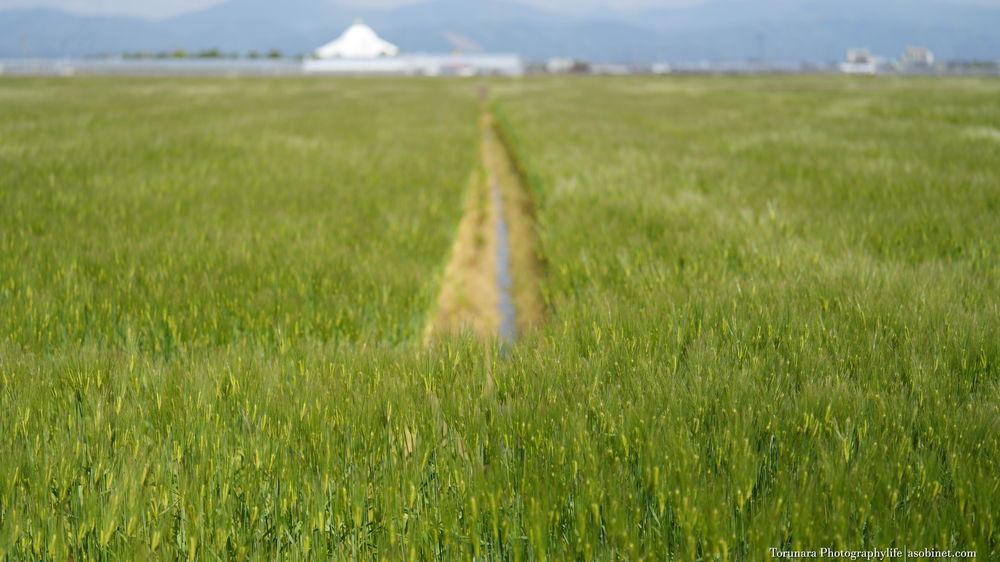
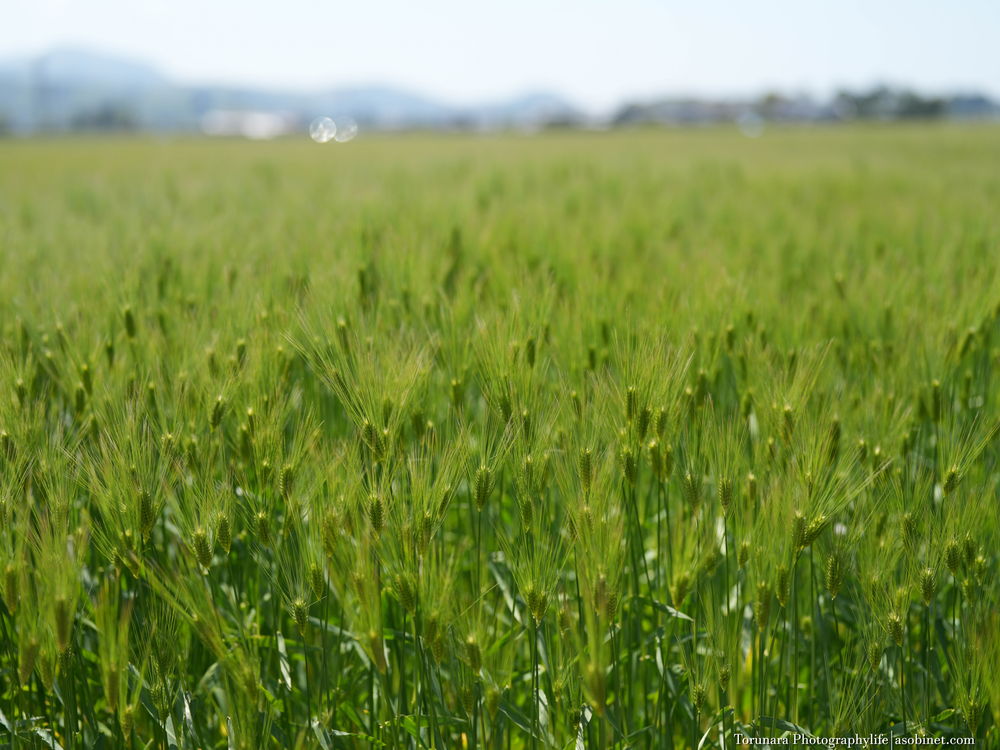
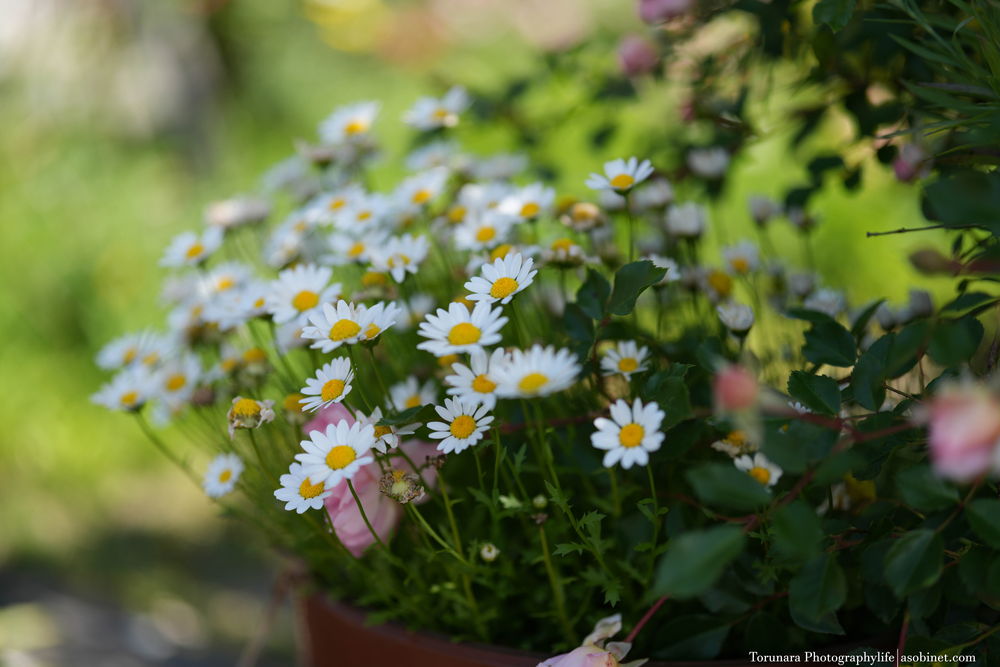
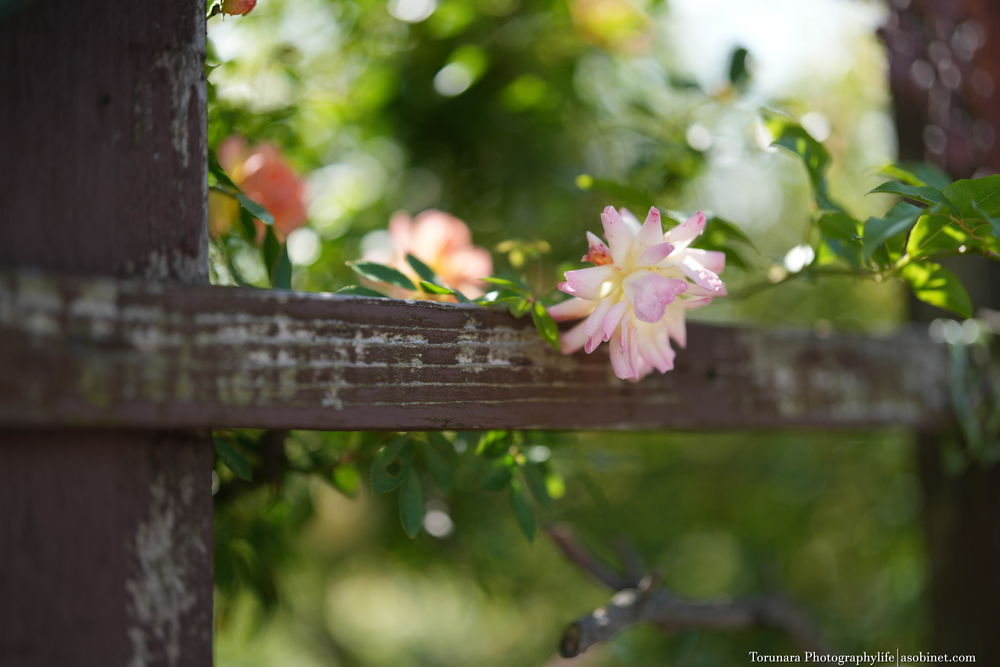
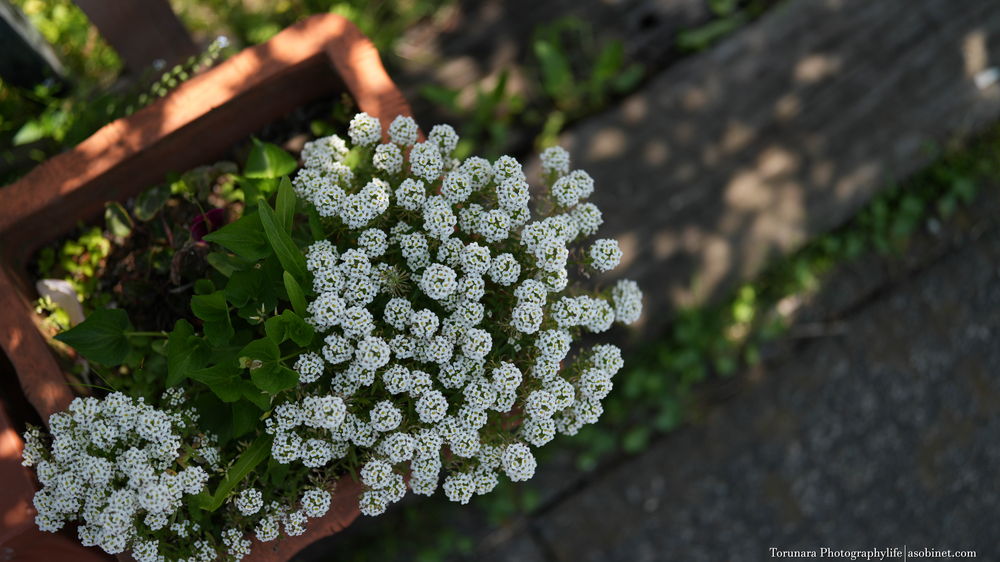
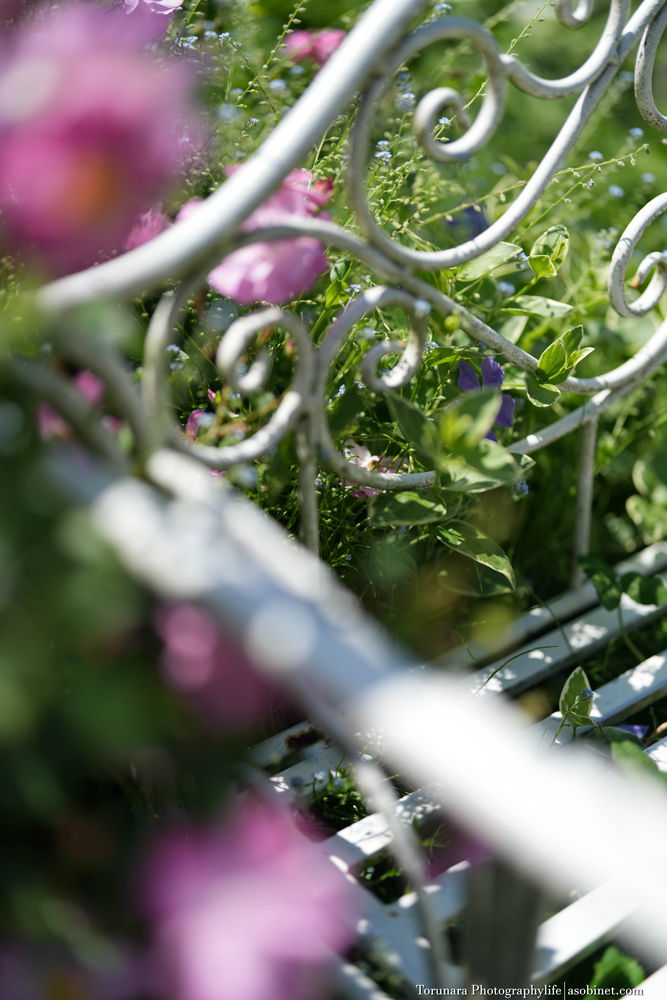
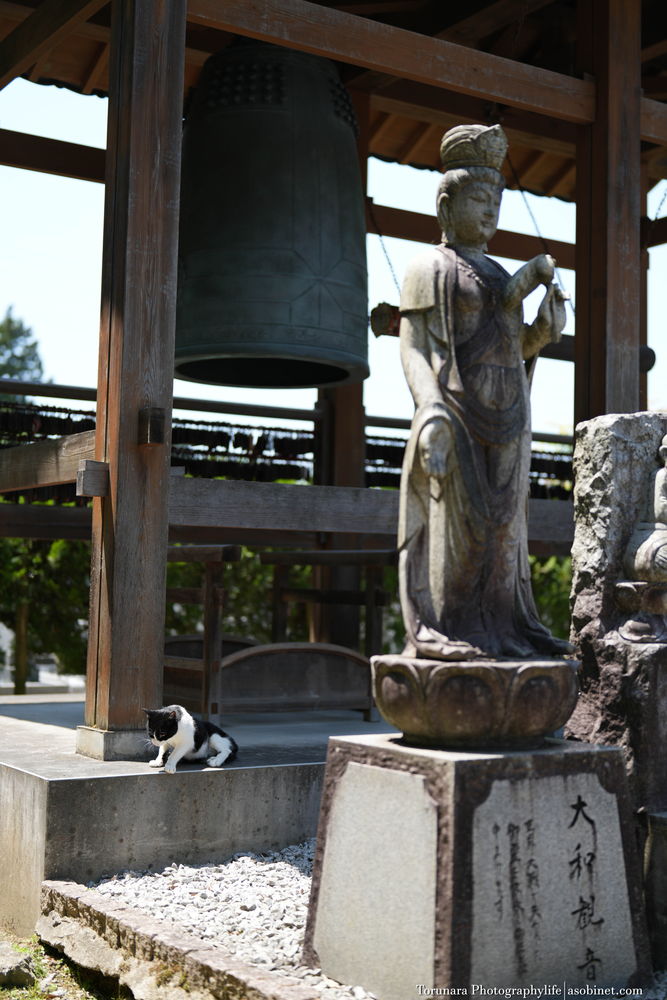
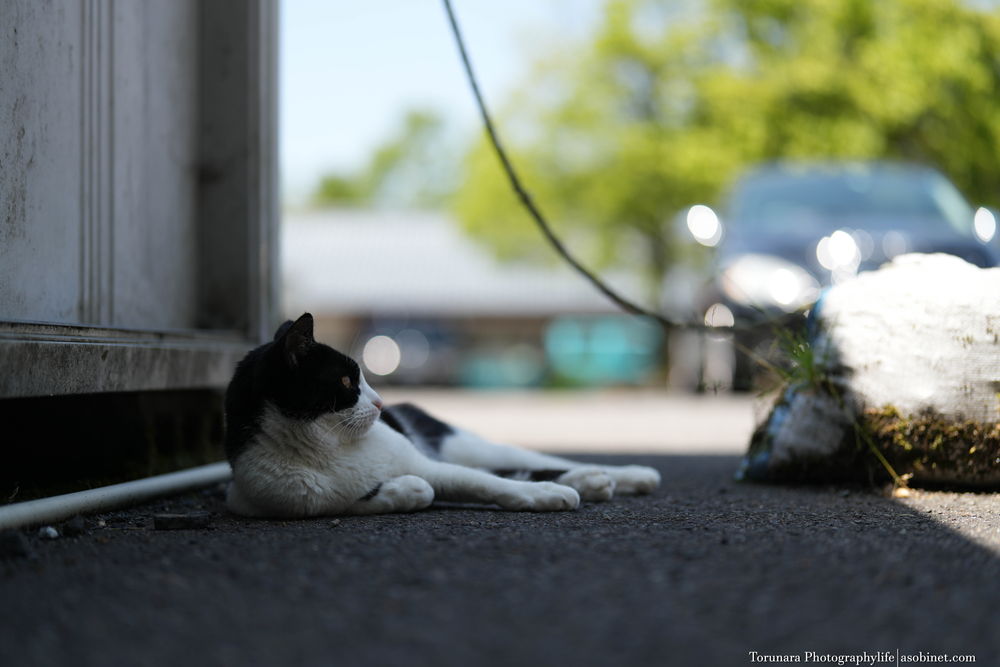
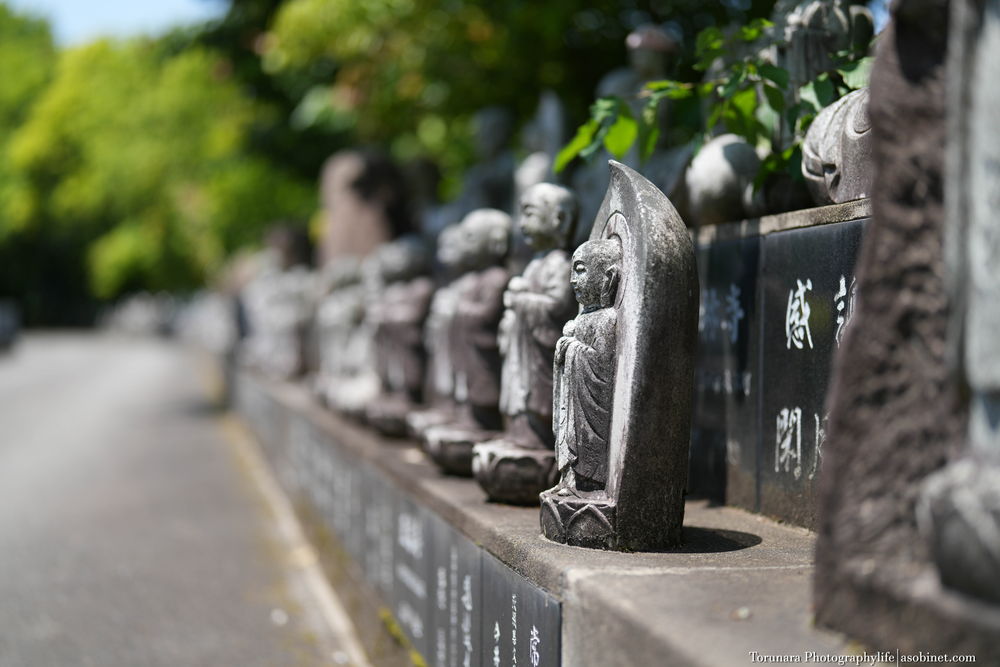
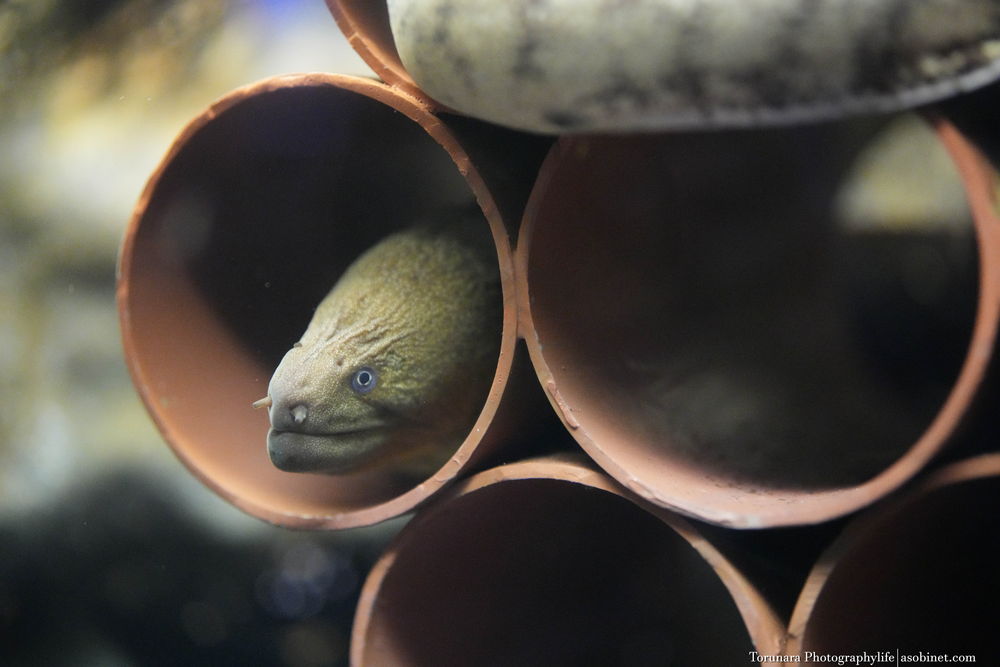
Example
The original data is available on Flickr.